I know some folks here work with metal, so I’m curious to know about possible tips and techniques in the art of polishing.
I’m a bit of a quirky person when it comes to eating utensils. Design and ergonomics are important to me. I absolutely cannot stand using crappy flatware. I’d much rather buy a few pieces of a high end brand/model to use on my own, rather than own a full set of mediocre flatware.
OK, with that out of the way, I bought a cluster of used flatware (made by Dansk) that’s in generally good used condition. No bends. No major nicks or dents. But, there is a patina of scratches. When looking at the surface of the forks, you can most definitely see hash marks from usage of the years, from the last people who owned it.
My OCD self wants to “refresh” this set back to near-new. I understand that deep polishing to remove scratches means shearing off metal. High tensile strength stainless steel will not conform to “blend” away scratches (meaning metal particles removed won’t gather and adhere in scratch grooves).
So… my question is… what’s a feasible approach? I just bought a new set of micromesh pads. But I also have a Dremel. I’m wondering if I should use a medium abrasive grinding wheel and run that across the surface first, then follow up with finer and finer grades of micromesh until a sufficient smoothness is achieved. But rather than me spitballing it, I’m just curious if anyone here has done this and might have a suggestion on a proven way to proceed.
OK… well, I answered my own question. But I’ll deposit what I did here in case anyone else decides to give it a go.
Of course, all flatware gets scratched up. Usually a patina that evens out and isn’t extremely noticeable. Most people consider everyday flatware getting scratches as totally acceptable.
In my living situation, my housemate loves her flatware but I’m not that keen about it. So, I use my own. And, I take good care of it. I don’t throw the pieces into the sink or toss into a flatware wash grate in the dishwasher where they’ll bump up against other metal. A quick handwashing does the trick. And my flatware pieces usually look great. Except of course this new batch of used flatware I got that looks a bit shabby up close.
So, I decided to take one piece and experiment with micromesh. And it worked straight off.
Selected 1000 grit and tested the surface. I found for the handle that scratches were disappearing fairly fast, while on the fork tines it was harder. So for the fork tines, I went down to 600.
After a minute, I stepped up to 1500 grit. I could see good progress on the handle, save for one area that I hit with 1000 again. I repeated 600 on the tines, then 1000 again. Started to look good.
I kept progressing through each grade of grit. I found that as you go up, any scratches that weren’t well addressed in the last grit will show up more clearly as the polishing progresses. So sometimes you have to go back a grade.
All the way up to 12000 grit and the flatware is looking GREAT! No wet sanding. No dremel. No major elbow grease.
I’ve been super busy and have let several things I should have replied to go unanswered! Sorry.
Sounds like you did pretty much exactly what works. Had you had some serious scratches, or detailed surfaces that you couldn’t get to with hand sanding I would have suggested some polishing and sanding discs on a flex-shaft or dremel.
Even though you didn’t need to wet sand, I would have still recommended it. If I recall correctly, the micromesh pads you have are water-friendly.
I actually remembered I had some fine diamond paste in my junk drawer. 5 micron and 2.5 micron. After the micromesh I hit it with that. the 5 first, then 2.5, then repeated. Really nice shine! I can tell under magnification that the original picture-perfect scratch free surface as seen when new was not achieved, but the effort to get there doesn’t seem worth it. With the naked eye, the result looks terrific. No need to go further, since a patina will gradually return with use. But with the core polishing, it’ll look much better than the more aggressive patina present as a used acquisition.
Does wet sanding cause the finer scratches introduced to blend in better? On other pieces should I start wet sanding with the most coarse grit? Or start dry and then switch to wet as I start getting into finer grades?
I haven’t tried using my Dremel yet. I do have some polishing discs waiting to be used. Might be interesting to see if it’s a notable improvement with the diamond paste.
I always use water with micromesh. The water acts as a lubricant, which helps to prevent the pad from clogging. It also reduces heat build-up which isn’t an issue in your case but can be for some plastics and other more delicate surfaces. Also, using water can help get a smoother finish as it helps to remove the dust and debris generated during the sanding process.
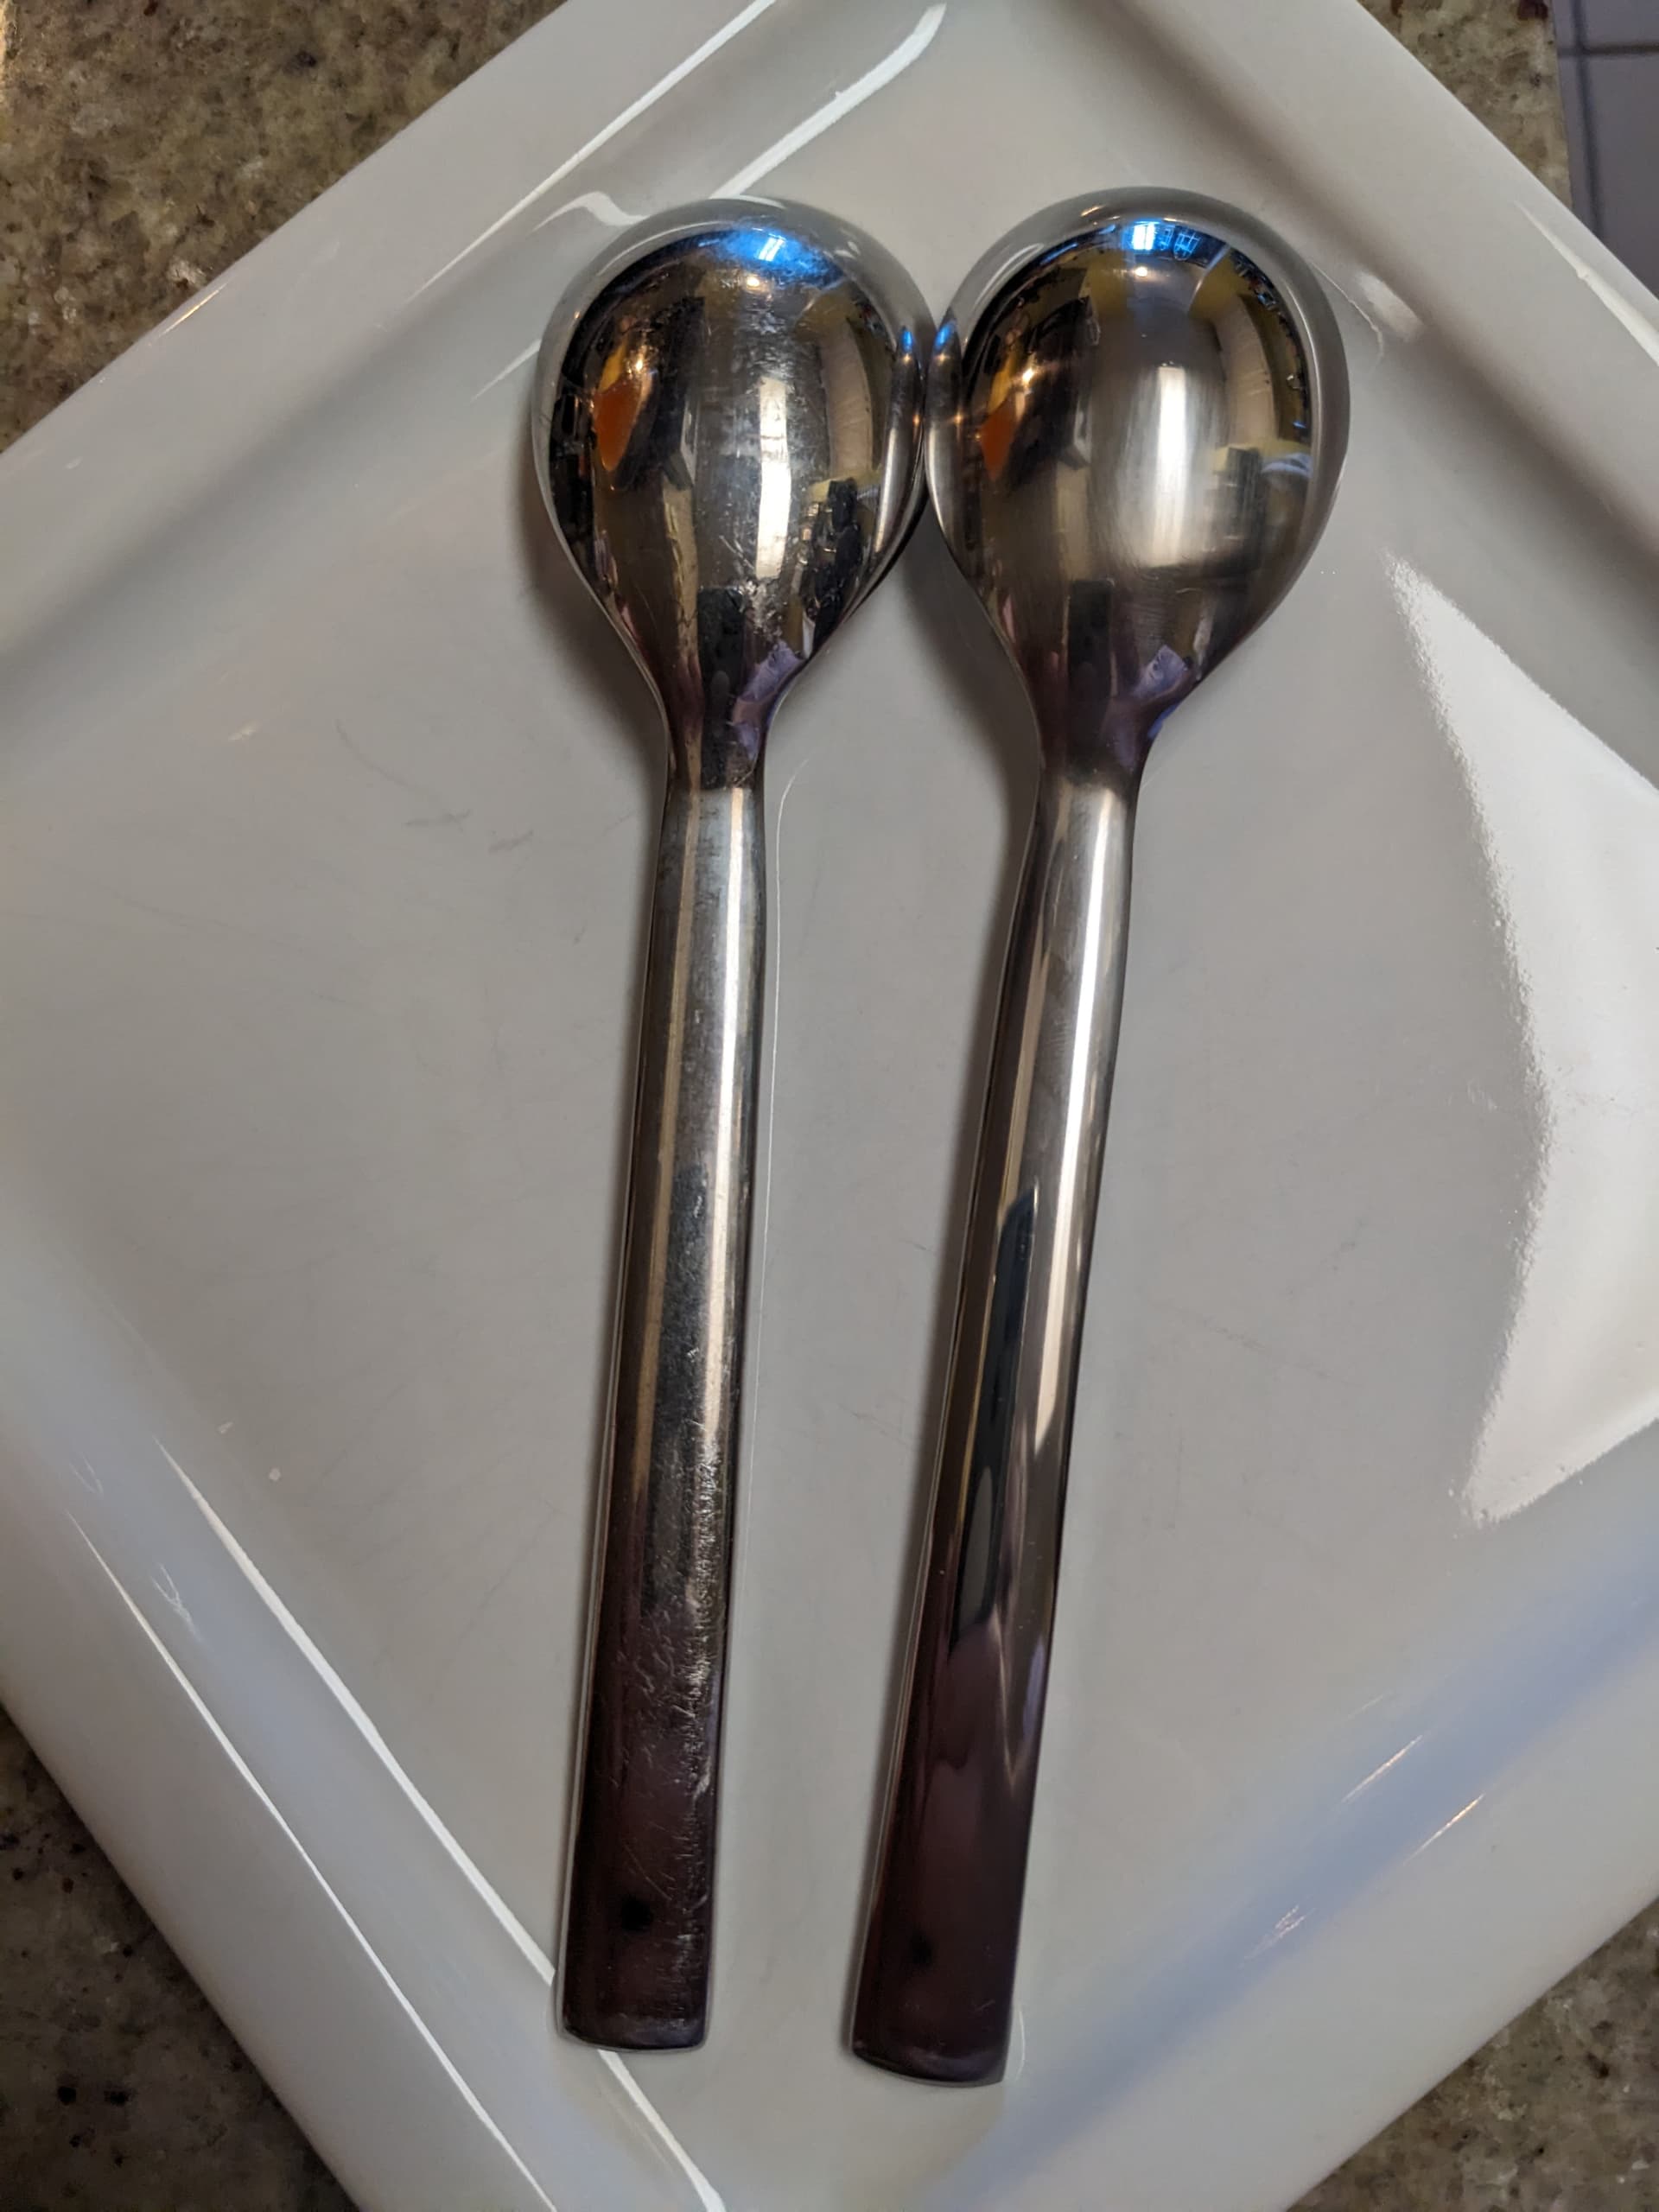
On the left is an example of the original patina. On the right is after polishing. Towards the neck it’s not as polished because I tried to avoid removing the lettering.
Thanks!
I’m sure it’ll look even better when I wet sand. You can see the image quality in the original spoon is really sharp, with only the abrasions ruining the reflection. I’ve lost some of that pristine reflection with the hand polishing, but the tradeoff is the lack of a nasty chaotic looking patina.
And yeah, I never photograph reflective things in the nude (LOL).