Nobody requested that update, but since I made another one I decided to document the process this time (which is easier to do when you know what will work and what won’t  ).
).
I was a little optimistic when I said that two 2&1s can be combined into a mod and a 3-colour. It may be possible but it implies transferring springs from one slot to another (the D1 modules use a wider spring than the pencil) and I found it very difficult to do without damaging the springs. So I adjusted the method to use only parts from a single 2&1.
(Edit: please check post 5 in this thread for a shortcut to make this mod easier)
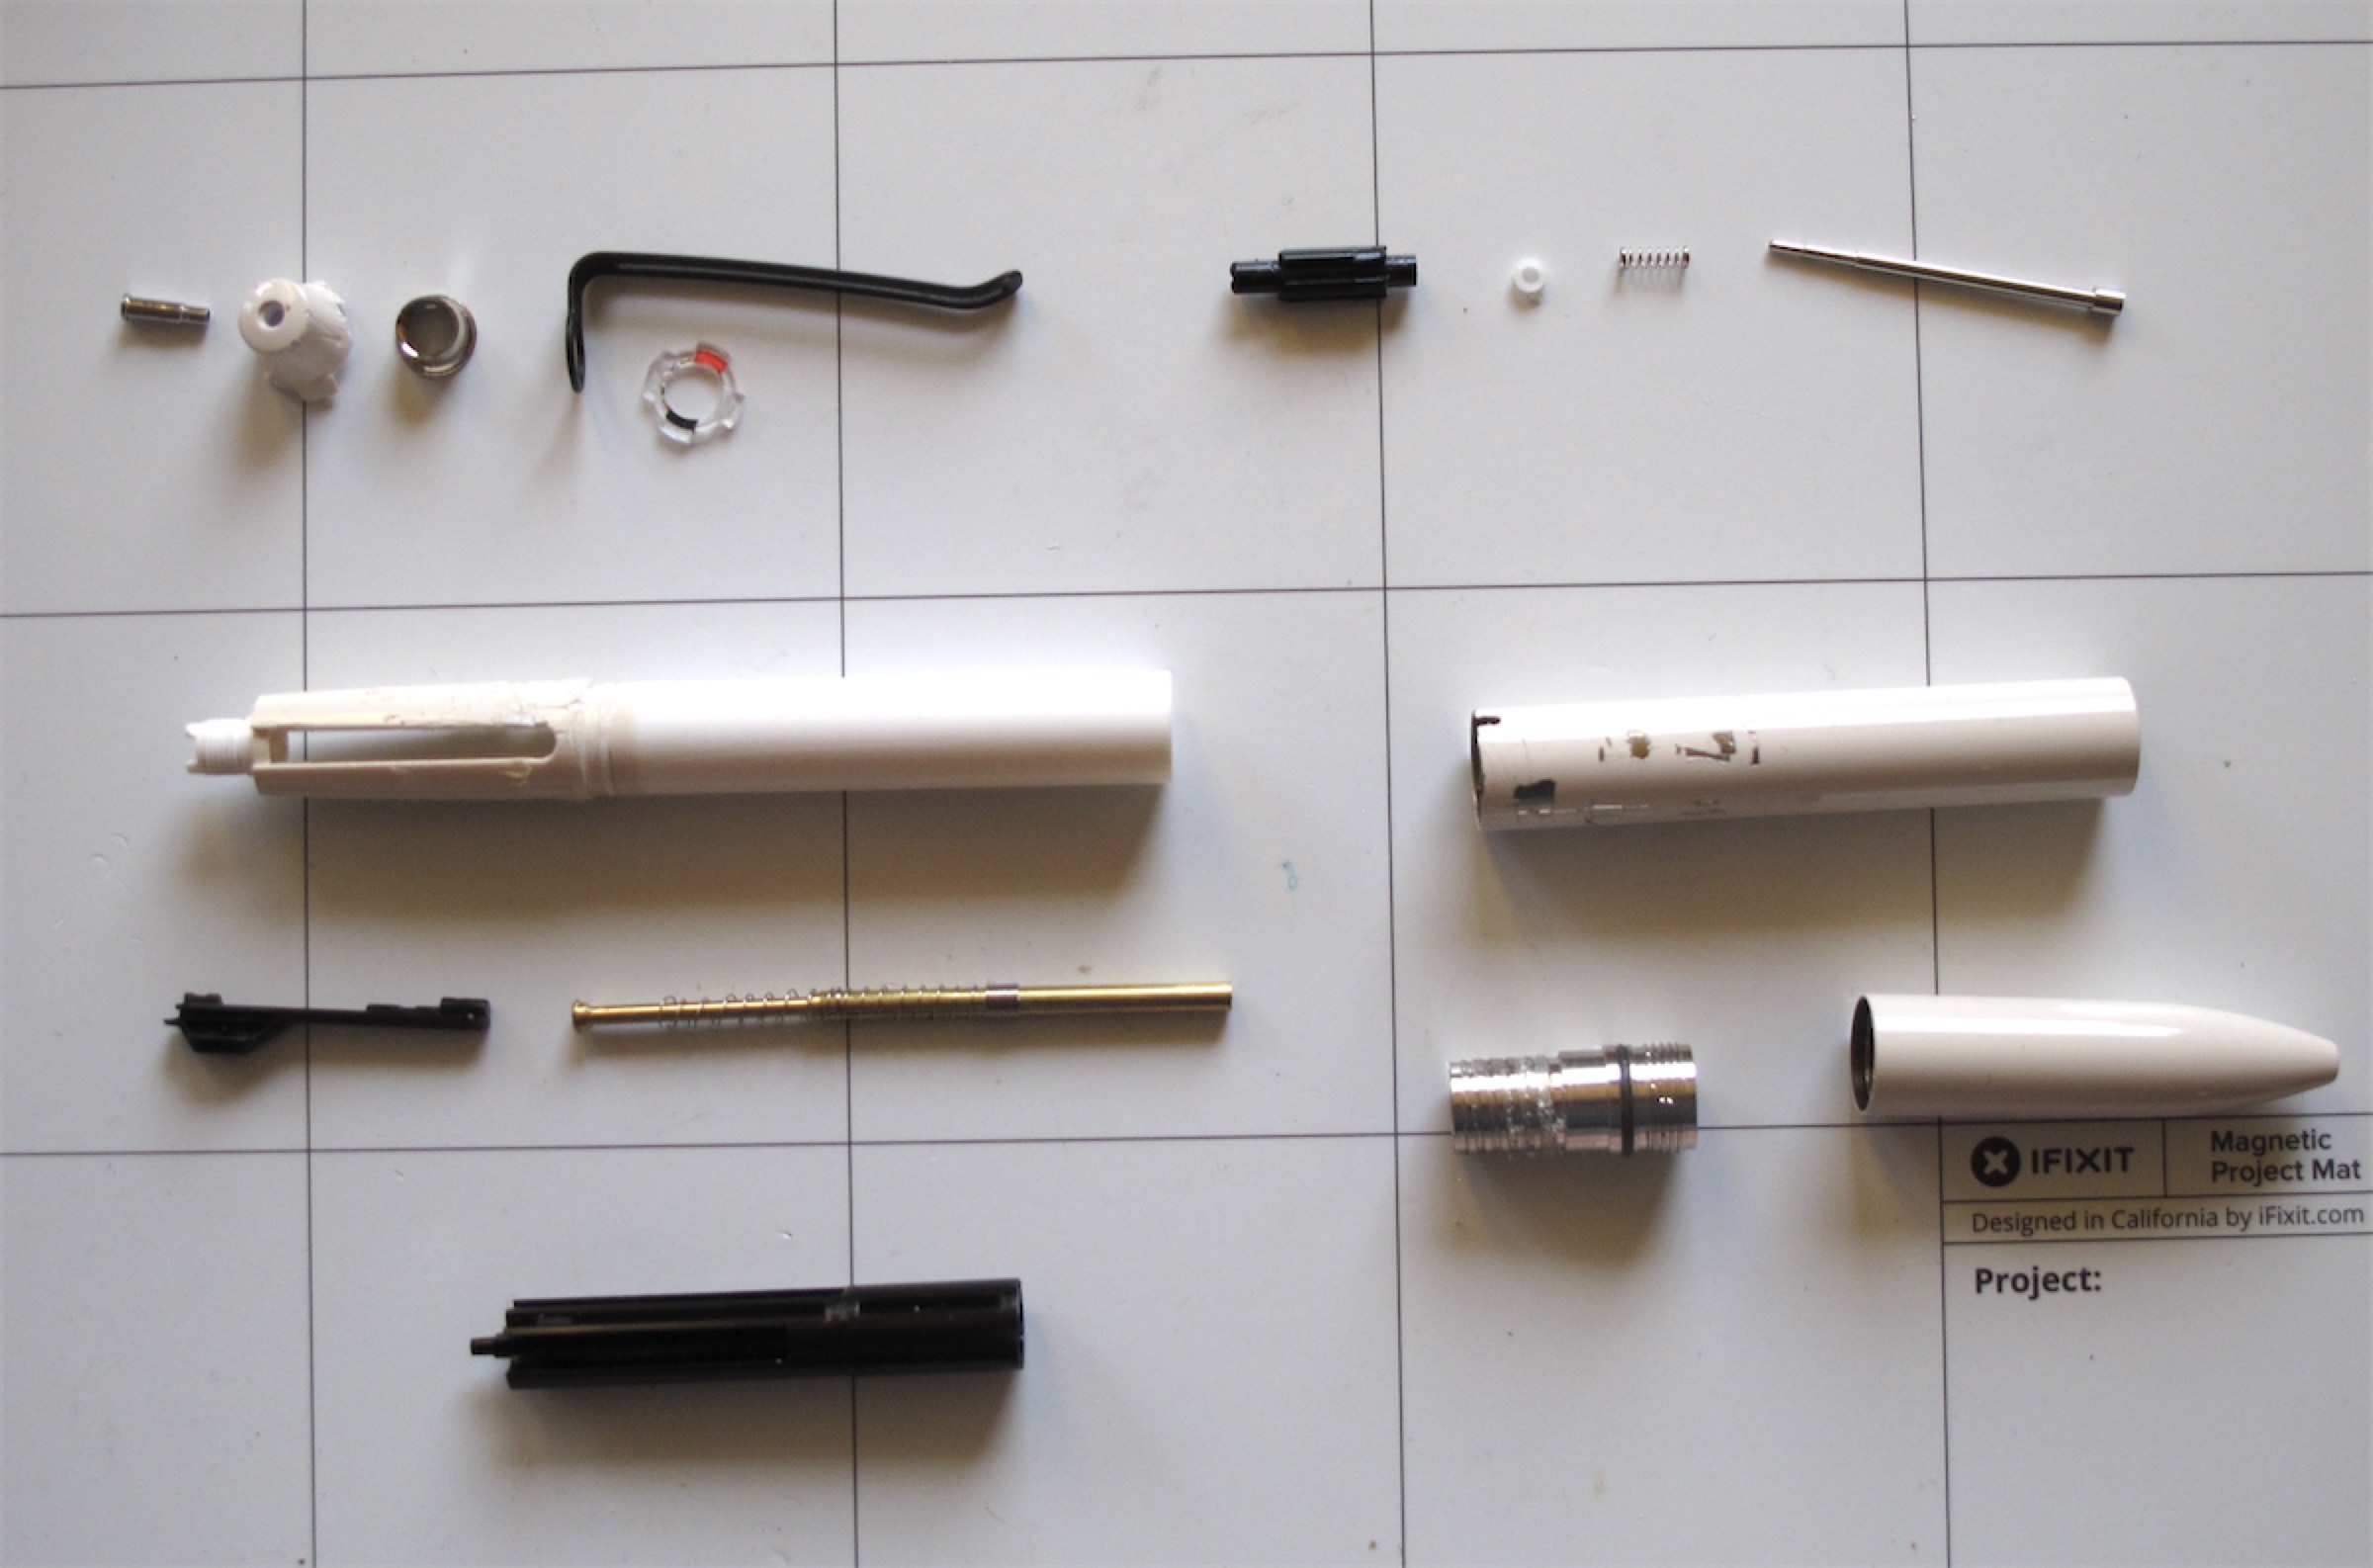
The parts and tools
The parts needed for this mod are:
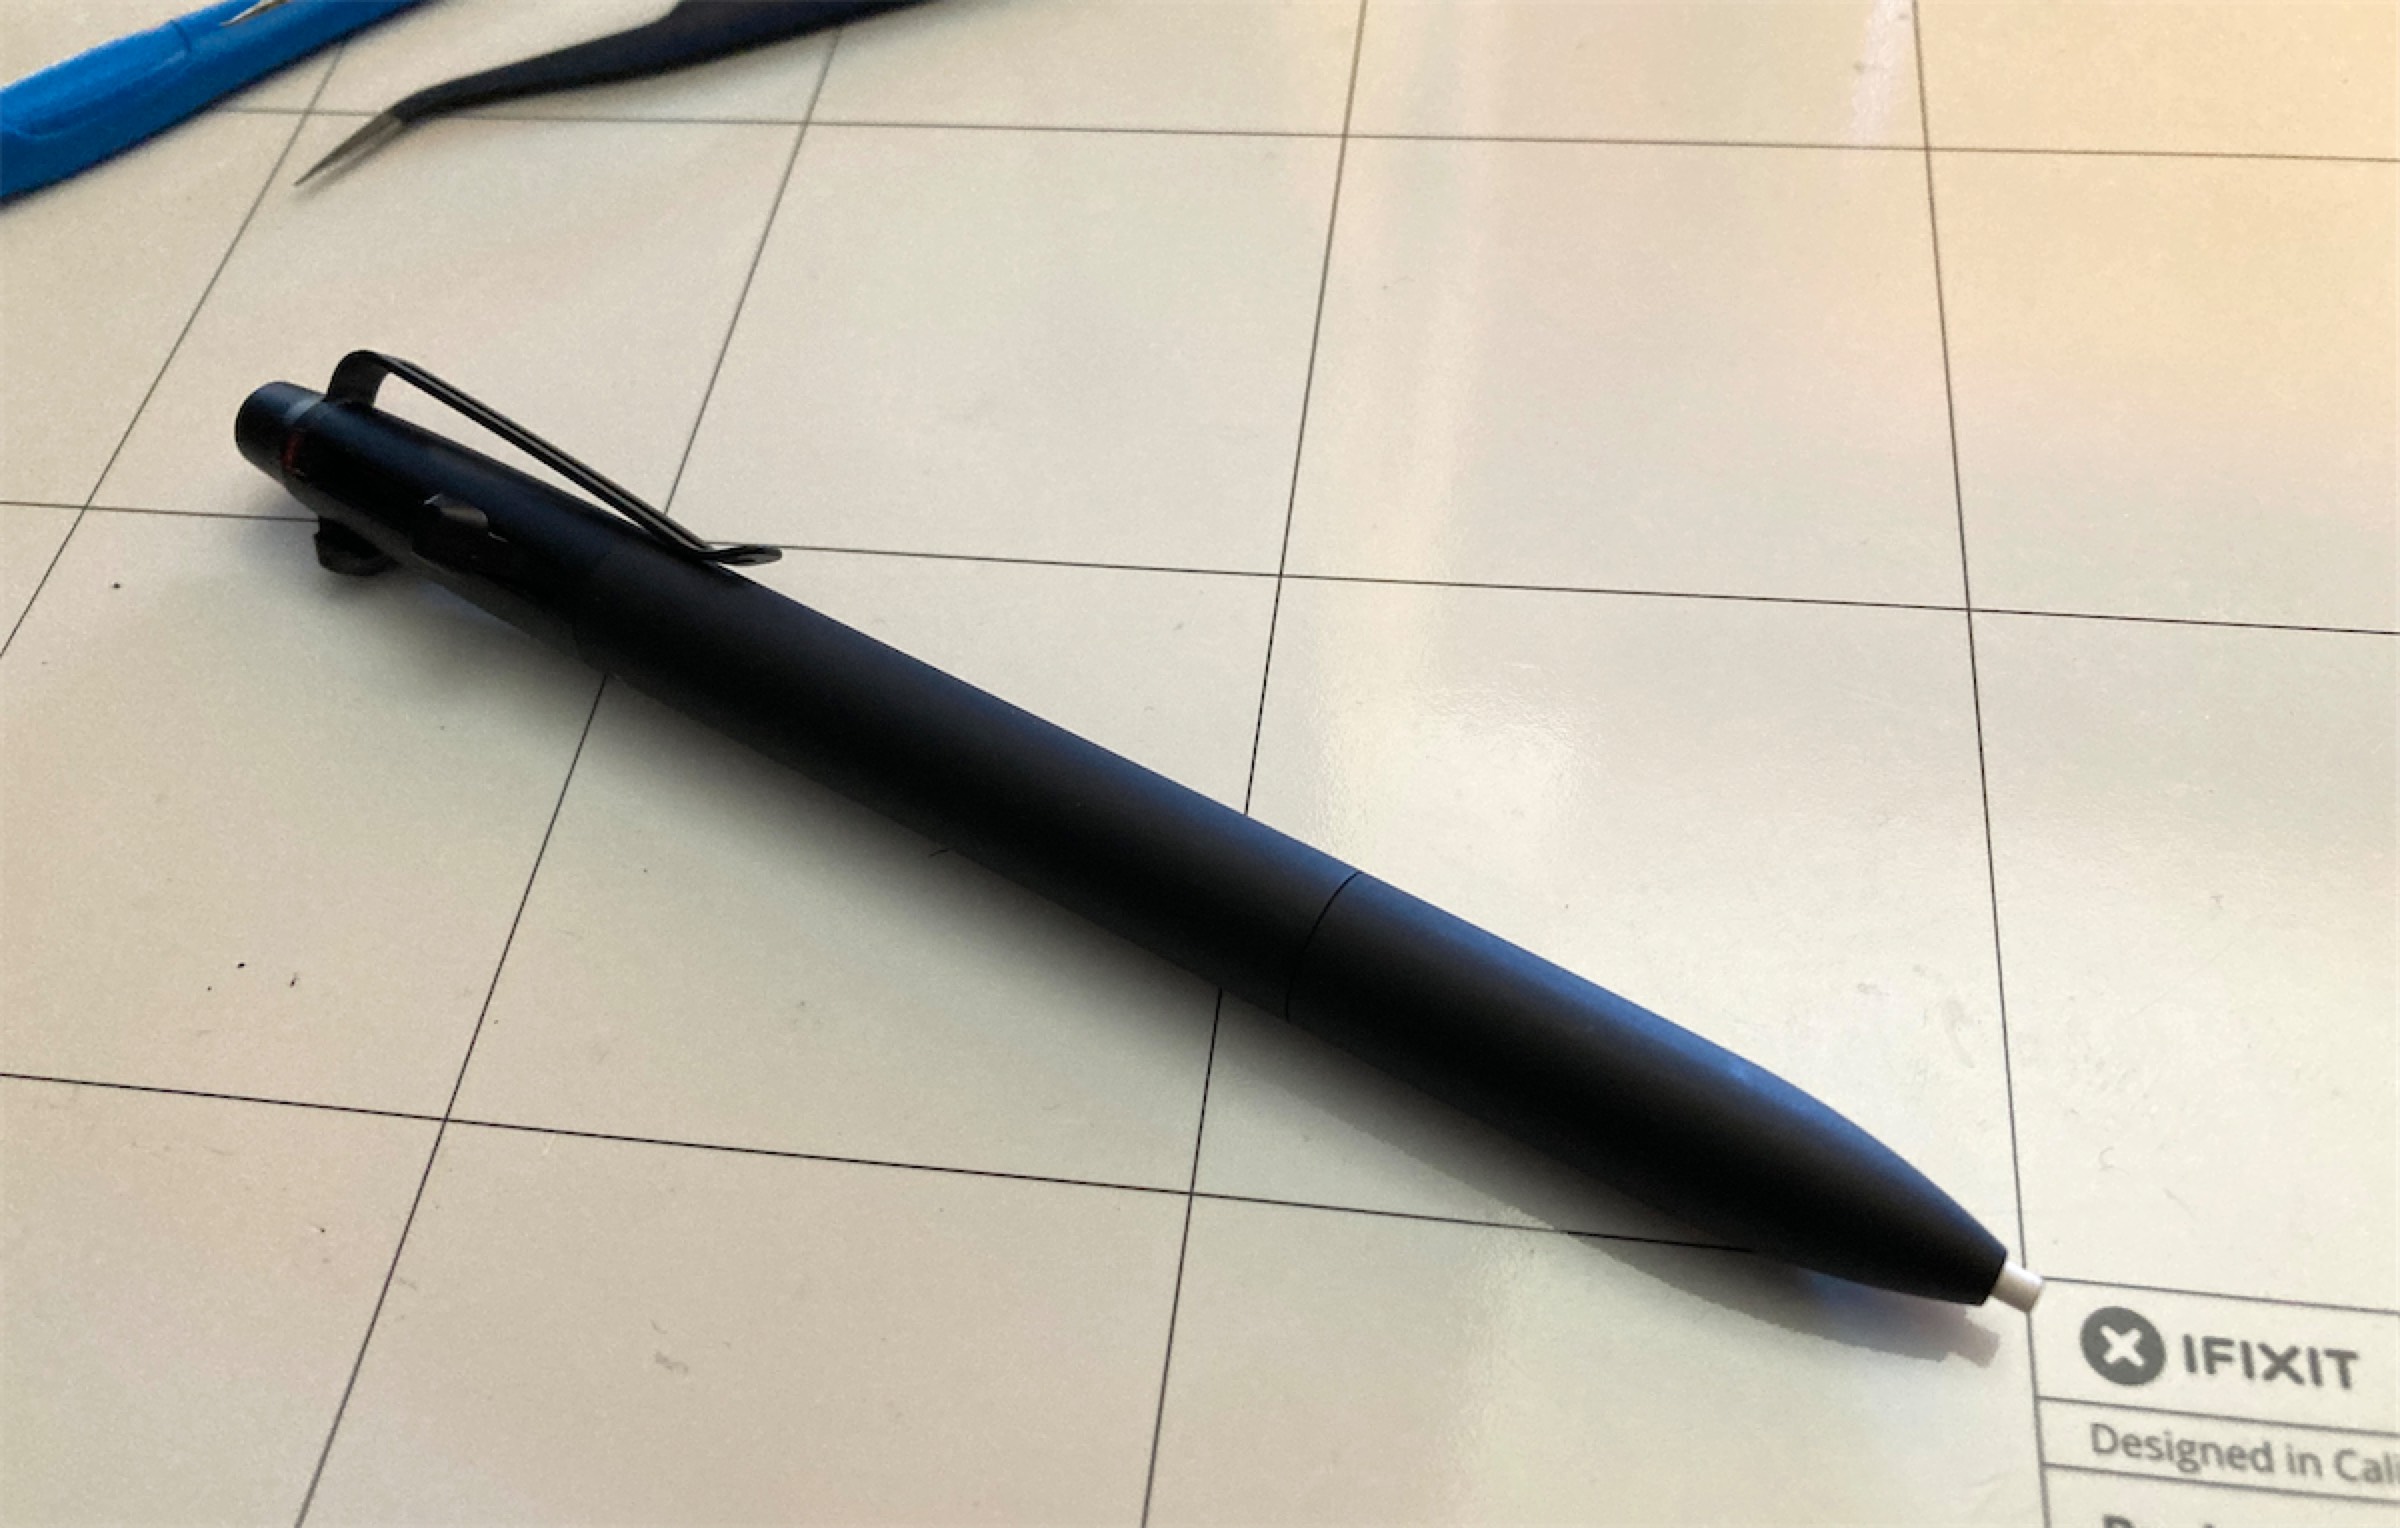
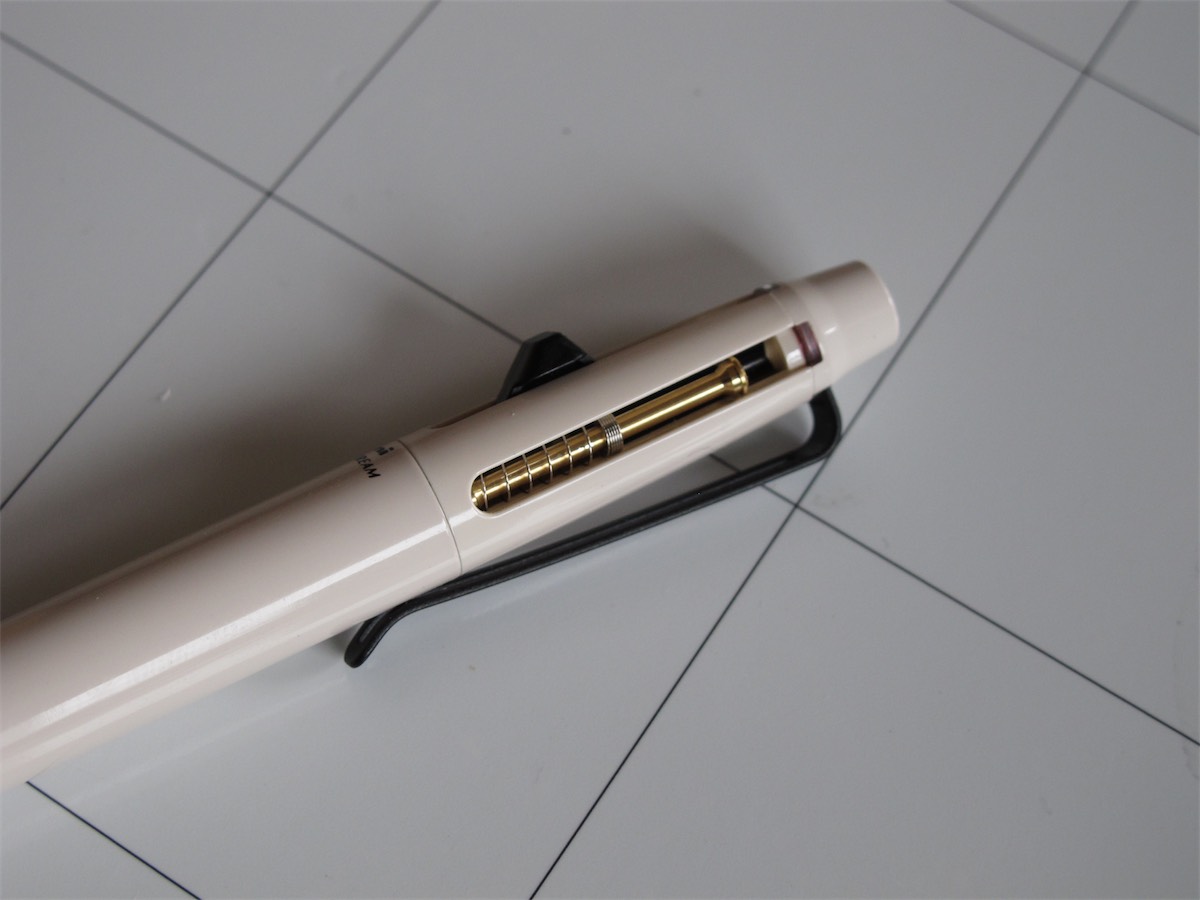
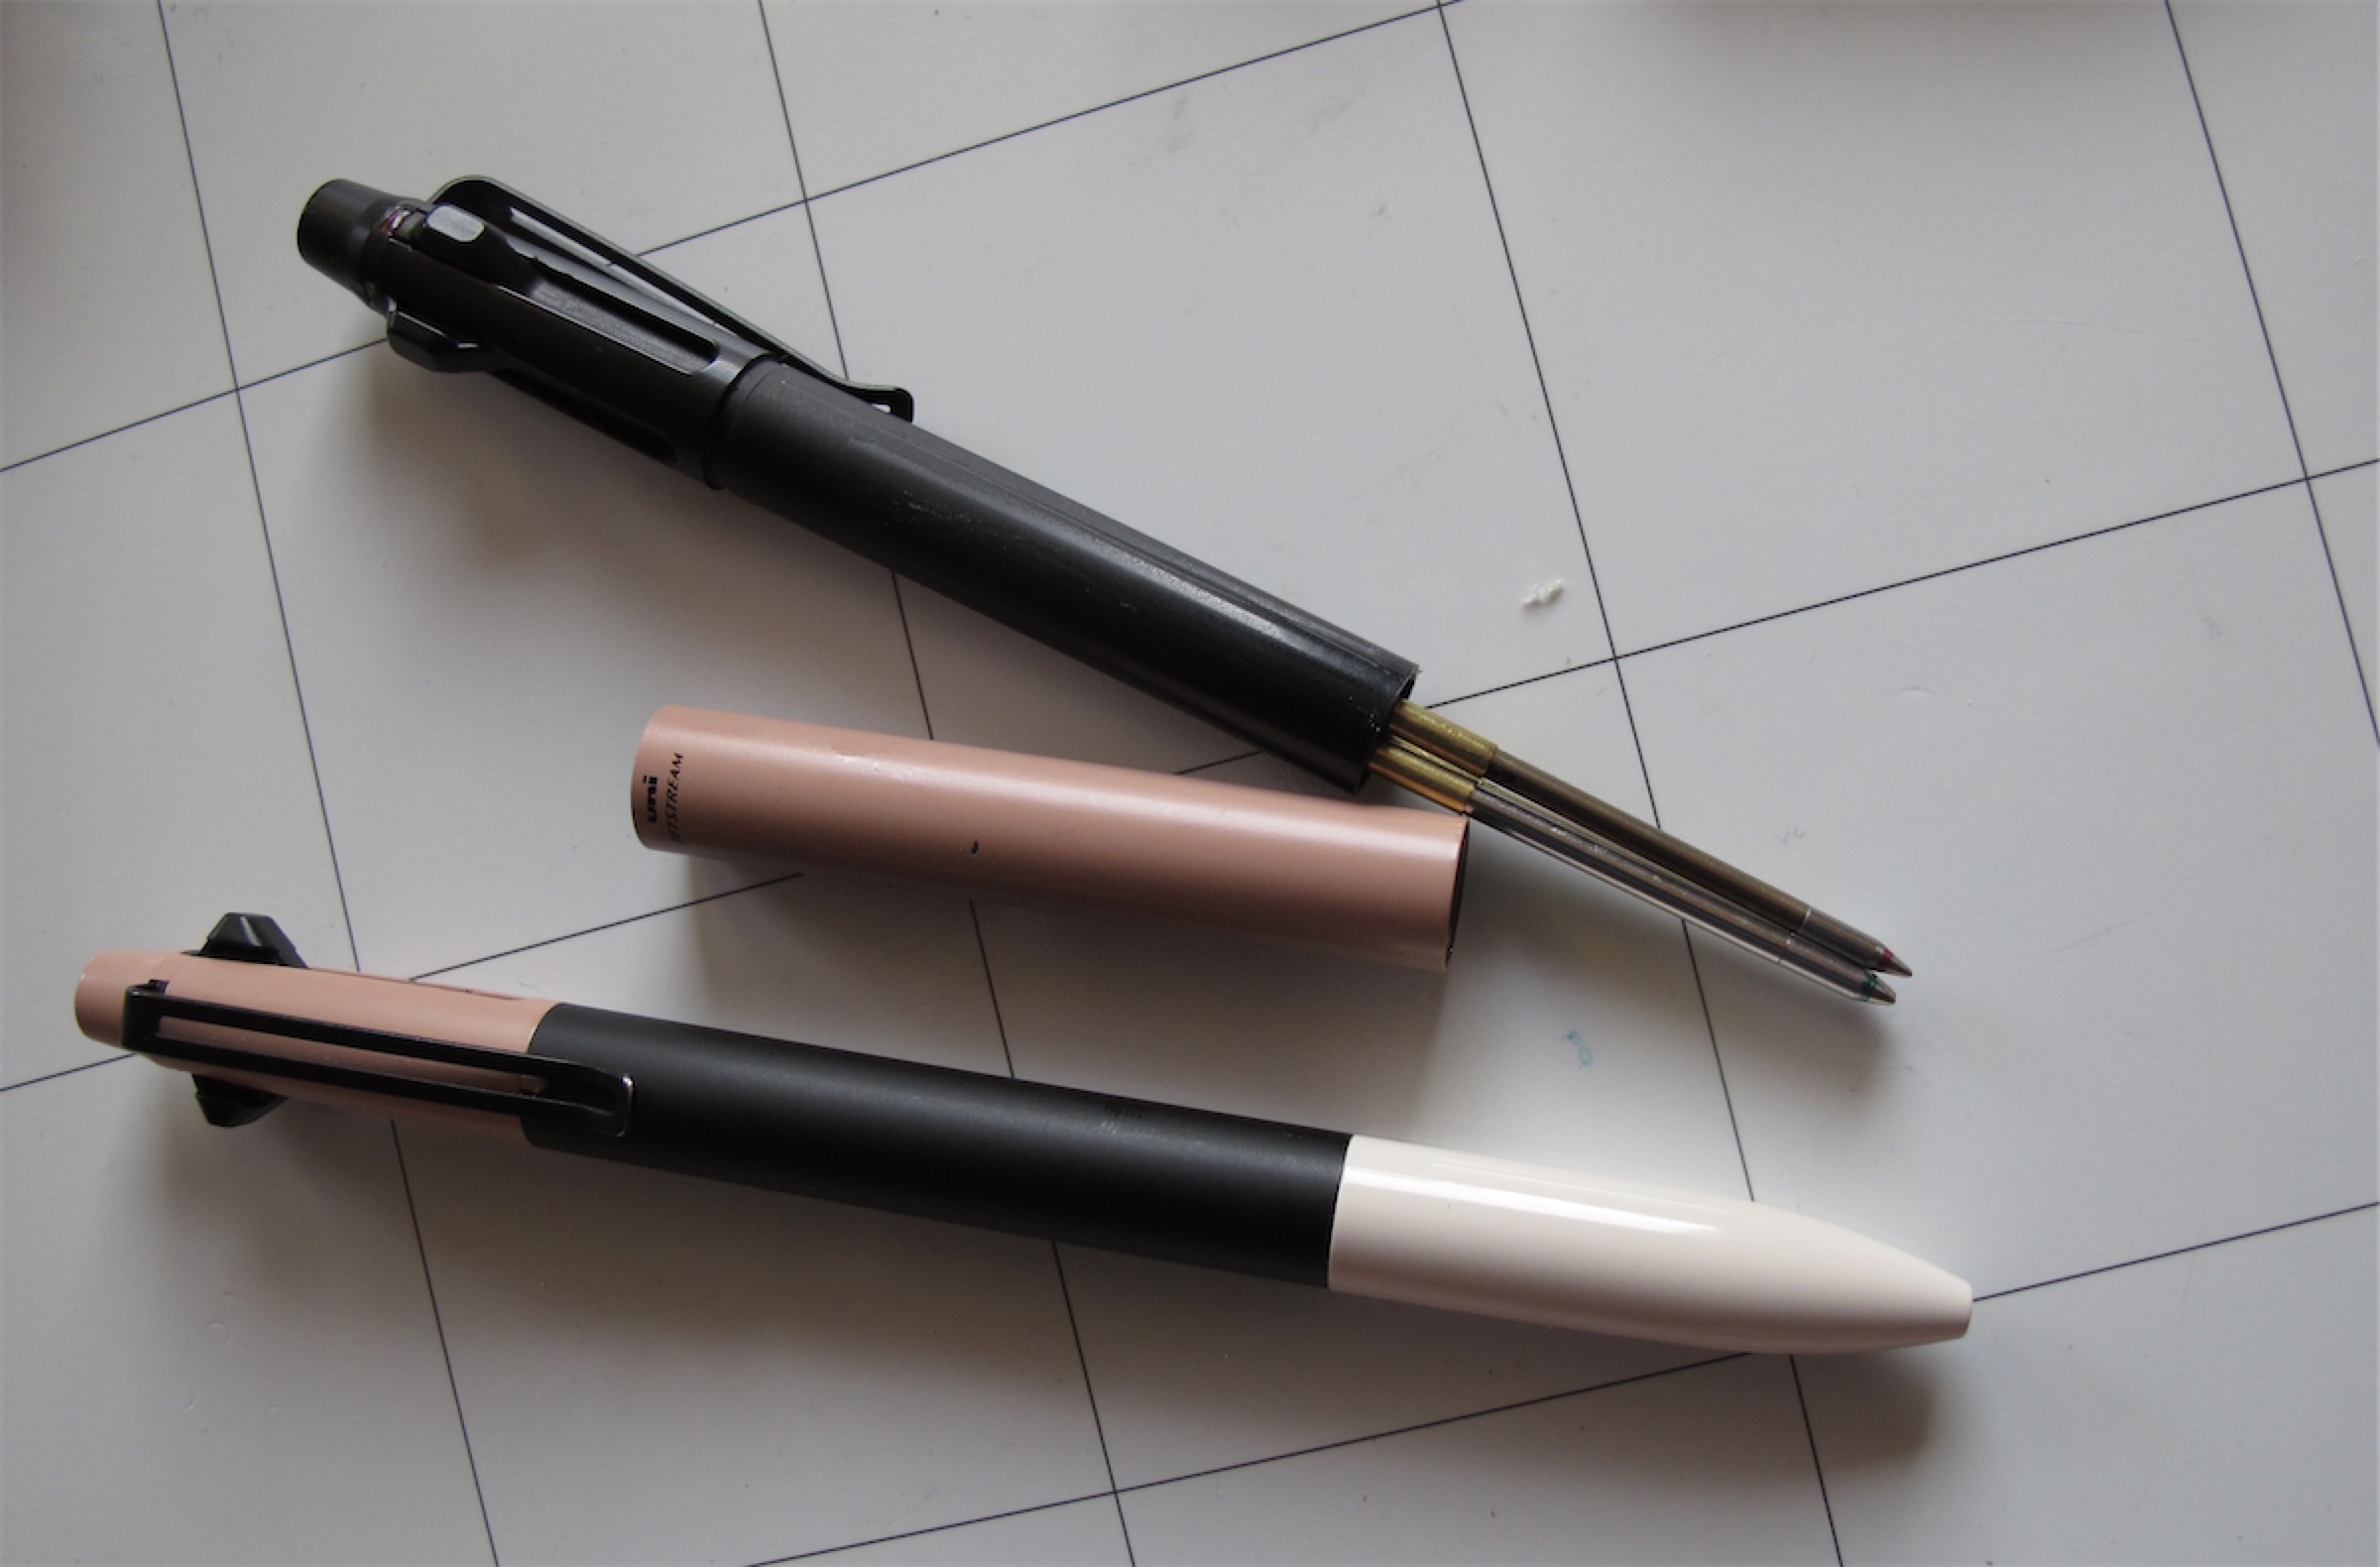
- a Jetstream Prime 2&1 multipen
- a Pilot Coleto eraser unit (LHKRF-28E)
- an empty D1 refill
The tools I used:
- Step 3: fine tweezers, implements to lift the holder (I used an ifixit opening tool) and push it from below (a D1 refill works but is a bit too short to be comfortable, I used some 2 mm brass rod). (Edit: unnecessary with improved method)
- Step 4: light hammer, center punch, a way to hold the refill (I used a lathe chuck but a vise also works), wirecutters, ruler.
- Step 5: file, sandpaper (I used 1000 grit)
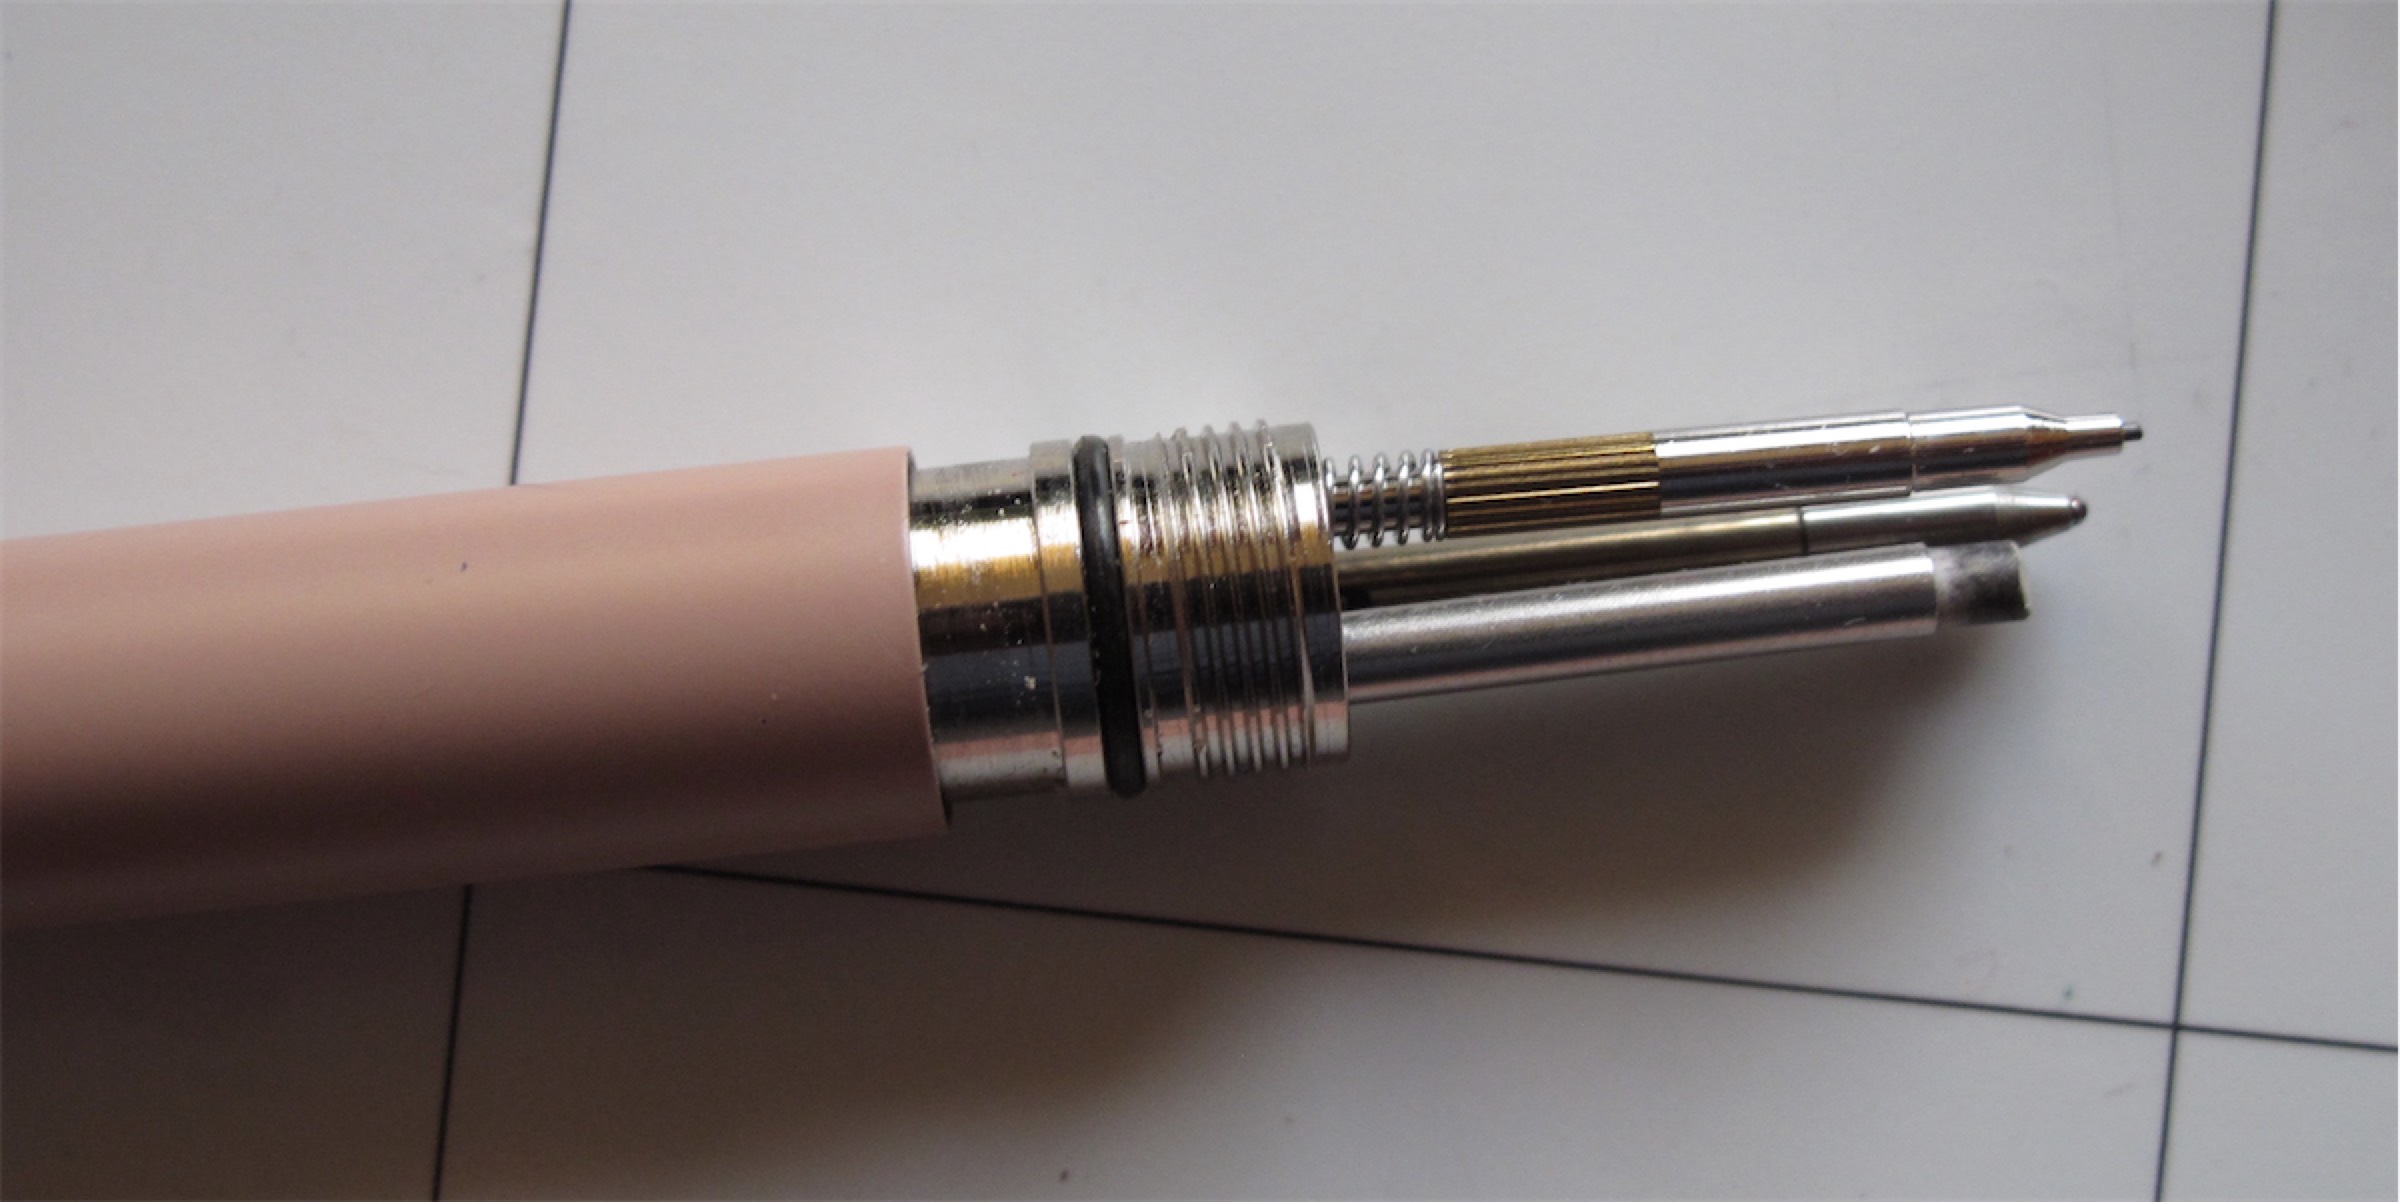
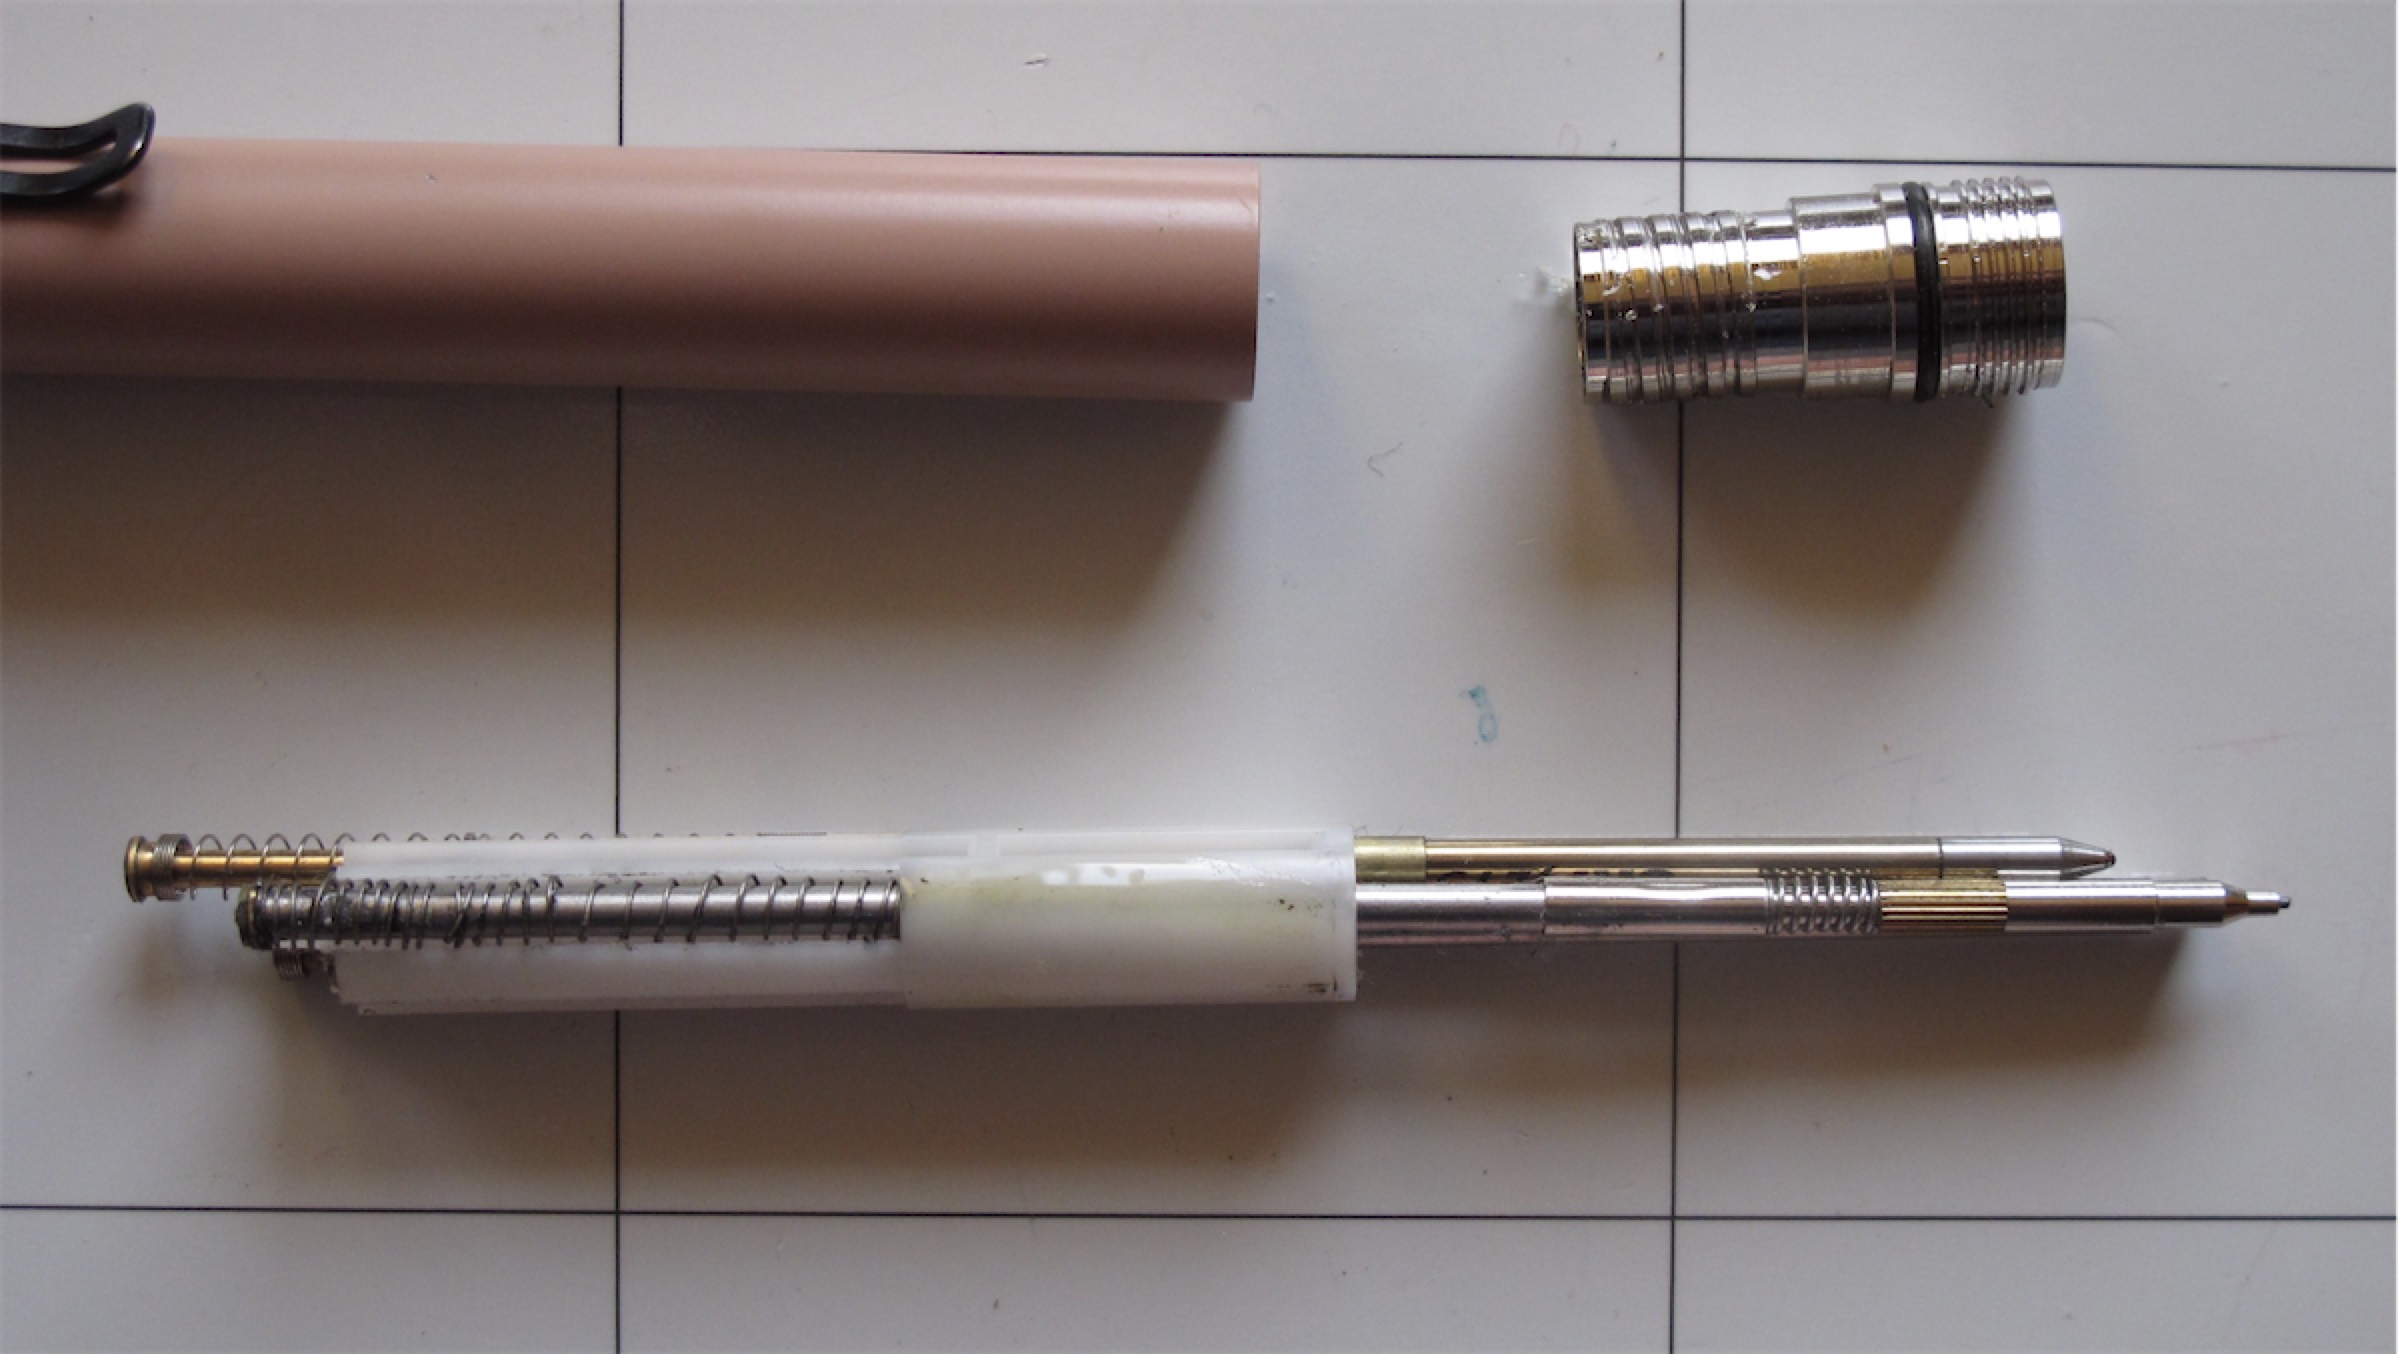
Disassembly
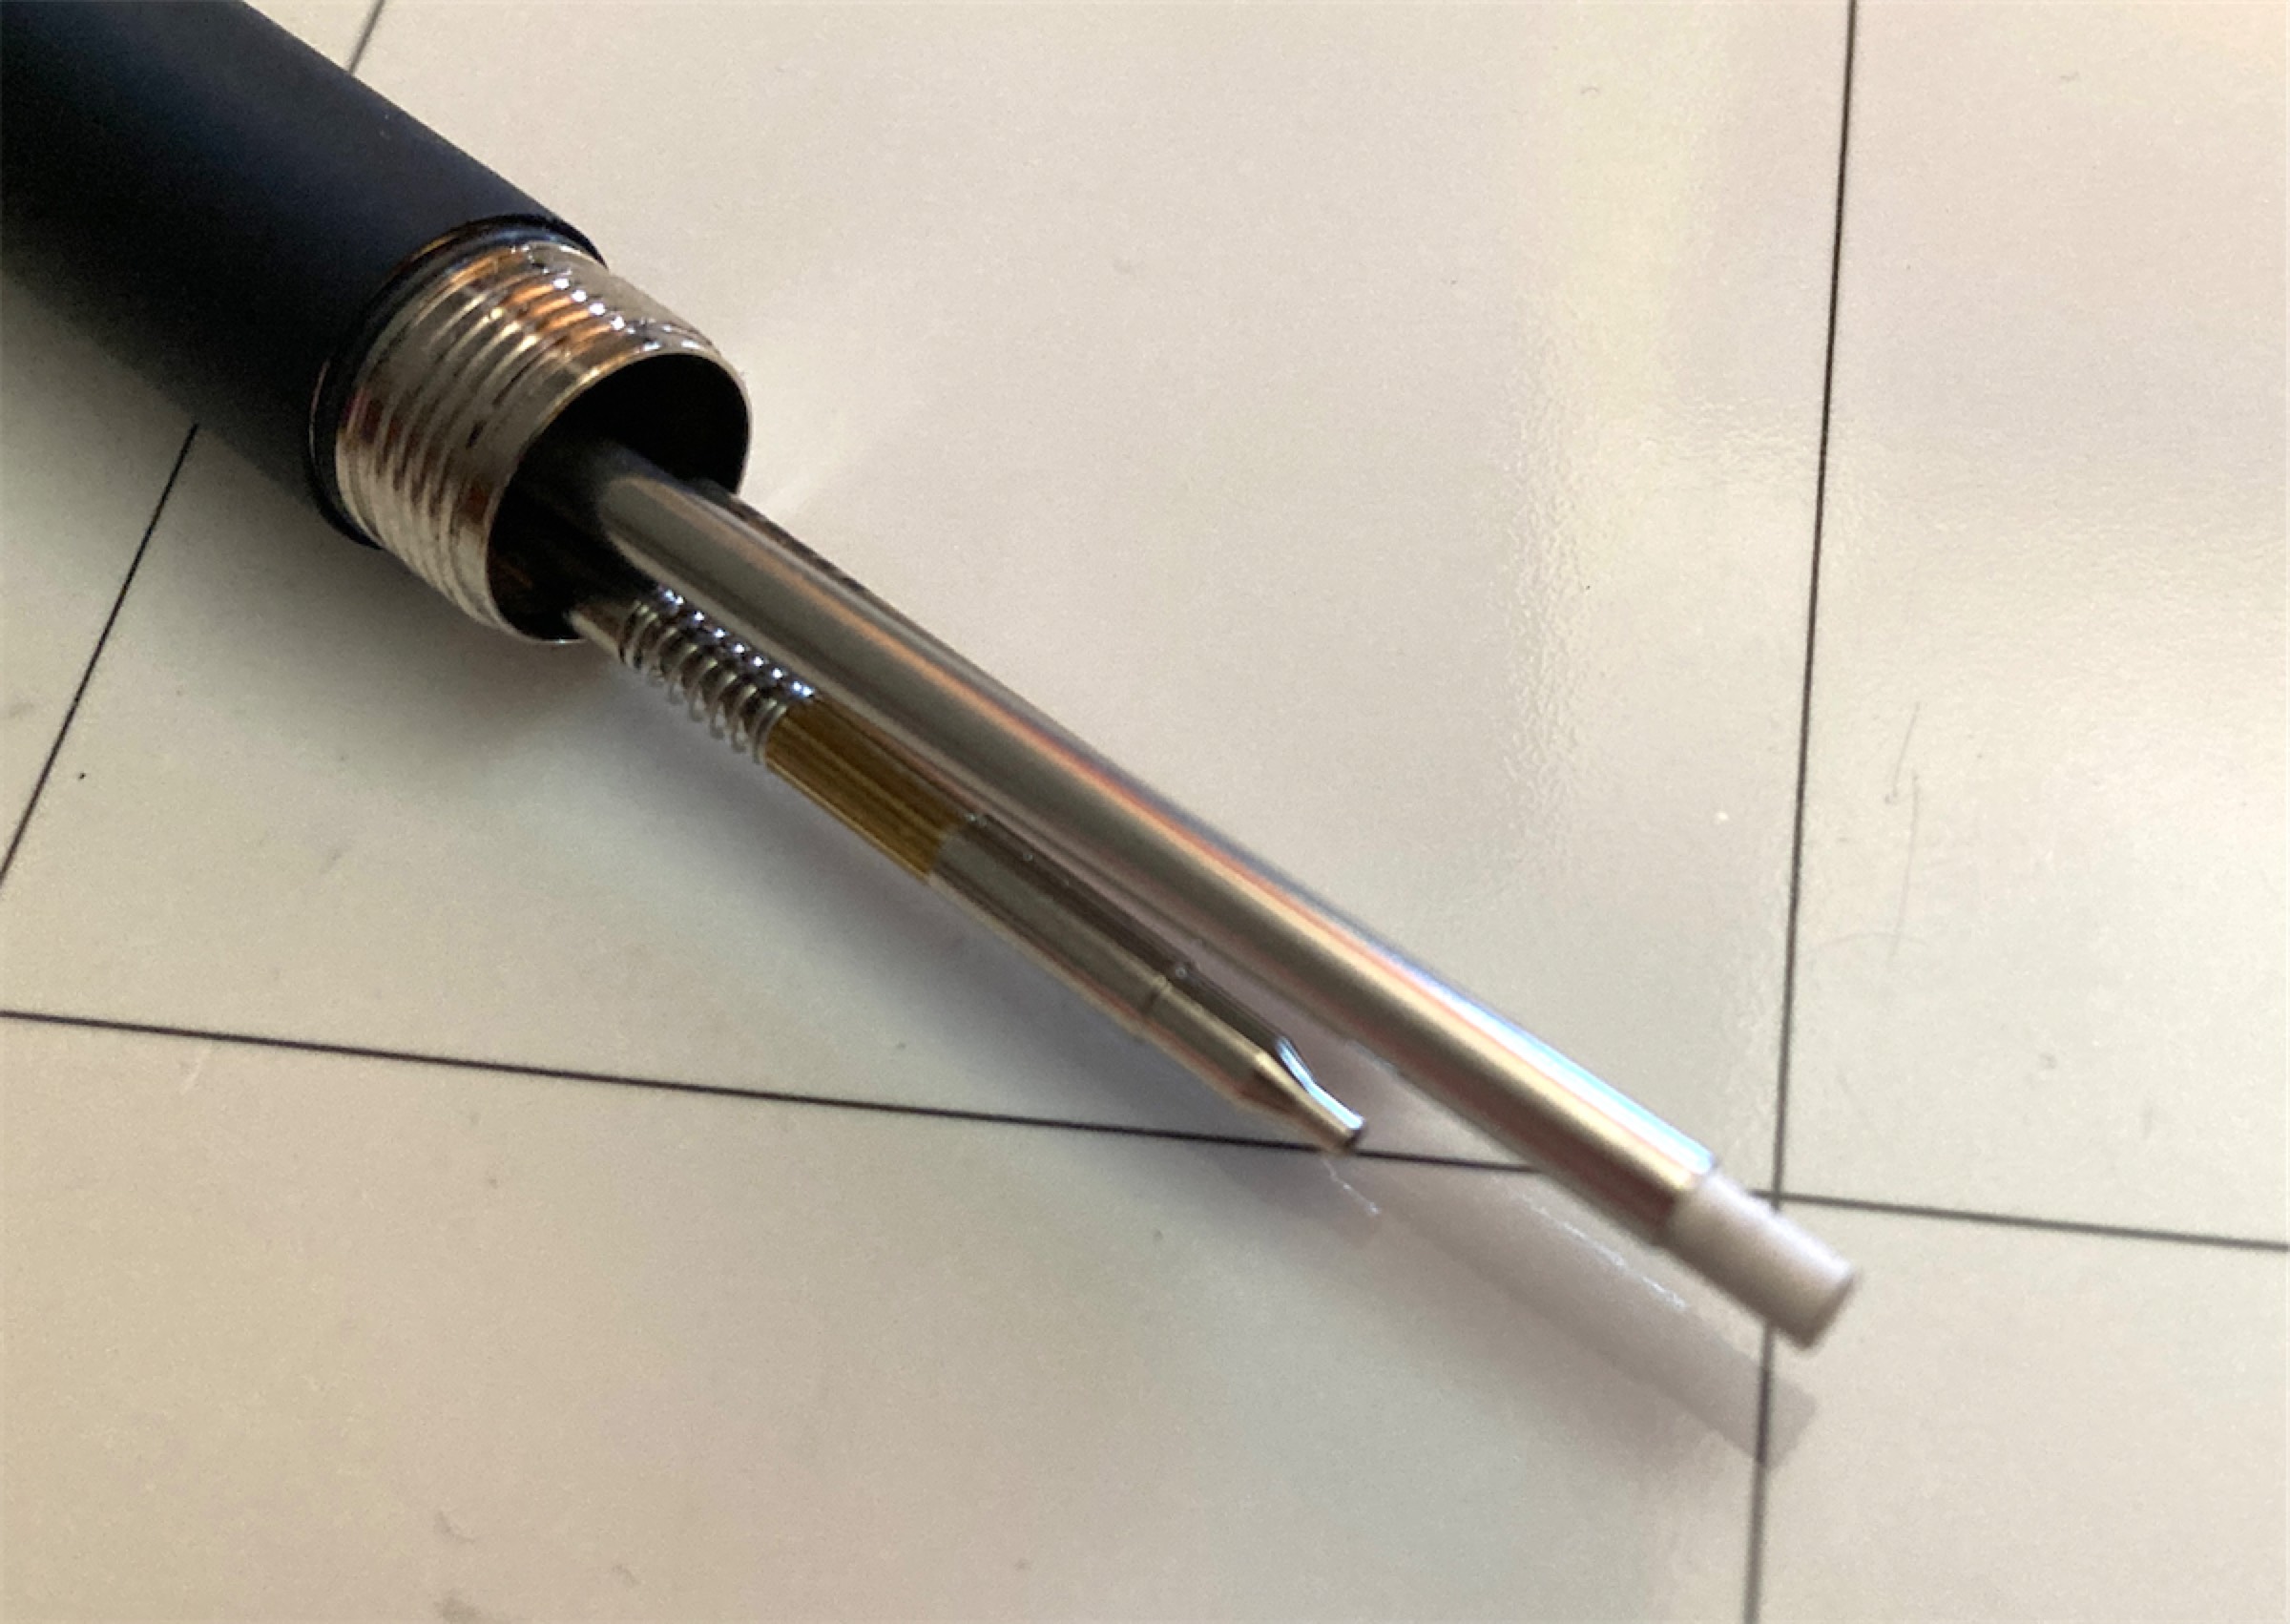
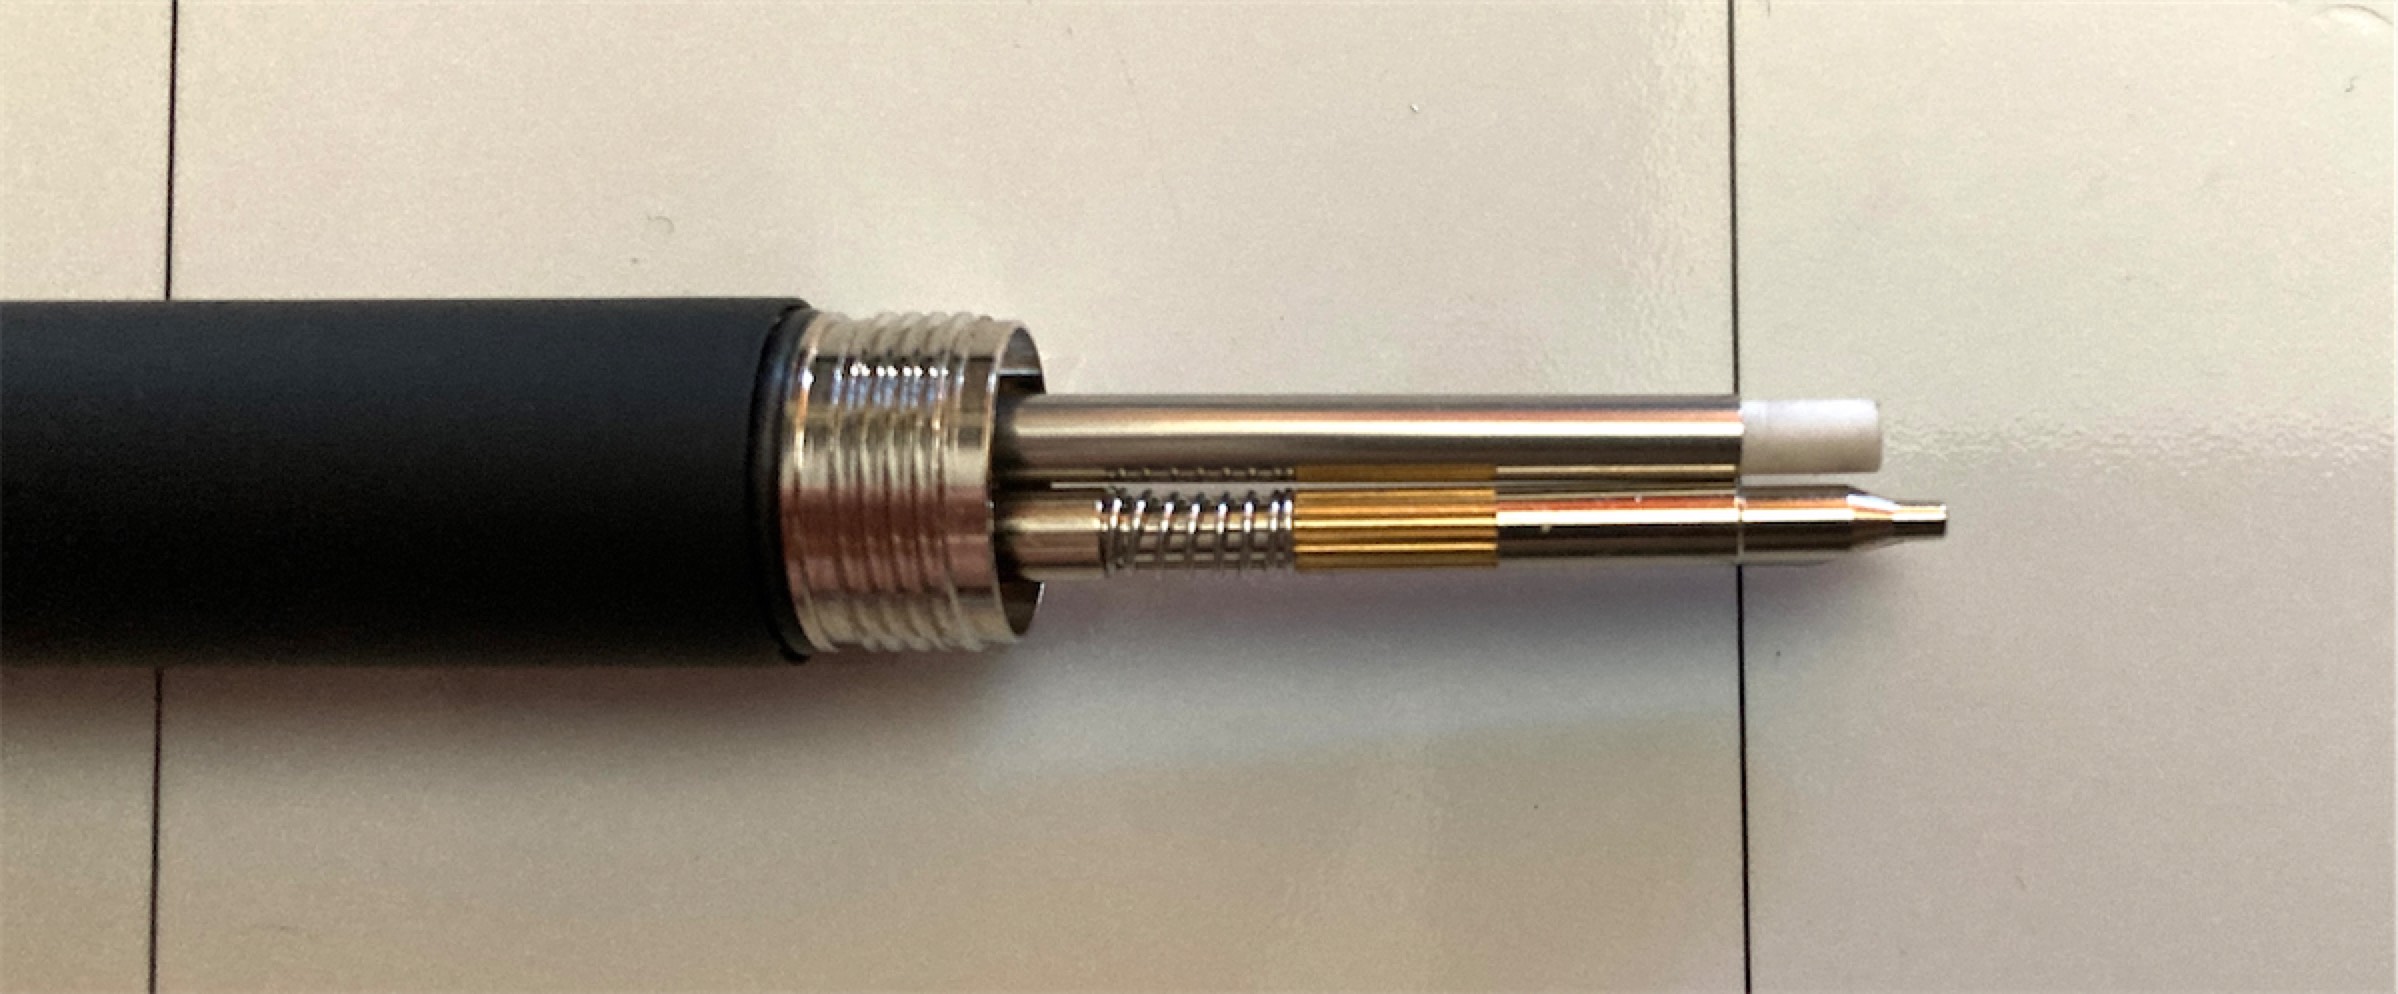
Step 1
Unscrew the grip, remove the refills, the pencil mechanism and empty the leads.
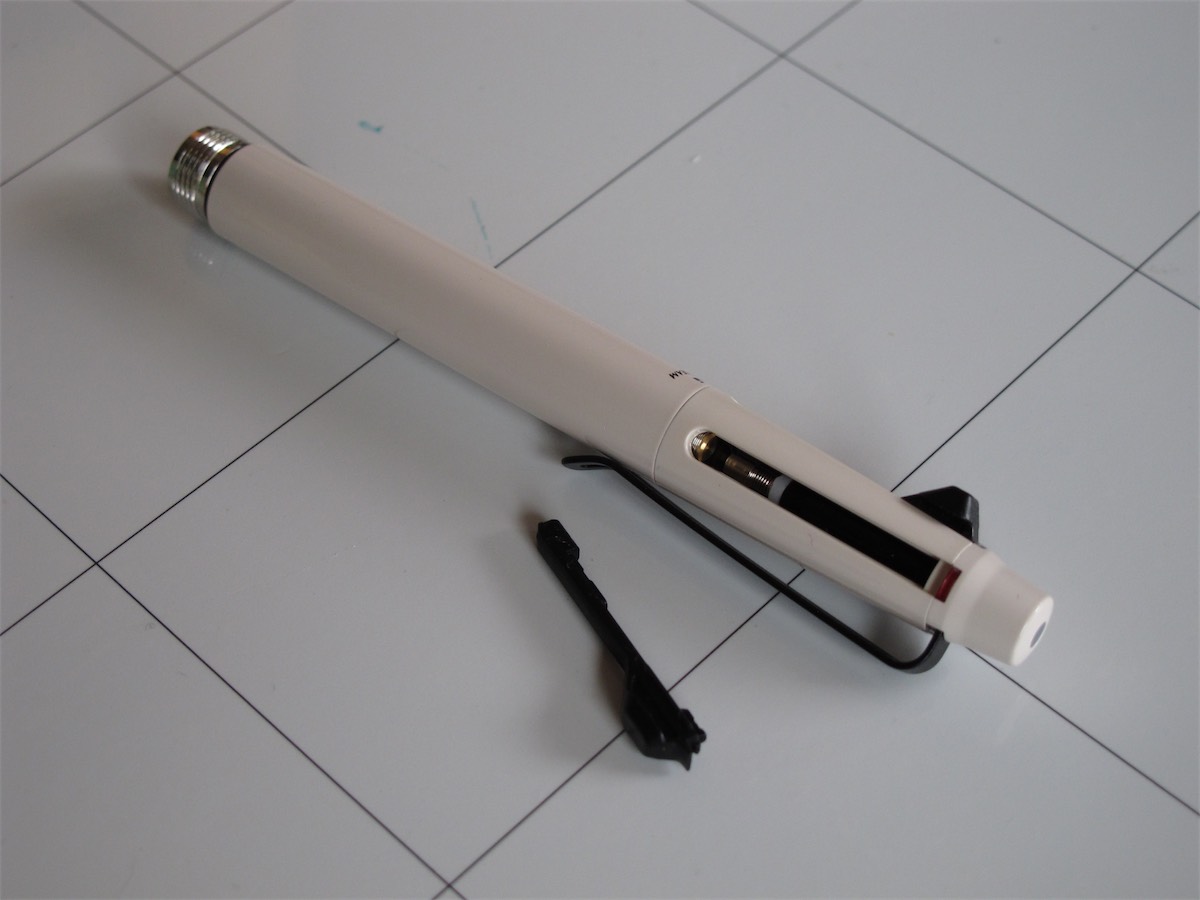
Step 2
Remove the tab on the red side (just grab it and pull out, then slide upwards to extract). Red for erasing is fine with me but obviously you can choose the black side. I don’t know of a way to change the colour indicator ring without damaging the pen but it can be painted over if you wish.
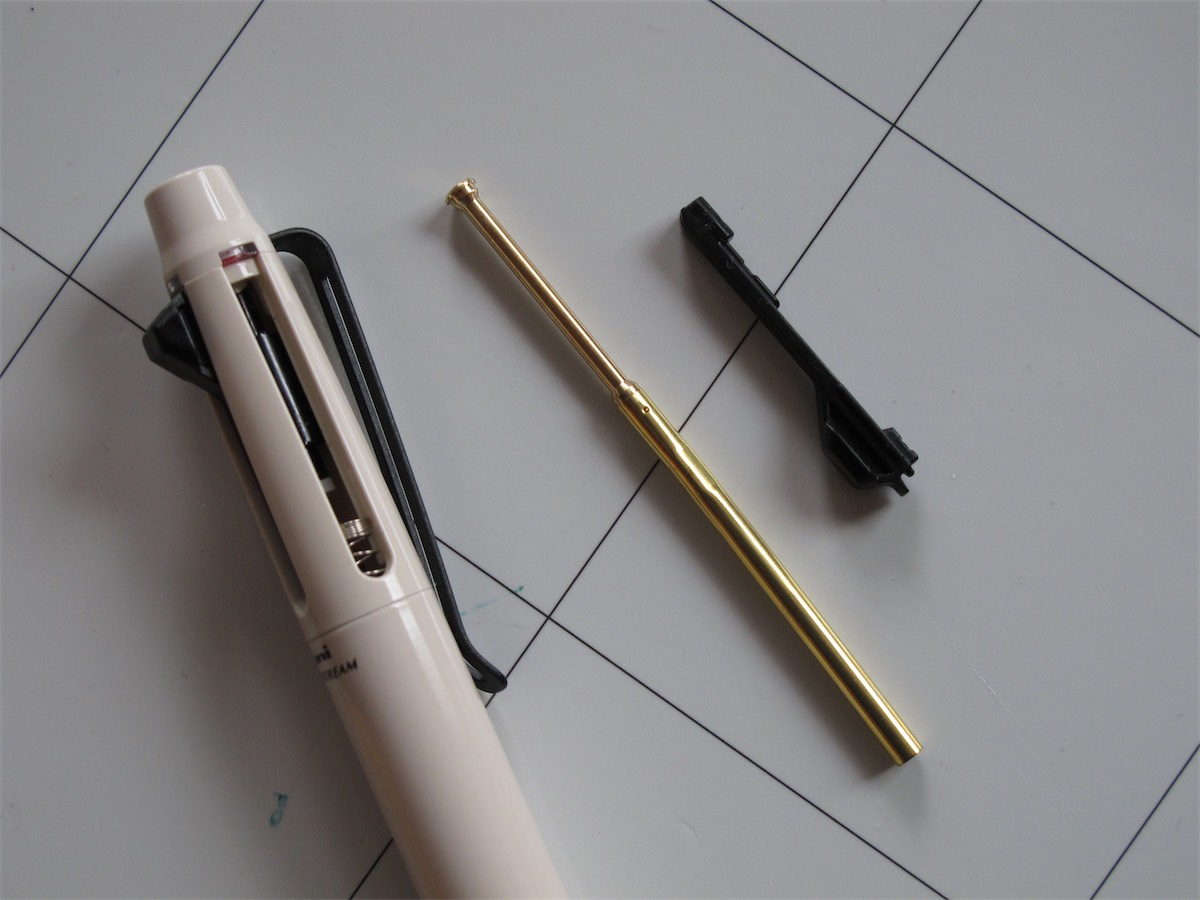
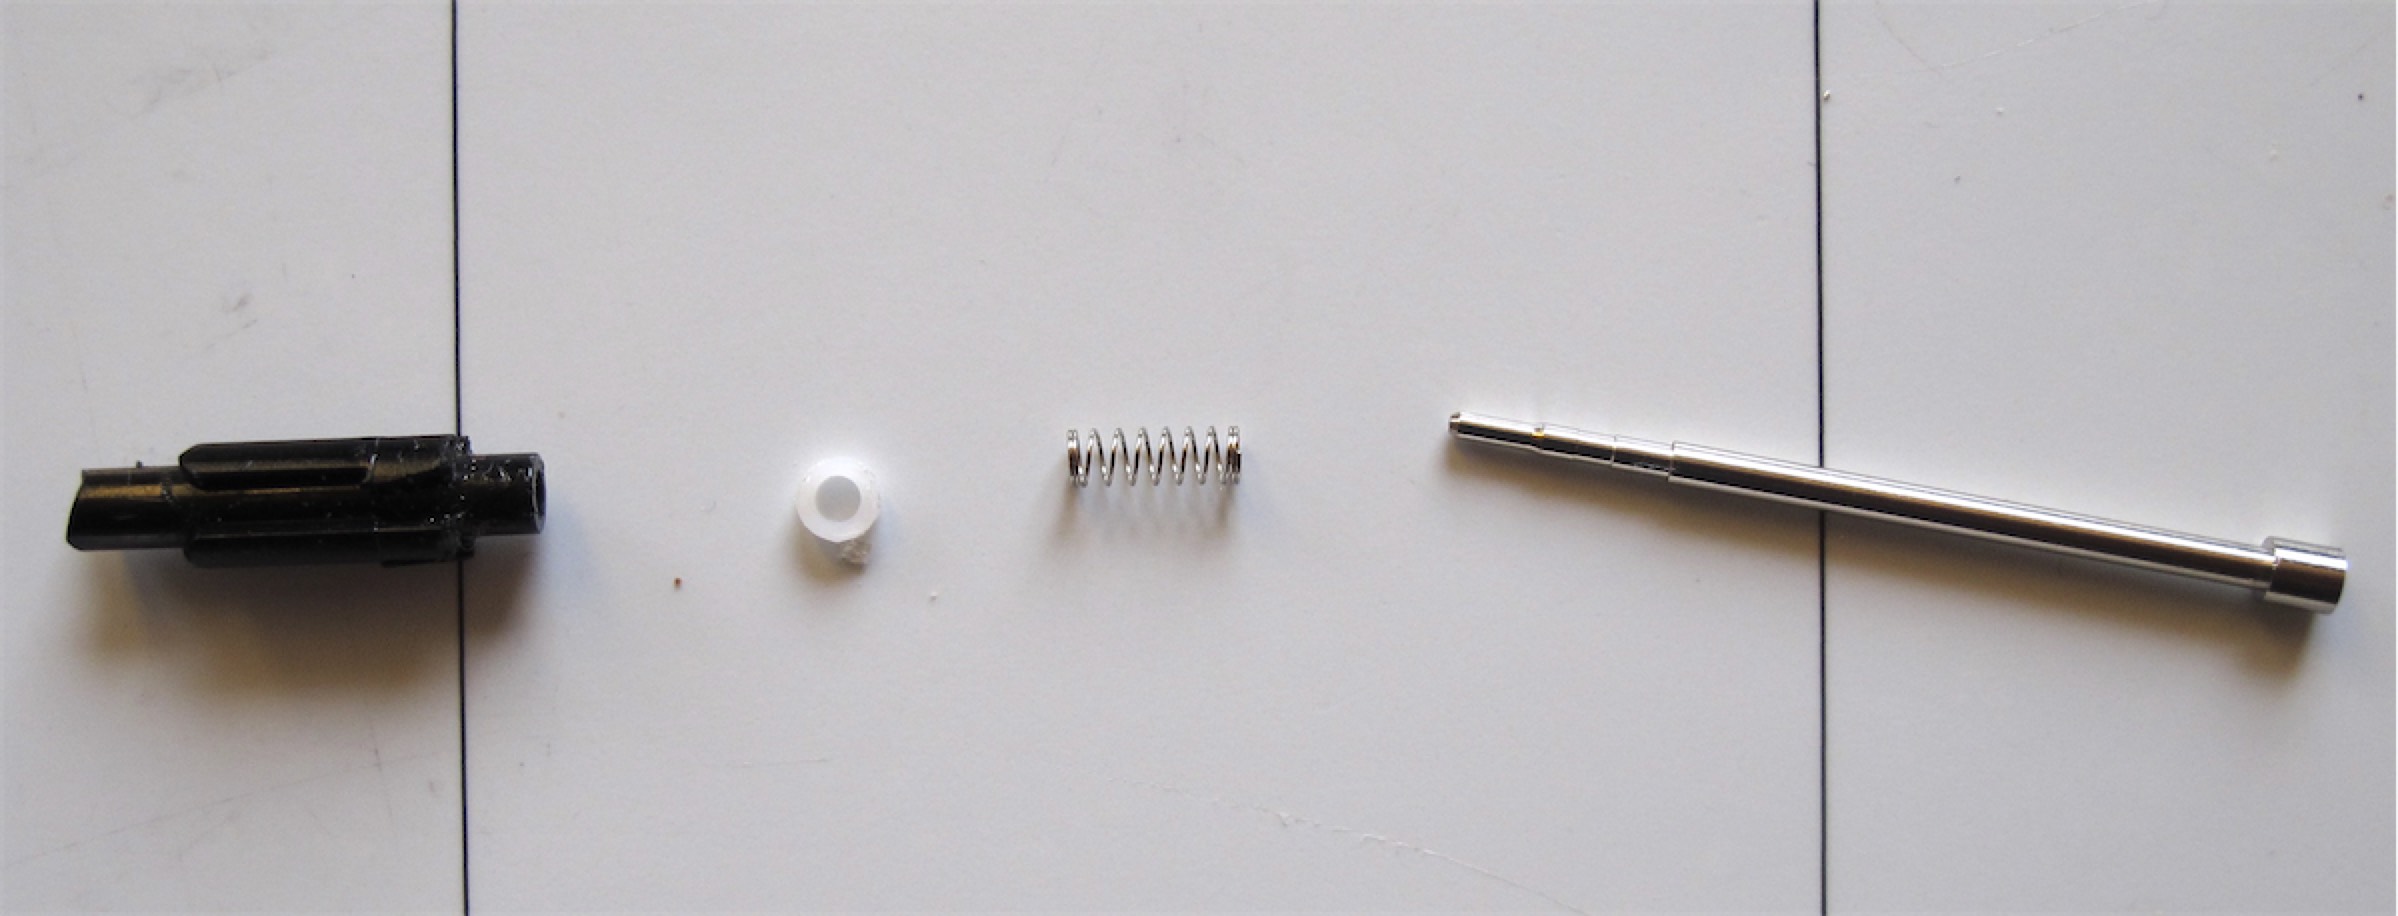
Step 3
Remove the brass D1 holder, this is probably the most difficult step. Leave the spring in place. You can push and wiggle from the bottom with a stick and pull from the top with tweezers. It may help to lower or remove the neighbouring tab in order to access the holder from the side and lift it. The first time will take some effort, the holder will appear to be blocked at some spots, just persevere and it will eventually be free. The upper body is plastic and can easily be scratched so use plastic tools in this area when possible.
Preparing the parts
Step 4
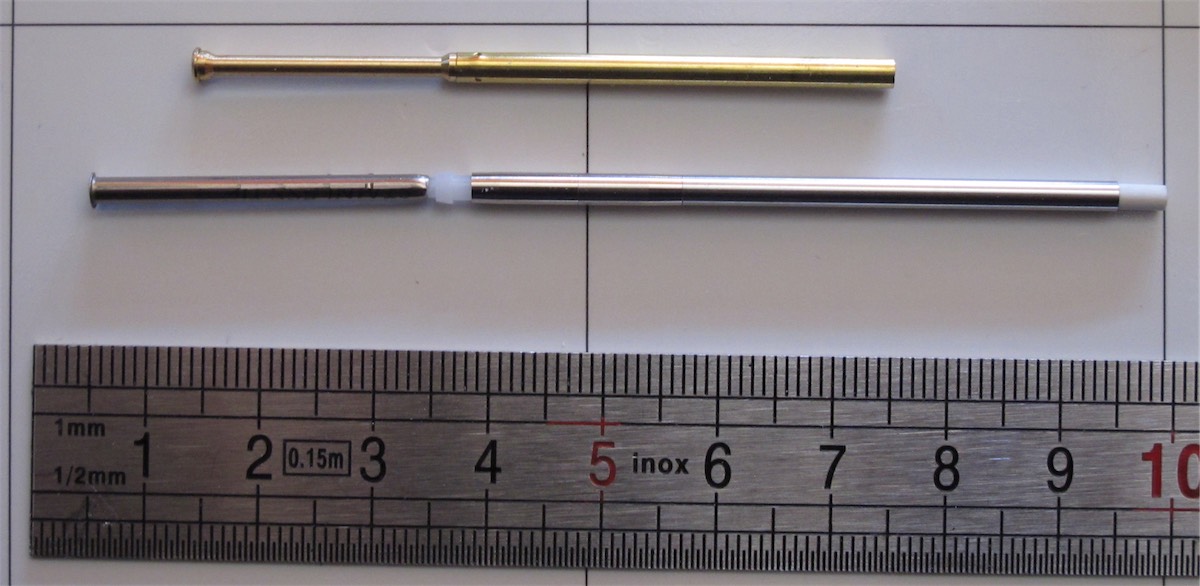
Make sure the D1 refill is empty or things could get messy. Flare the end of the empty refill to a diameter of about 3.5 mm. You can use the end of the brass holder you removed as a reference. Cut it to a length of 29 mm.
Detach the Coleto eraser mechanism from its plastic tube and check that it fits in the narrow end of your newly created part. It should attach and detach with some resistance. It mustn’t feel loose when inserted. Crimp or widen the D1 as needed.
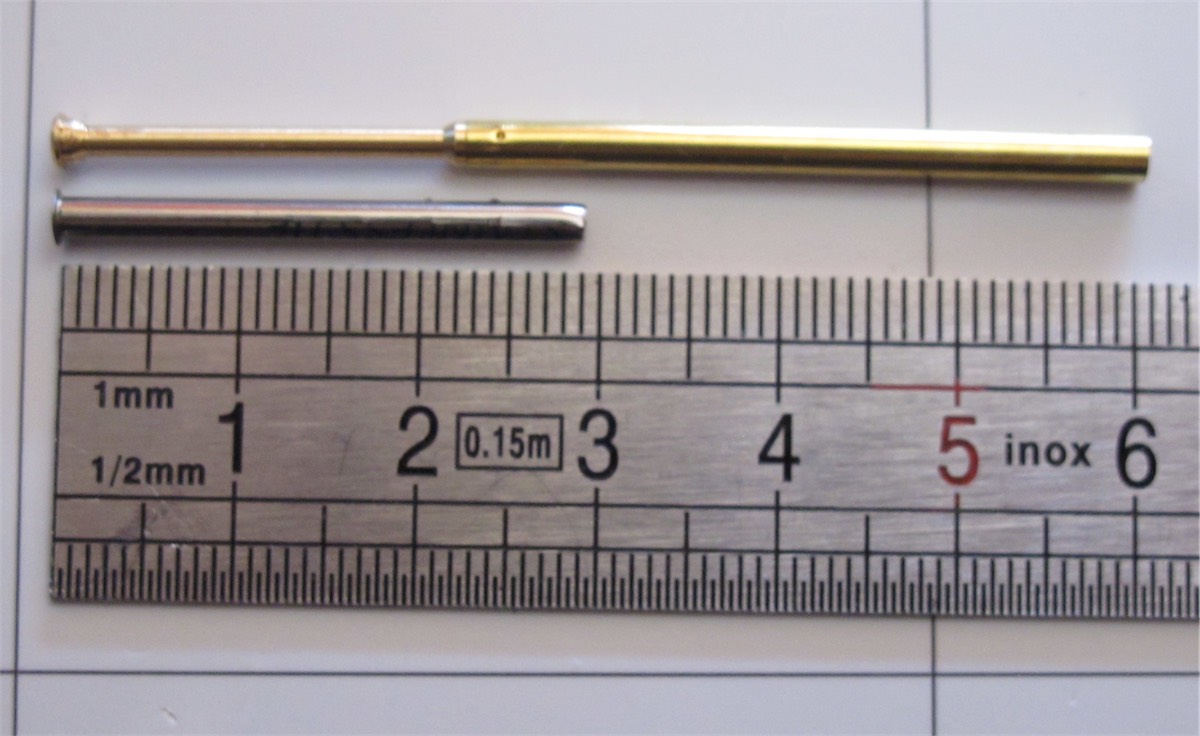
Step 5
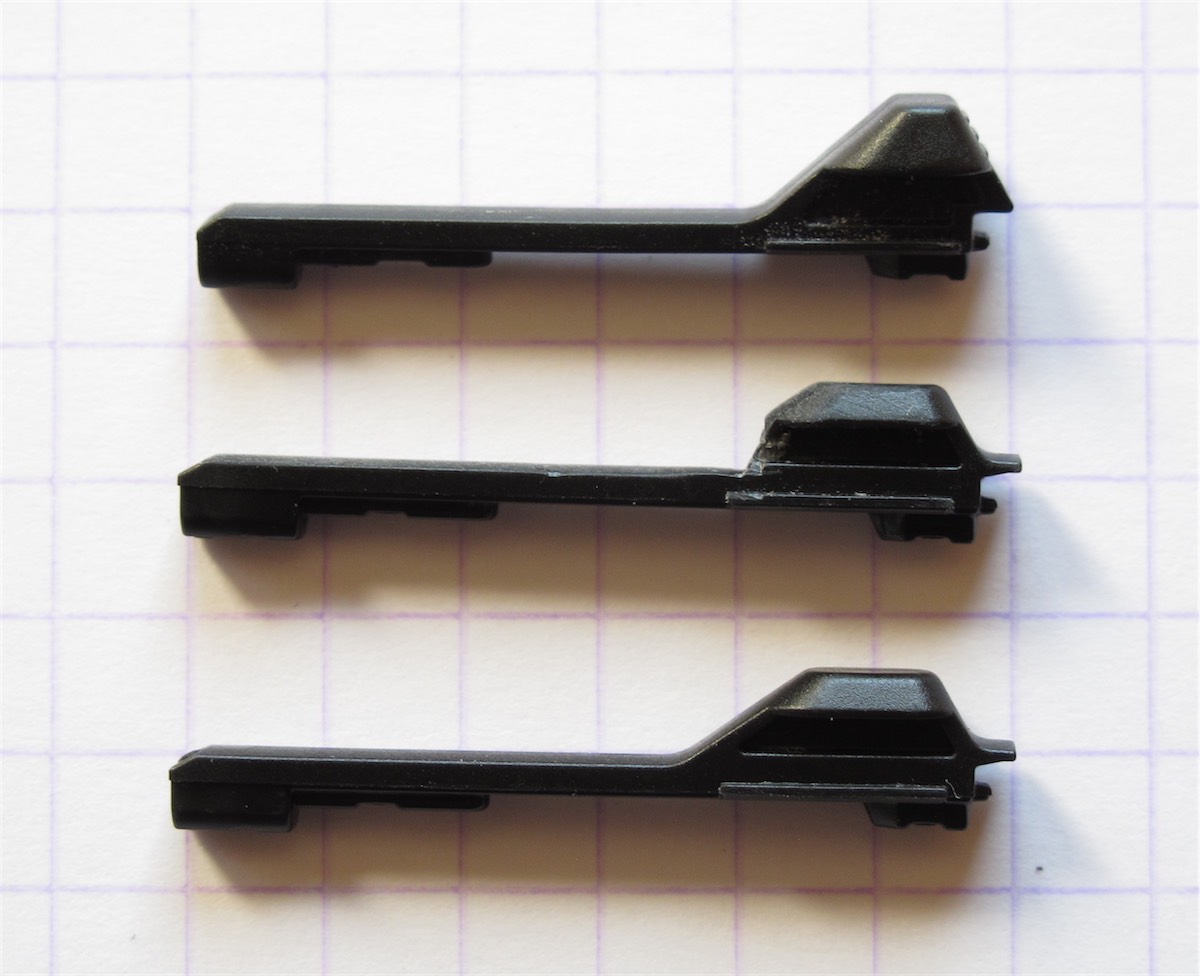
File the tab that you removed so that it can plunge deeper to allow knocking.
Top: pencil tab, middle: modified pen tab, bottom: original pen tab.
(Edit: not shown in the picture, you should also file the plunger end to shorten it by about 0.5 mm, using the pencil tab as a reference.)
Light sanding with 1000 grit paper more or less restores the aspect of the original tab (close enough for my lazy taste at least).
Reassembly
Step 6
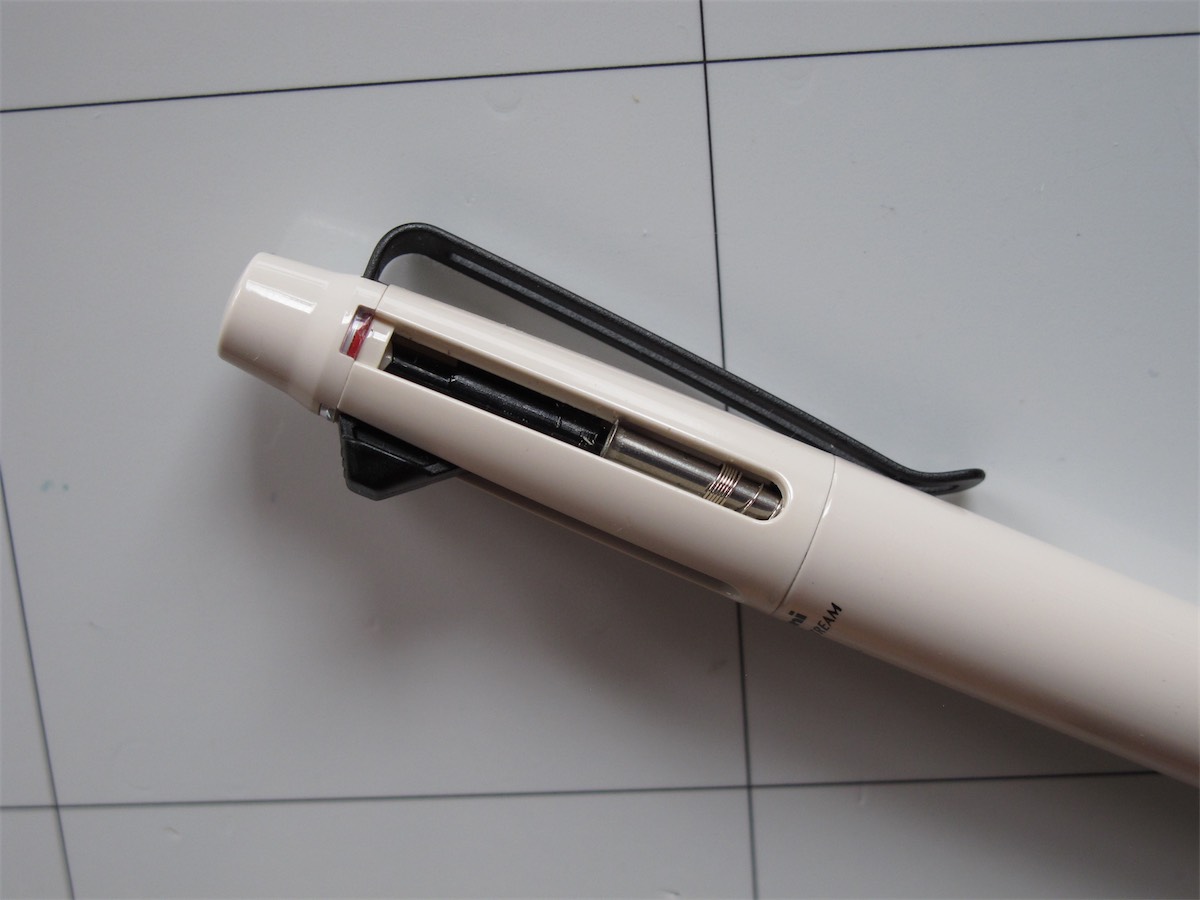
Insert your D1-based holder.
Push it all the way to the bottom of the opening, then put back the modified tab (insert the plunger part first then push the rest inwards until it clicks).
Insert the eraser unit in its new holder. It may help to remove the eraser from the mechanism at this step so you don’t have to worry about the fragile eraser guide protruding. The holder sits deep and it’s supposed to be tight so it might take a few trials. Luckily, you only have to do it once.
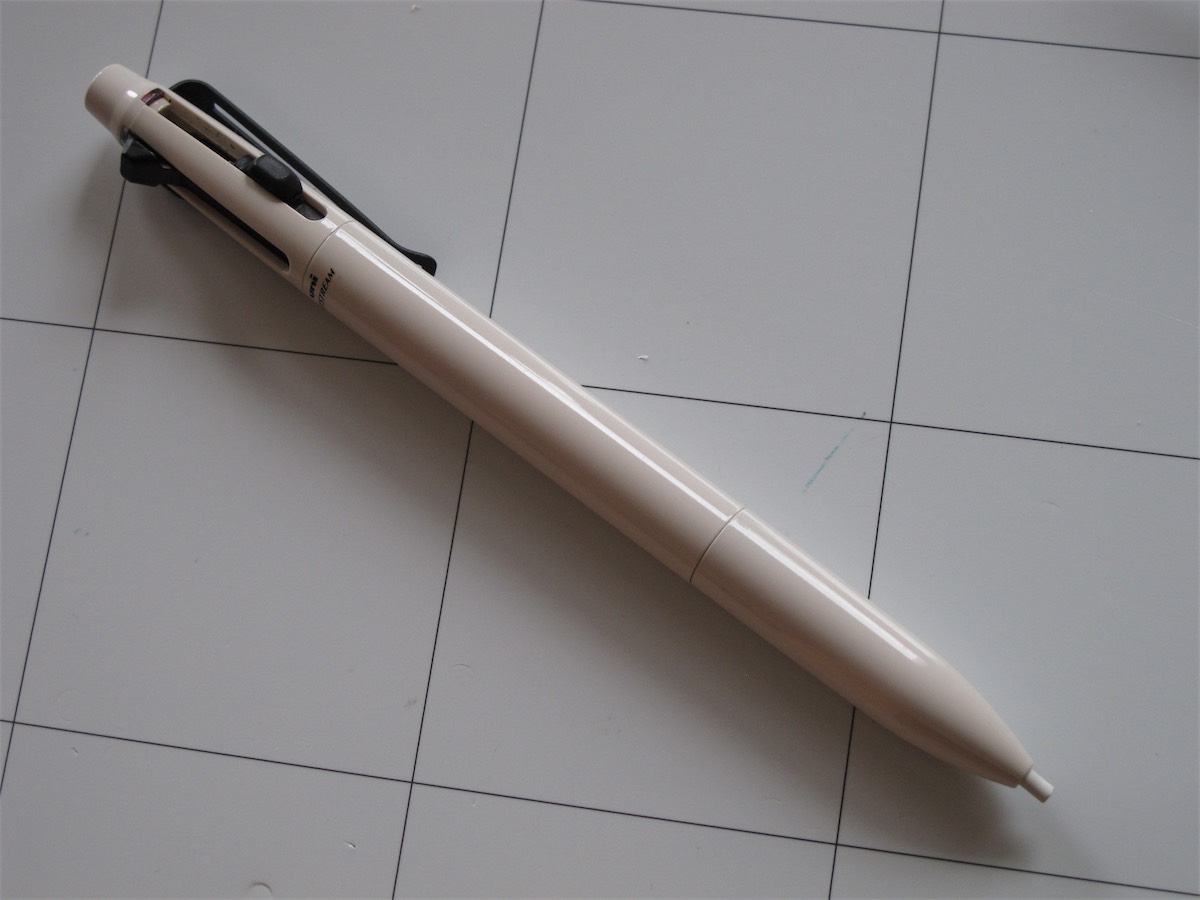
Step 7
Reassemble the other parts and enjoy the lightness of not having to carry a separate eraser.