Faber-Castell TK-Matic troubleshooting

I got this rather cheap from Vinted, 17 euros shipped. When it arrived it did not work. A full click pushed about 1,5 mm of lead but when I tried writing it slid back inside at the slightest pressure. Auto advance did not work. I put one of those rubber gaskets between the cone and the rest of the mechanism, no result.

Than I ran a cleaning rod a few times trough the cone and the cylinder thing behind it. No obvious debris. When I put it back together the lead no longer slides. Now it works like a normal pencil, albeit with a mushy click which dispenses too much lead, 1,5 mm as above.

Auto lead advance still not working. Any ideas how can I get it going?

4 Likes

I would suggest checking if this part is in the right position. It is possible to reassemble the pencil with this part upside down. I did that once…

5 Likes

From the pics, this looks like one of the later tk models where they have replaced both the metal in the nose piece and the clutch with plastic.

My guess:

The nose piece has a build of lead dust and other stuff in it that prevents its from functioning properly. In the first pic it seems like the white cone is not flush? Are you able to get it flush? It definitely should be!

Or if 1. doesn’t apply

the 2 inner jaws, from the clutch assembly have gotten dull/clogged/?etc maybe the mechanism itself is gummed up

My honest recommendation would be to clean both parts in an ultrasonic cleaner (water and soap) I had dozens of matics and was always able to get them working again with this. also it’s quite safe.

You could theoretically disassemble the clutch and clean it manually. The nose pice is fixed and cannot be disassembled

7 Likes

At least on my example it can be installed only in one position, as in the picture. The other way around it does not fit.

Yes, the plastic piece in the cone was not flush with the brass. I pushed it in, still wont work.
I’ll have to look for someone with an ultrasonic cleaner in my city. Thanks for the detailed explanation.

Did you make any progress? I’m interested in the outcome since I have a similar problem.

Not yet, been very busy. I’ll post here any updates.

1 Like

I’ve made it work. Short story: WD-40 and patience.

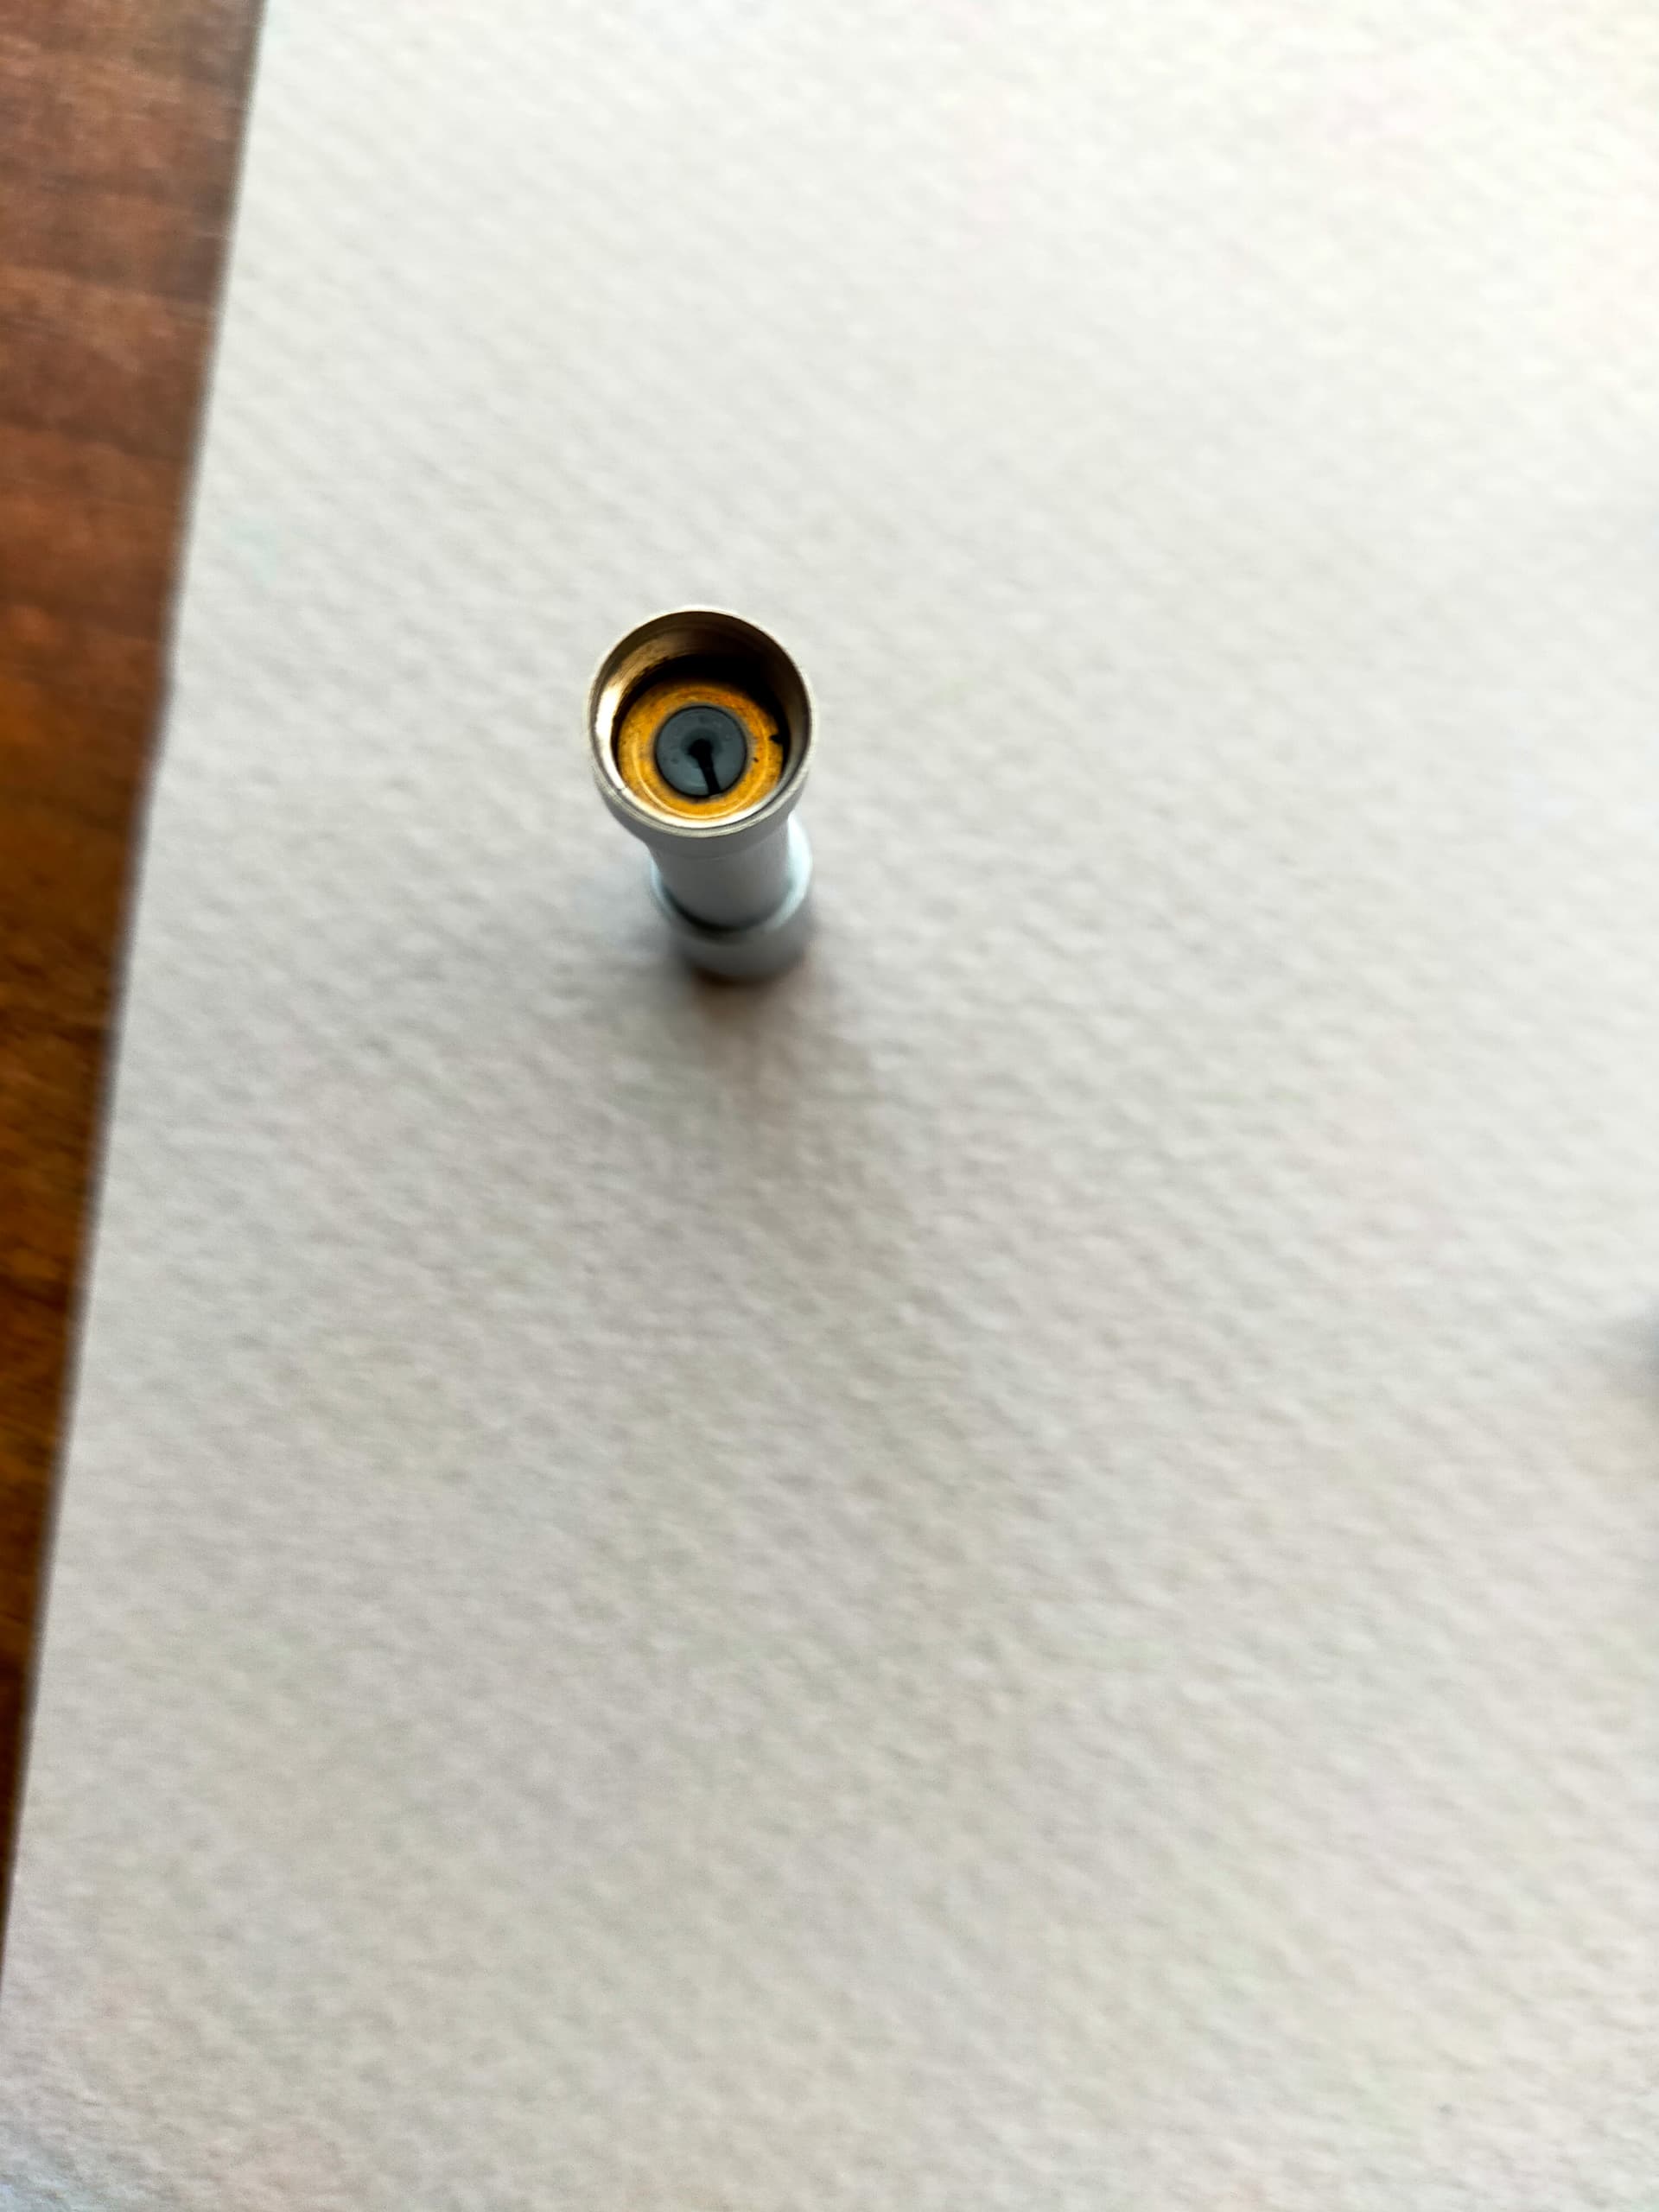
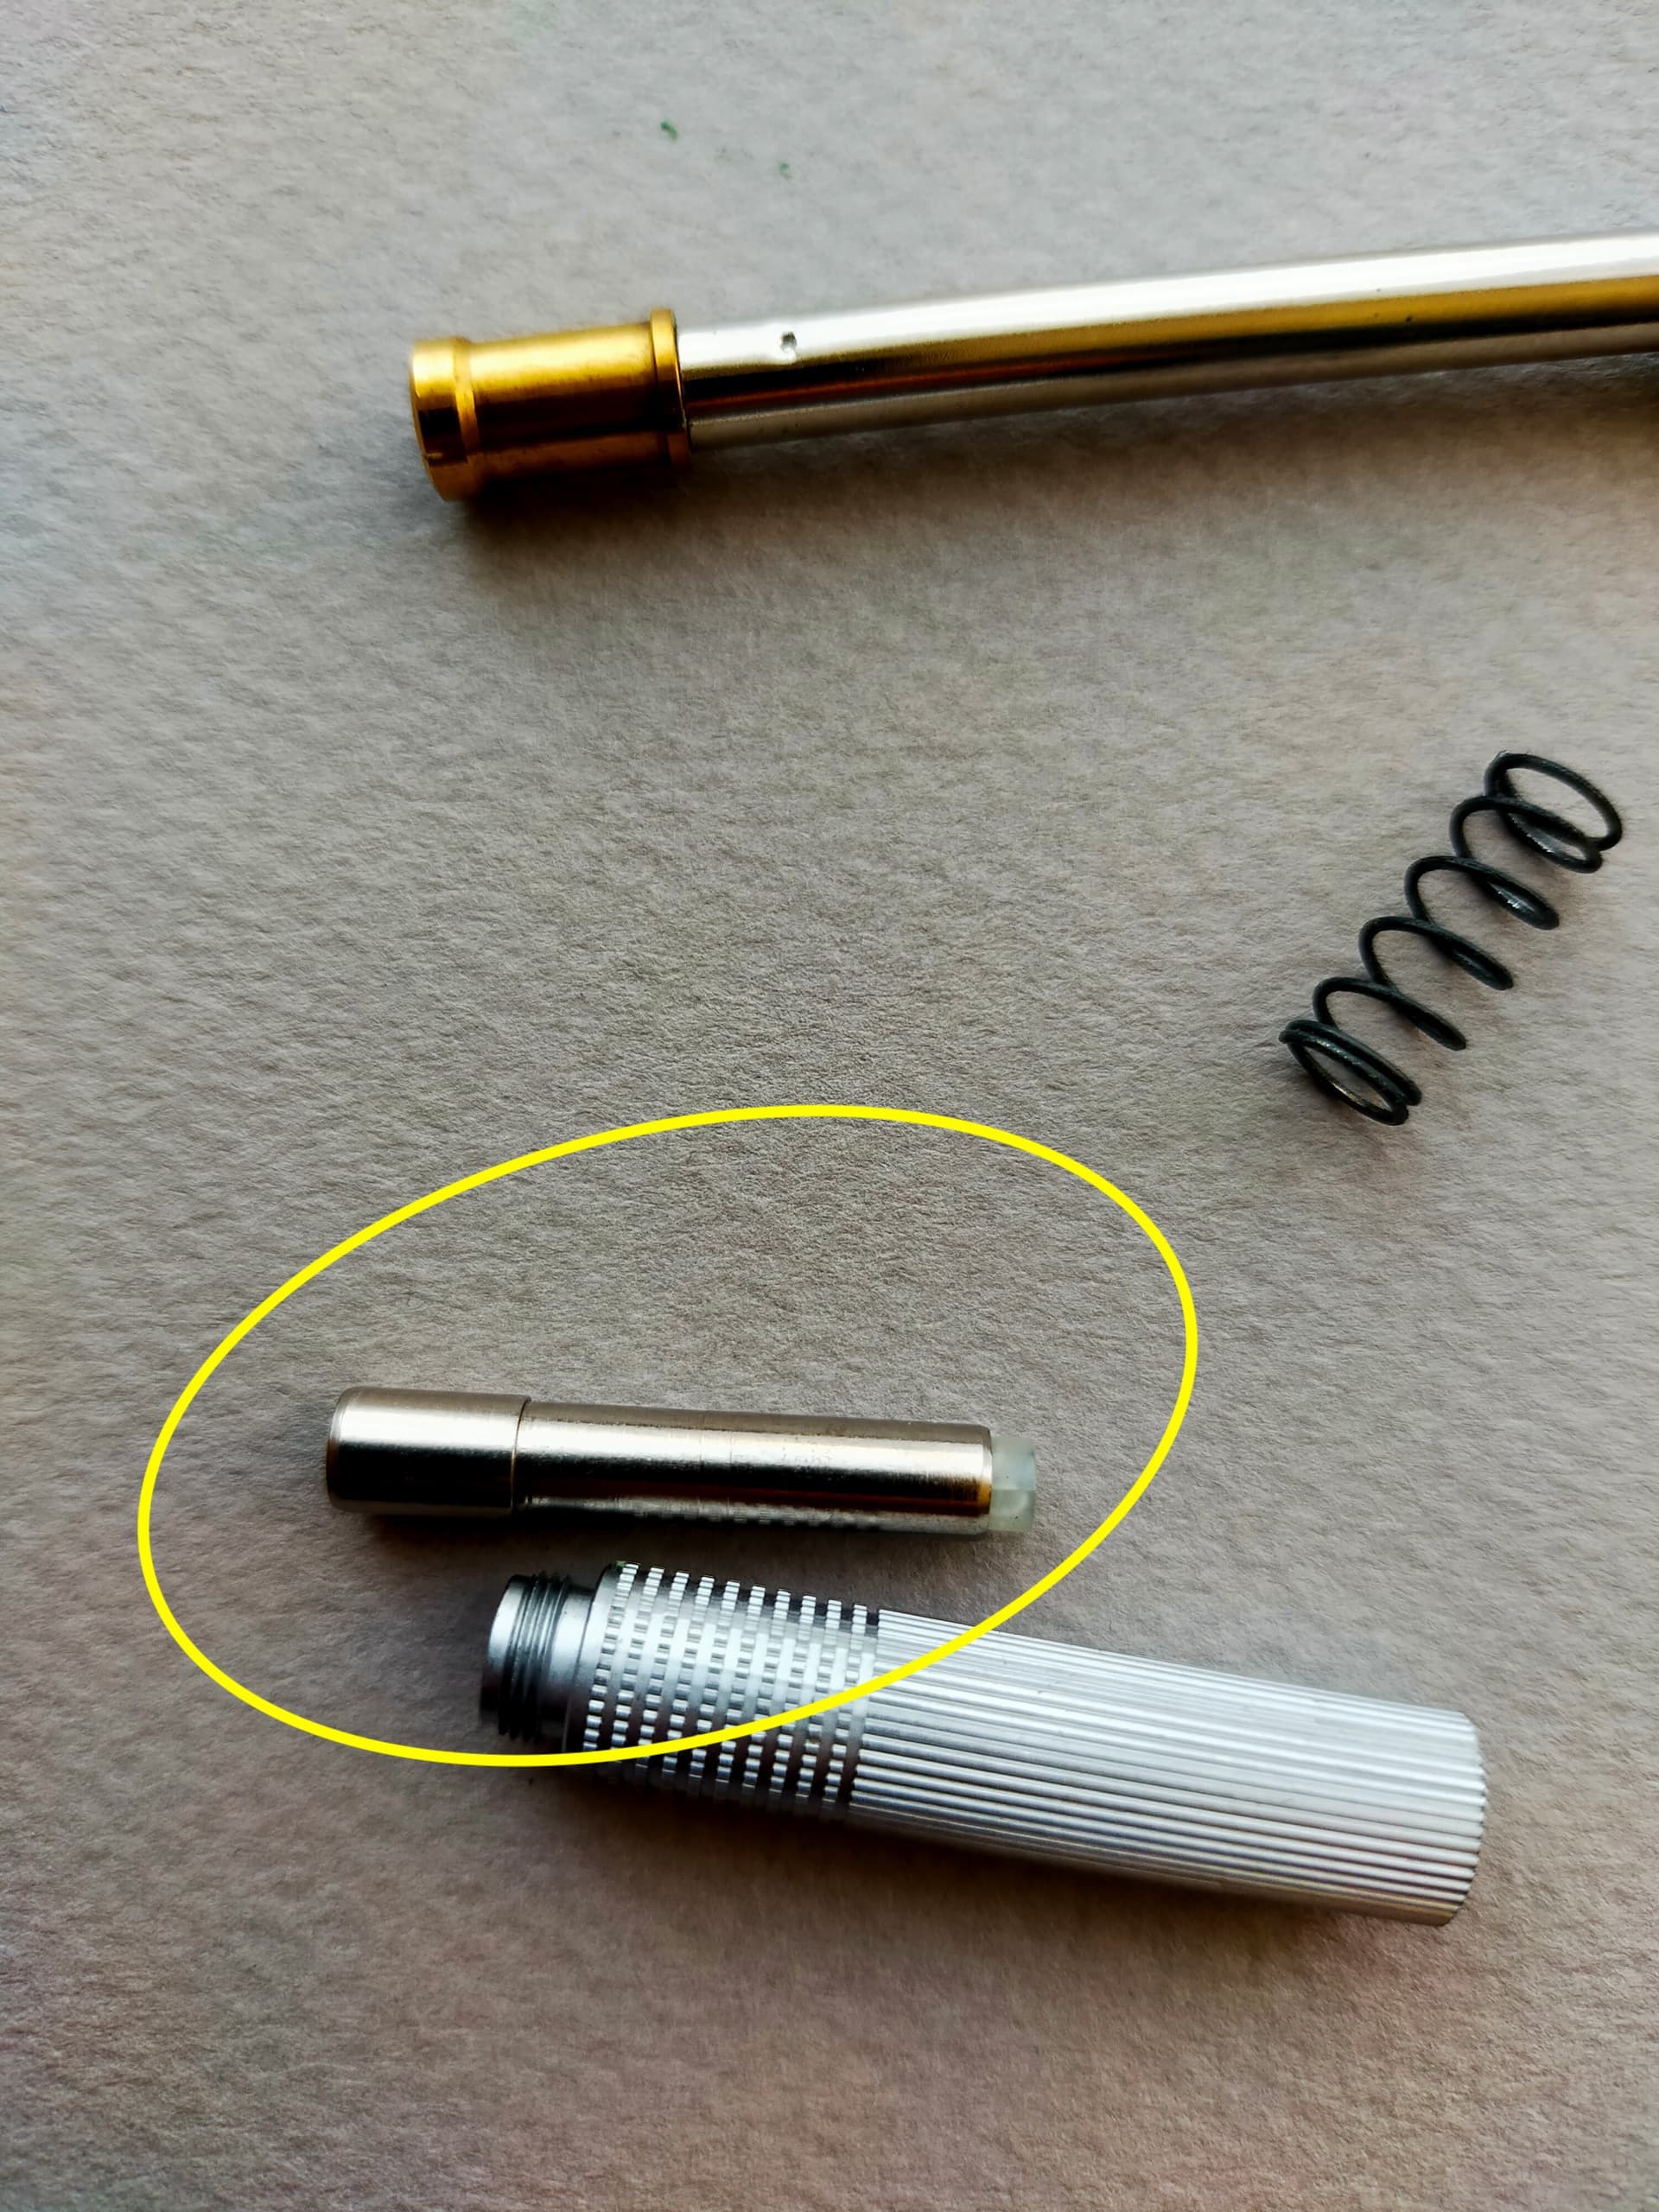
Long story: after my last post in this thread I picked up another TK Matic on Vinted for 19 euros shipped. It’s an earlier version with all metal internals. A lot more wear on it than the first one, plus the grip cannot be unscrewed, just the cone comes off, but it is functional, so I noticed that when it has no lead in it, the lead pipe retracts by about 1 mm if pushed with the finger, and rebounds fast, like if it had a spring inside. Same action with the cone removed shows that in its rear the circular piece in the middle moves together with the lead pipe, back and forth.

On the non working example I had to press it against the desk to retract maybe half a mm and it would not go back until I pressed the knock. So I took the cone off and sprayed WD-40 on it. The lead pipe could now be pushed easier, with the finger, but it did not rebound.

I let it sit for a few days and than began pushing again and it started to move. Ran a lead trough it a few times, both ways, and it came out with a little bit of textile fibers, blacked by graphite dust and oiled with WD-40.

The mechanism worked while empty, but I could still feel some friction. Assembled and with lead in it, during writing the lead pipe would slowly retract and stop feeding lead.

Put it aside again for a few days, took it apart sunday evening, fiddled with the lead pipe, pushed again a lead trough it by hand and got slightly more debris out. Now it works beautifully, no friction, feeds lead consistently and it is very smooth on paper, not scratchy or “ballpoint feel”. It is smoother than my lightly used Pilot S-30, and definitely smoother than the second TK-Matic I got.

Very happy with the result. All the debris I got out amounted, maybe, to a human hair thickness and a few mm long. Goes to show how sensitive (and precisely built) is the whole mechanism. I wouldn’t store it without lead inside, and certainly not keep it in a textile pouch or clothes pocket.

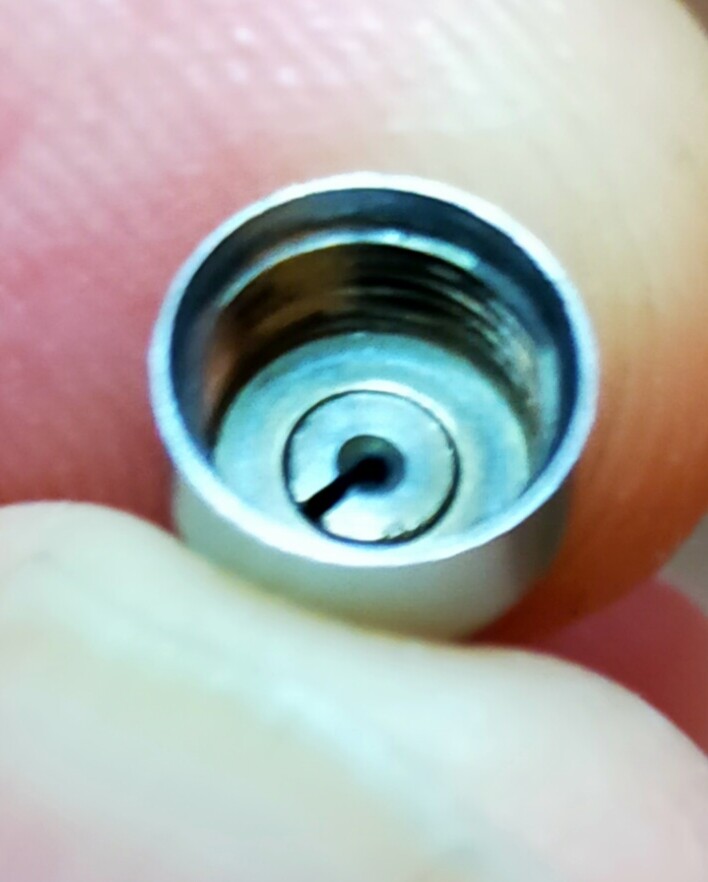
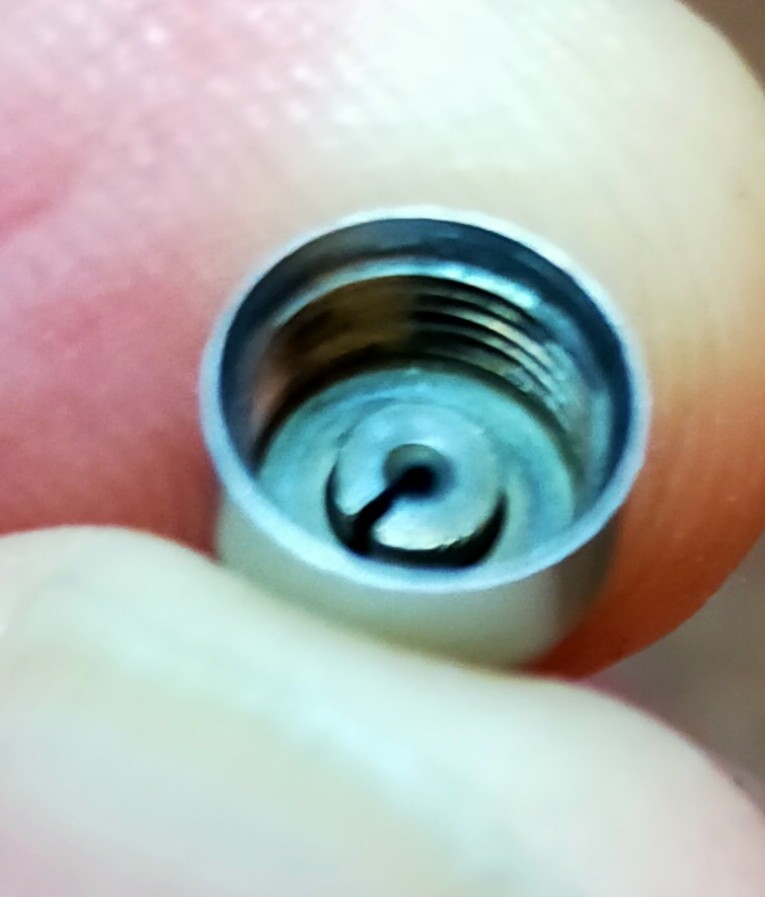
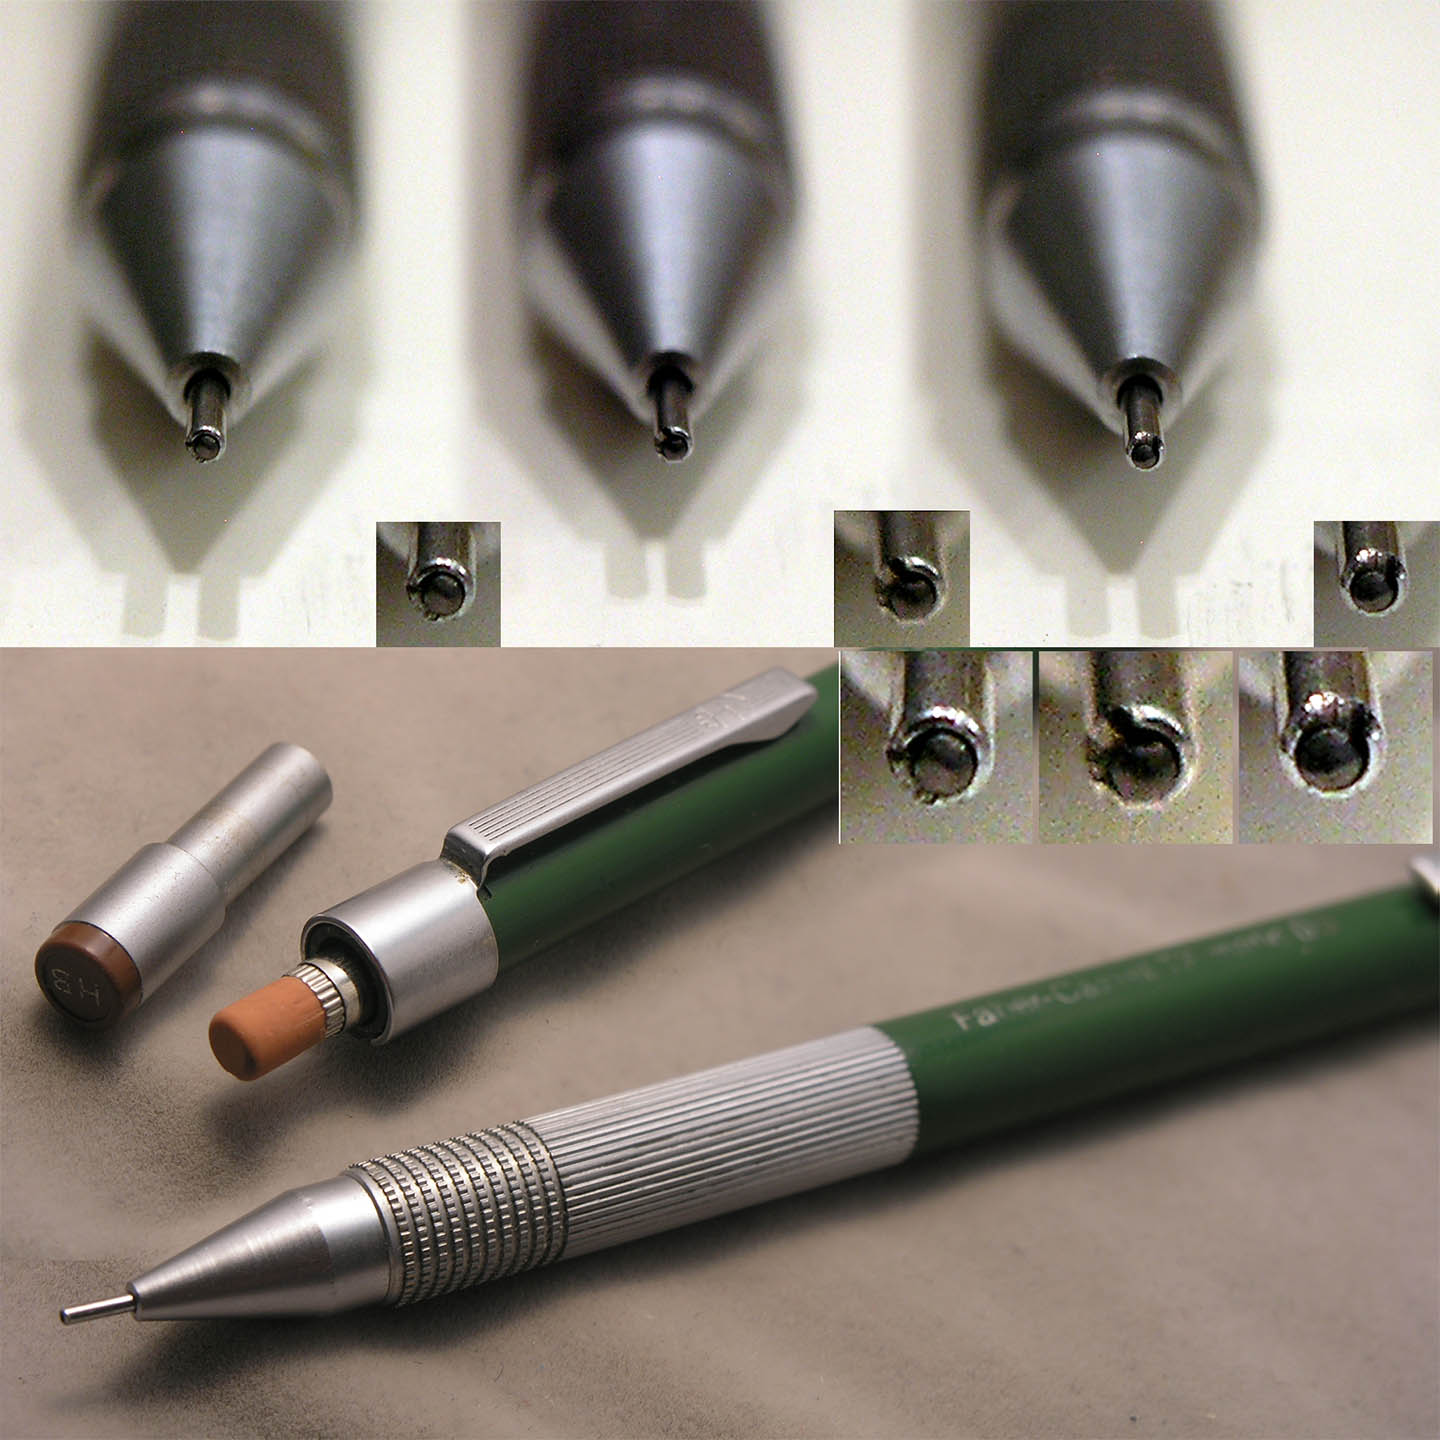
Below photos of the rear of the cone on the all metal internals showing the amount of play when pressing the lead pipe.


6 Likes

This is great news, Vici!

It sounds like during the course of usage and attempted maintenance by previous owners, somehow dust/fibers got into the mechanism and jammed it up. And perhaps thin enough that lead pushing through crushed the fibers, mashing them up inside the mechanism channel wall. The WD-40 seems to have worked some magic in weakening the bond and allowing the debris to be pushed out.

On Amazon USA they sell steel strings for guitars in a variety of sizes and mixed pricing. A bunch of them were just $0.99 ~ $1.99 for a time, so I grabbed a bunch and tucked them in a shipment (free, due to $35 USD threshold met). They’ve been really good at helping to scrape off impacted and stuck-on ossified graphite dust from old lead.

Regarding comparative smoothness on paper… if you have a free moment, see if you can take a closeup photo of the lead pipe ends. The first TK-matic I’d gotten had a slight burr on part of the pipe rim that was causing scratchiness. I used a small bit of very fine micromesh to smooth it over… made a world of difference.

6 Likes

Can’t take such detailed photos with my phone. But I can see some irregularity on the tip as I turn it. Smaller than the burr in your photos, but enough to ruin the fun. Also the edges of the pipe tip seem to be not as rounded as on the first example I got. Perhaps because the second one was used a lot more judging by the body wear and the fact that it is older, having all metal internals.

What exactly is the micromesh you used to smoothen it? Google search shows a variety of stuff.

1 Like

Do you have a loupe? It’s a high magnifier typically used for gem examination (jewelry). Pretty common to find them in multipliers of 10, 15, 20, and 30… even 60. I you get a good sized one you can hold it over the lens of your phone camera. That’s how I took those closeup photos.

So, the world of applied abrasives is huge. Many kinds in liquid form. And then in grit form. Most of us know sandpaper… and even the finer grades of sandpaper tend to be abrasive for low impact jobs. So they developed something called “micromesh.” It’s a highly refined grit that is not made with the usual sand grains. “Microcromesh grades come in Silicone carbide or Aluminium oxide. The grit is bonded on the ultra fine cloth with flexible glue and is perfect for polishing, cleaning and finishing.” You can usually find them available in small 2" x 2" square foam packs in various grades. The finest grade is 12000… and is really like a polishing grade. The next grade down from there is 8000. I would use that with light pressure on the “burr” or uneven part of the lead tube. Just a few gentle strokes. Use your magnifier to examine the results after each pass… until you get the desired results.

1 Like

So I took my wife’s finest grit nail file, ran it gently twice on the circumference of the tip of the lead pipe, at 45 degrees angle. Than “polished” it with half dried toothpaste laid on paper.
It’s not perfect but it has improved a lot. It doesn’t scratch anymore and does not leave any visible mark on paper. But it feels like there is just a bit more drag and definitely more noise on paper compared to my good example. Satisfied with the result, will use it as is now.

2 Likes

Great! Glad to hear the technique worked. And since you did notice an improvement, if after some time of writing it still feels a little “lackluster” compared to your excellent example, perhaps do another run of abrasives. But definitely don’t do it blind. Get a 30x magnifier and be selective on how you polish off the remaining burr.

2 Likes

For a buttery feel I would recommend a scrap piece of denim with polishing paste. Toothpaste works well for cleaning up gold nibs on fountain pens but for a stainless steel lead pipe it won’t do much.

2 Likes