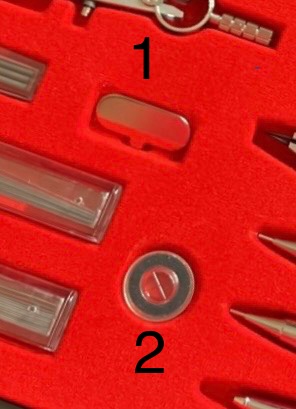
Can someone please help me identify what these two items are? I’m assuming item number one is a screwdriver of sorts? I don’t know really what to do with it. Number two is some type of a cross hair lens?
3 Likes
- Tool to tighten
- Center finder
3 Likes
1 Like
- vase to keep the blood drop from an elder vampire
![]()
My guess is that that’s to keep the steel needles for the compass or alternatively tiny blades/cutters
1 Like
Sorry, it looked like a tiny plastic box to me at first.
I see now that’s an entire piece — a screwdriver tool perhaps, yes
1 Like
opps. thanks - forgot I had asked that already
1 Like
It’s ok.
1 Like
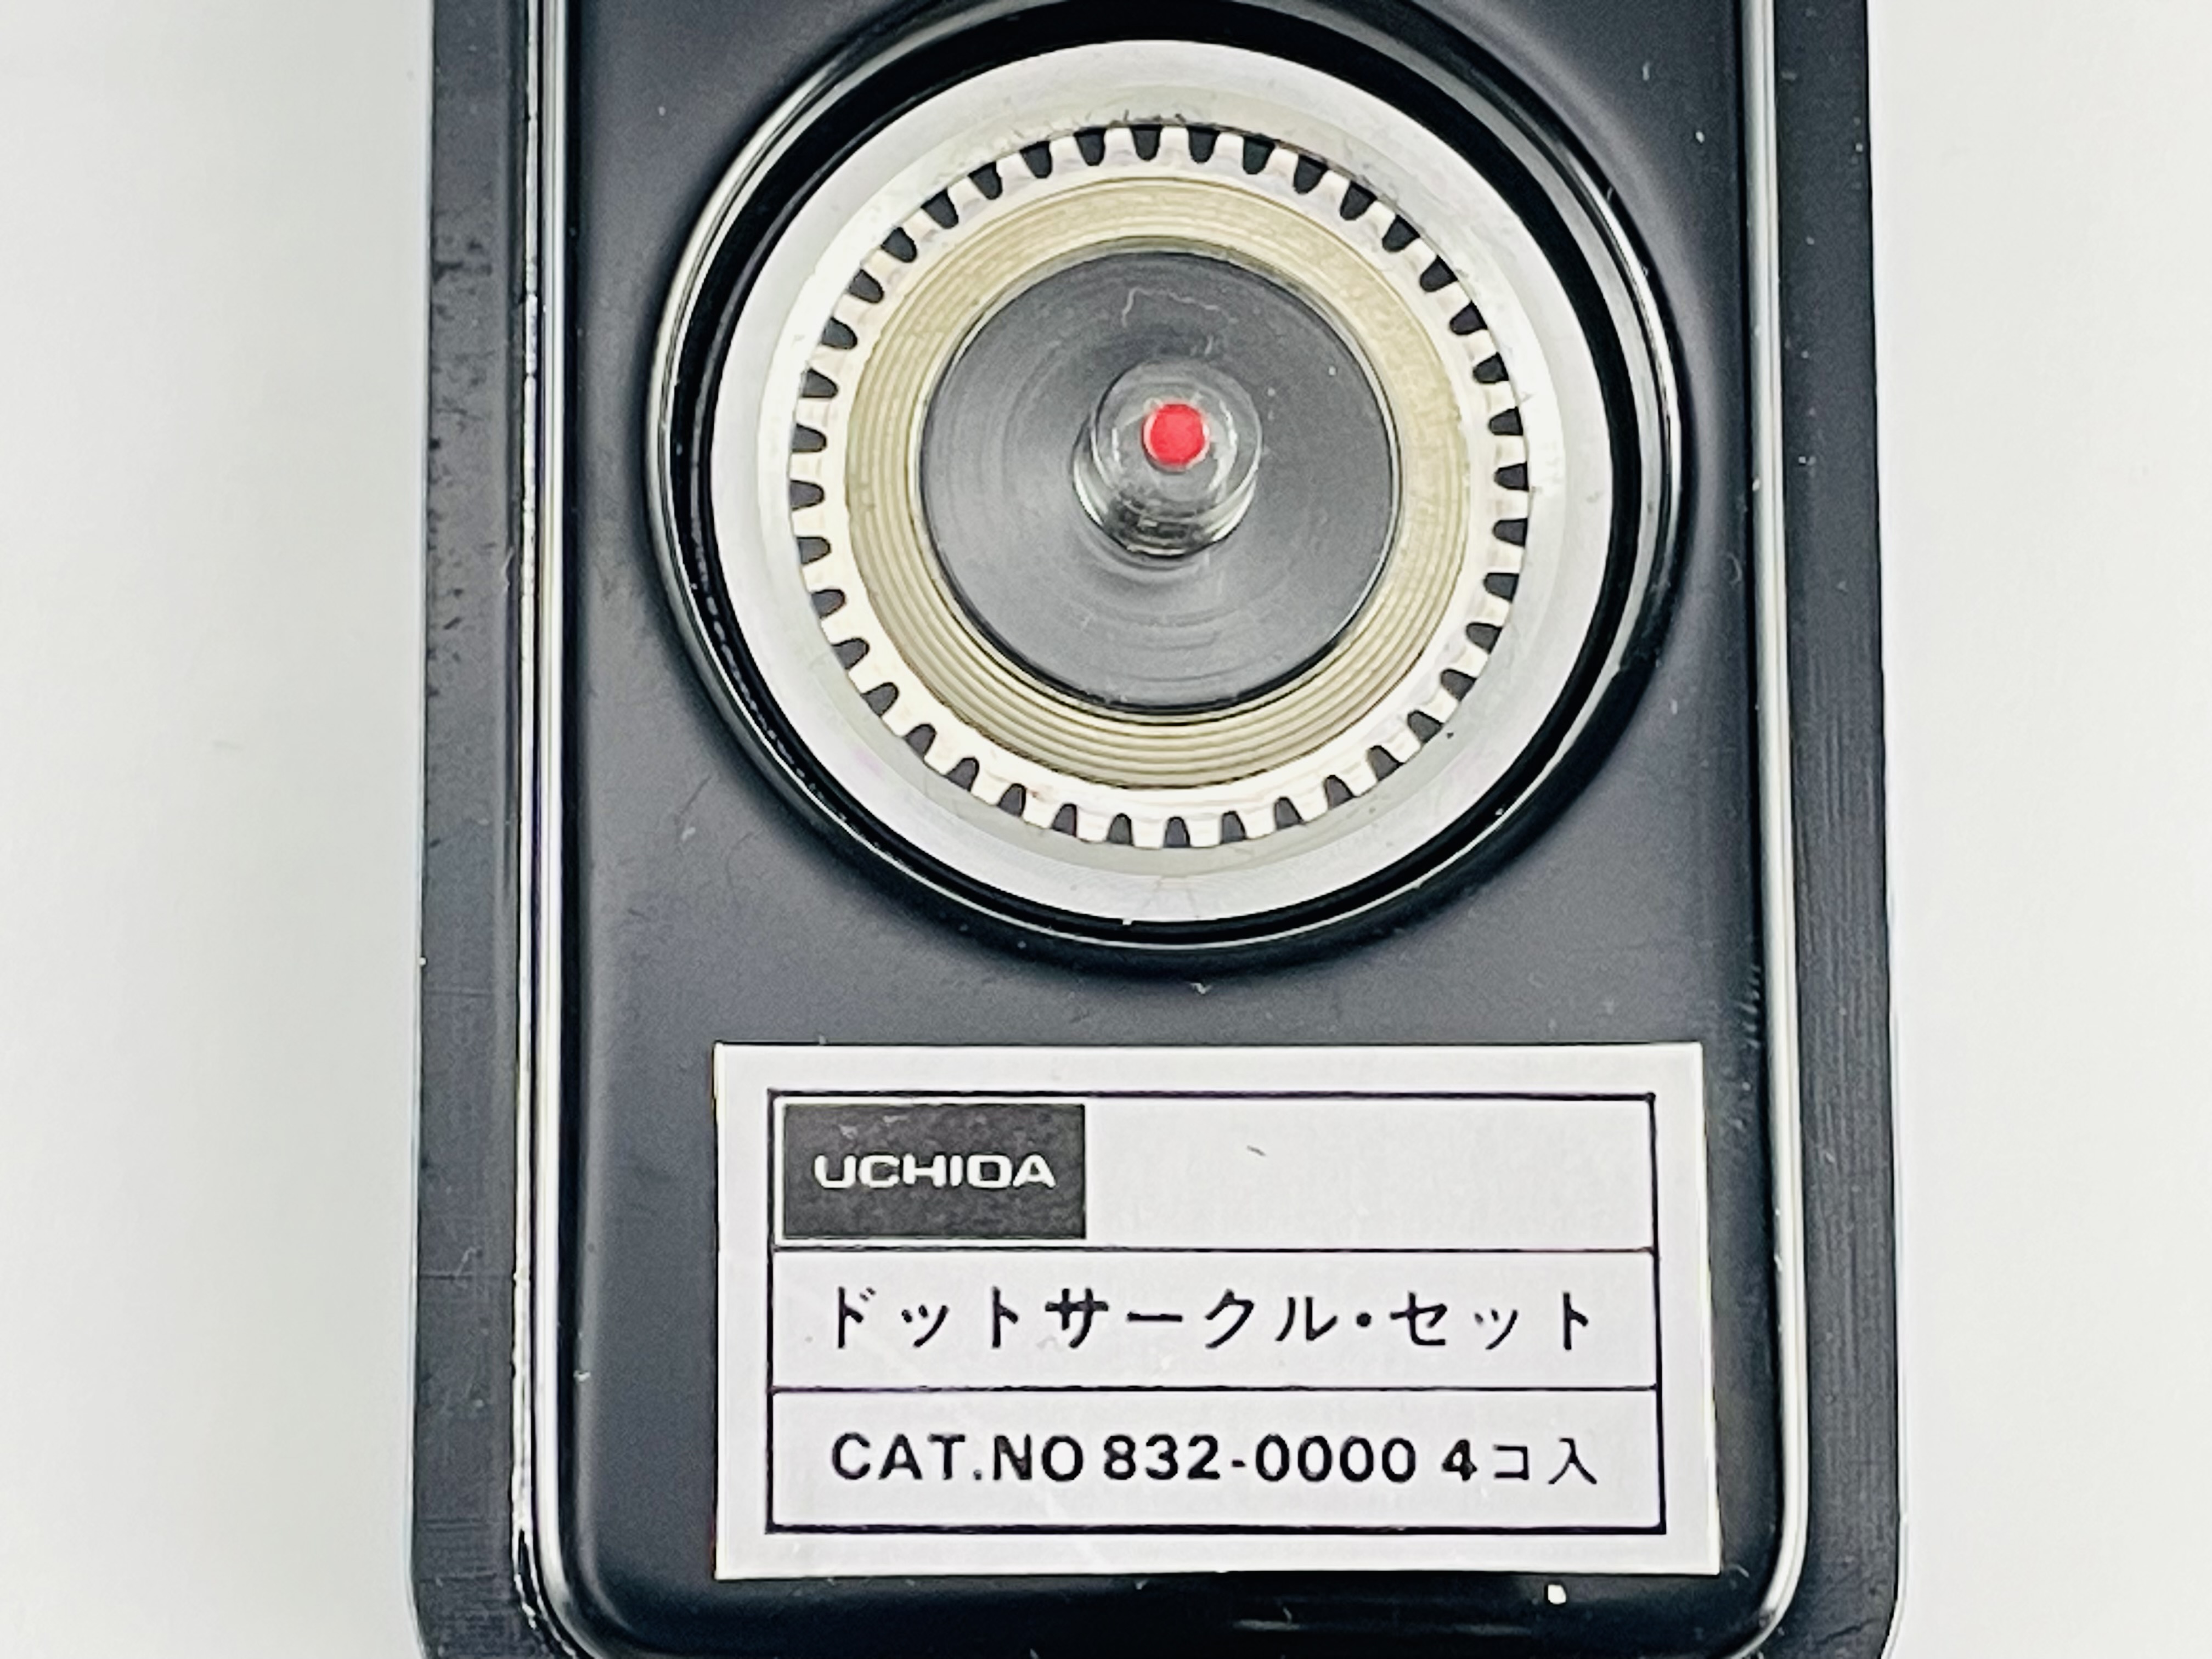
#2 is a so-called center tack. It is used to protect the center on the paper from damage caused by repeated punctures of the compass point. The black ring on the back is made from rubber to hold it in place while the compass point is placed in the center of the cross.
There was even a German industry standard for center tacks (DIN 58529 from 1971, withdrawn 1996). The center tack specified there has a diameter of 16±1 mm, consists of a metal ring that encloses a crystal-clear plastic disc and is equipped with three needles. One might be surprised that this means that you are using three needles instead of just the compass needle but the main purpose of the tack was to protect the center. However, there were also center tacks with a single pin (e. g. item no. 160 from Haff) which were placed once and allowed for repeated placing of the compass point.
By the way, the one in your box looks remarkably similar to the one sold by STAEDTLER Japan about ten years ago (item no. 553G).
6 Likes
Thank you @Gunther !
3 Likes
Wow. Thank you @Gunther. I was off.

3 Likes
I was perfectly happy with the “center finder” (@Thomas) but indeed that’s what it does — and I have a little story to go with it: when I was little maybe 7 or 8 and I was watching my dad working on the big “estirador” (drafting table), he would let me cut tiny squares of a thick 3M low tack tape that he would then stick on the tracing paper as a “center tack” to use the compass — the tape was thick enough to protect the paper from the pointer. The plans my dad was working on were usually immense, like 3 meters long, describing refrigerated circuits and structures for factories and slaughter-houses and such. Most of the work was made with a Caran d’Ache 77 (with the 3 fishes) and then “passed across” with .35 and .25 Rotrings. He would use .70 or a 1.2 for outer walls or specific relevant structures. My task was to refill the pens. I loved being there at the studio. ![]()
8 Likes
these are the memories that hook us.
3 Likes
@Pdunc67 your item no.1 is a sleek variant of a design which has seen a lot of evolution over time. In this picture, I can show you a bit of that history:
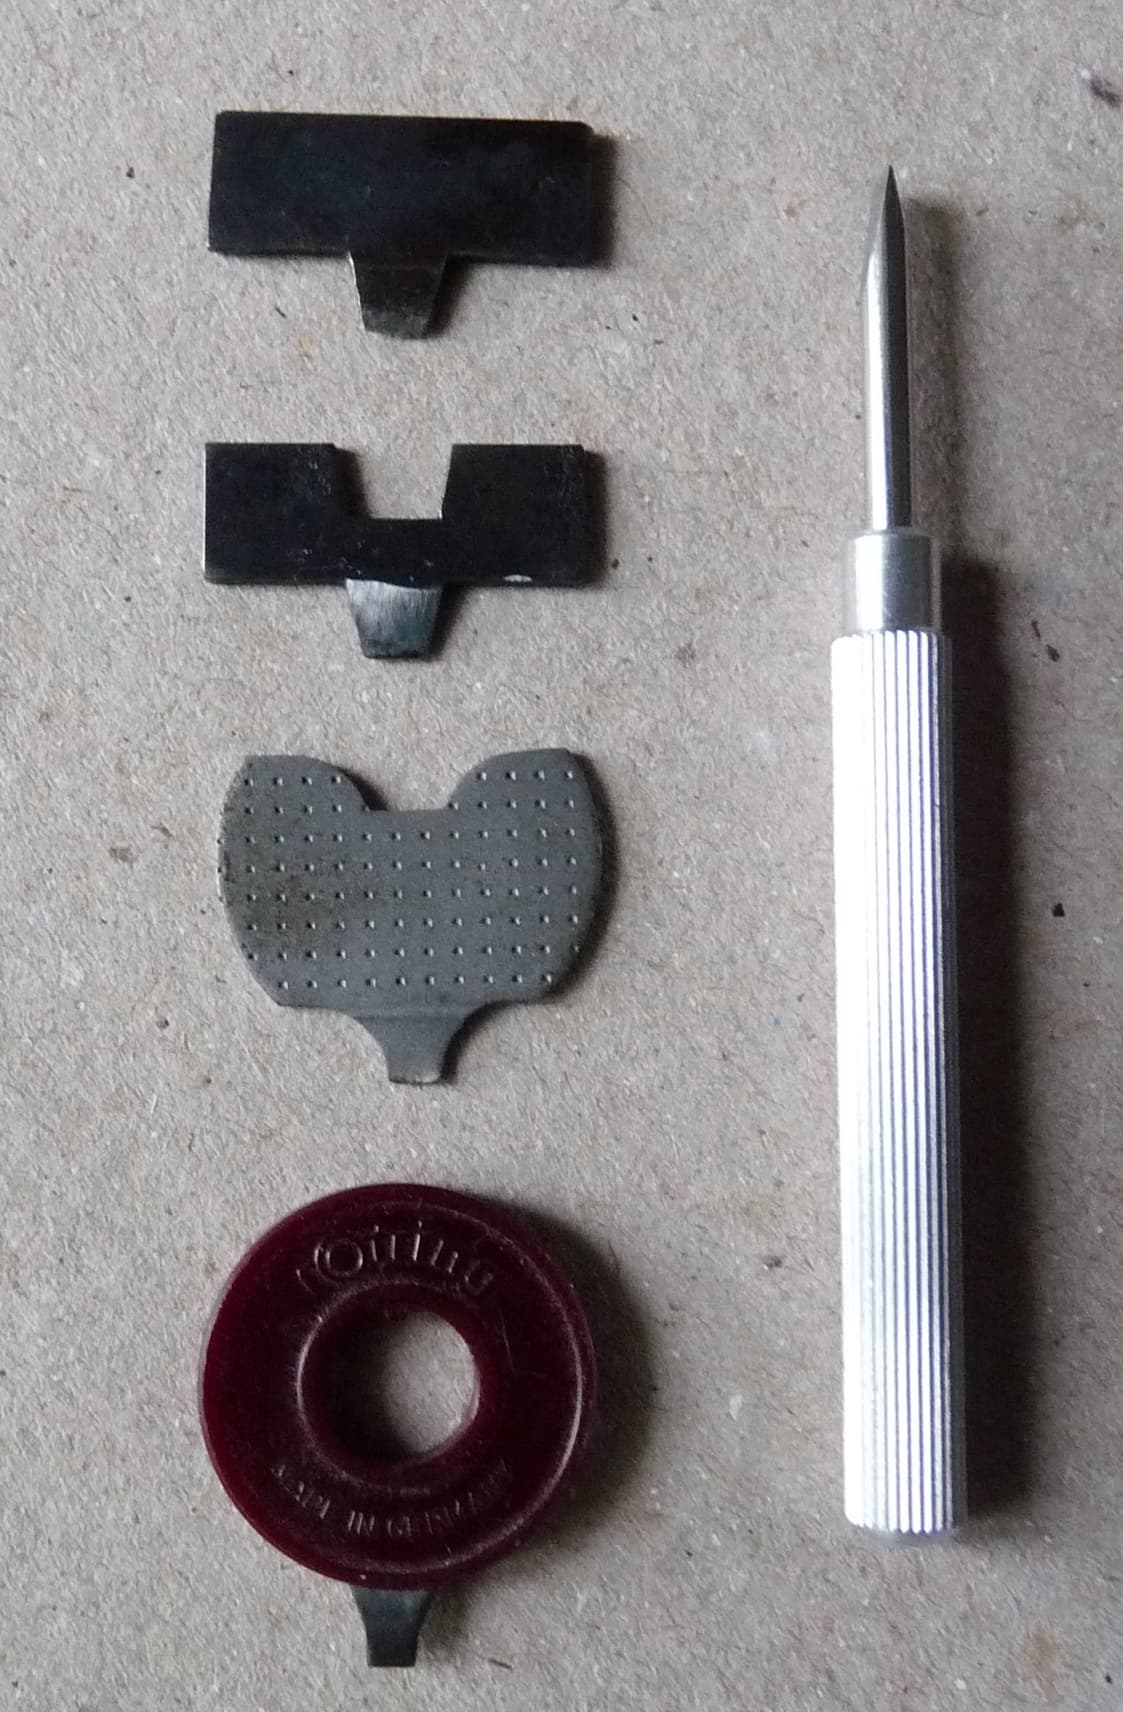
Top to bottom, left to right:
A-B: two early models (1920’s-1930’s?) from Lotter: the thumb and index fingers grab the larger portion, the protruding wedge fits into the slit of the screw to tighten it. Back in the day, even smaller compass sets used to have one of these, to allow for a finer tuning of the compass main hinge by the user.
C: A lightweight model by Riefler, from a large “Sinus/Cosinus” compass set, with the characteristic “butterfly” profile; not sure about the date, possibly 1960’s or 1970’s.
D: A rOtring model from a mid-sized but high-quality set, with a plastic handle nicely arranged into a ring shape; very nice to have around, but delicate to use — I’m always afraid I can break the plastic or deform the wedge. Circa 1980’s, I believe.
E: on the right side, a small screwdriver made entirely from aluminum by Haff: many manufacturers started to include such items in their lager sets, especially when such sets had various types of accessories requiring frequent tiny adjustments; variations exist with plastic handle.
As for item no.2, instead, below is a small gathering of centre-finders I found over many years of scouting; they were also used whenever one had to draw many concentric circles: by placing the centre-finder once and for all, it was possible to use the compasses many times without further damaging the paper, and ruining the spot by drilling an unusually large hole.

Starting top left, going clockwise:
A: Three-nails model with translucent window by Kern Swiss/Kern Aarau; the screws have super fine needle points on the other side, to grab the paper precisely and securely without significant harm to the surface they hinge onto. Diameter is around 2cm.
B: Smaller version by Haff; notice how the screws do not protrude out of the surface of the centre finder, preventing unexpected tears by a compass needle gliding over the surface and getting stuck in the outer rim.
C: Even simpler version, I think by Riefler: here the transparent layer is itself the material in which the needle screws are directly inserted: better view and less visual cluttering, but a more delicate item — with Riefler, this was always the case.
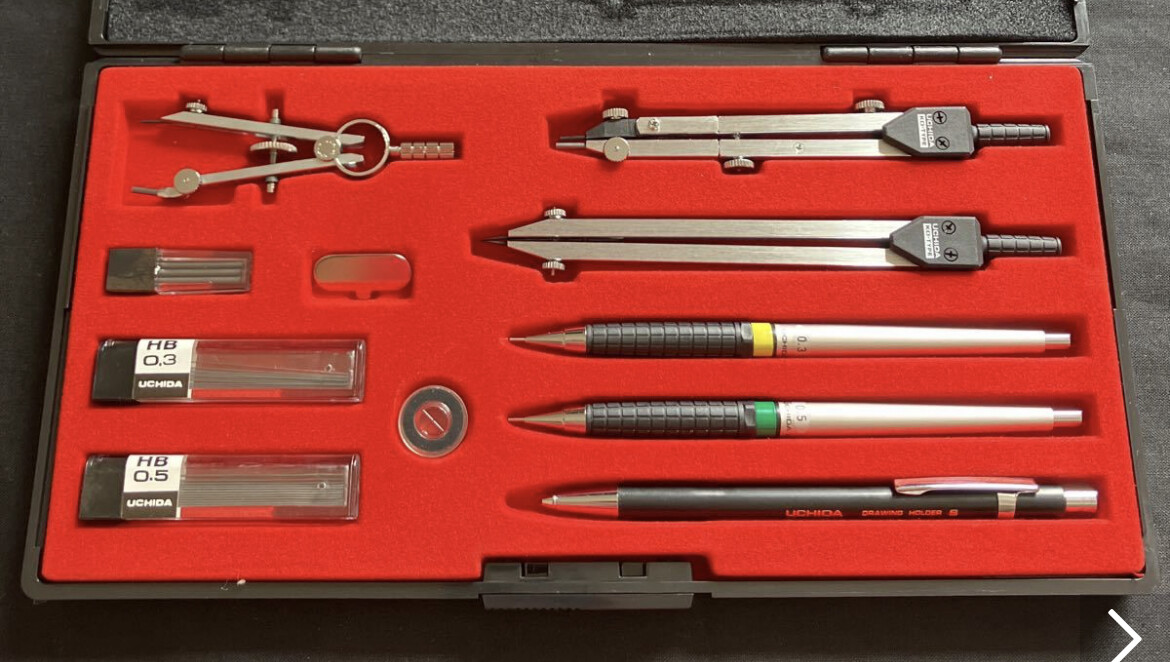
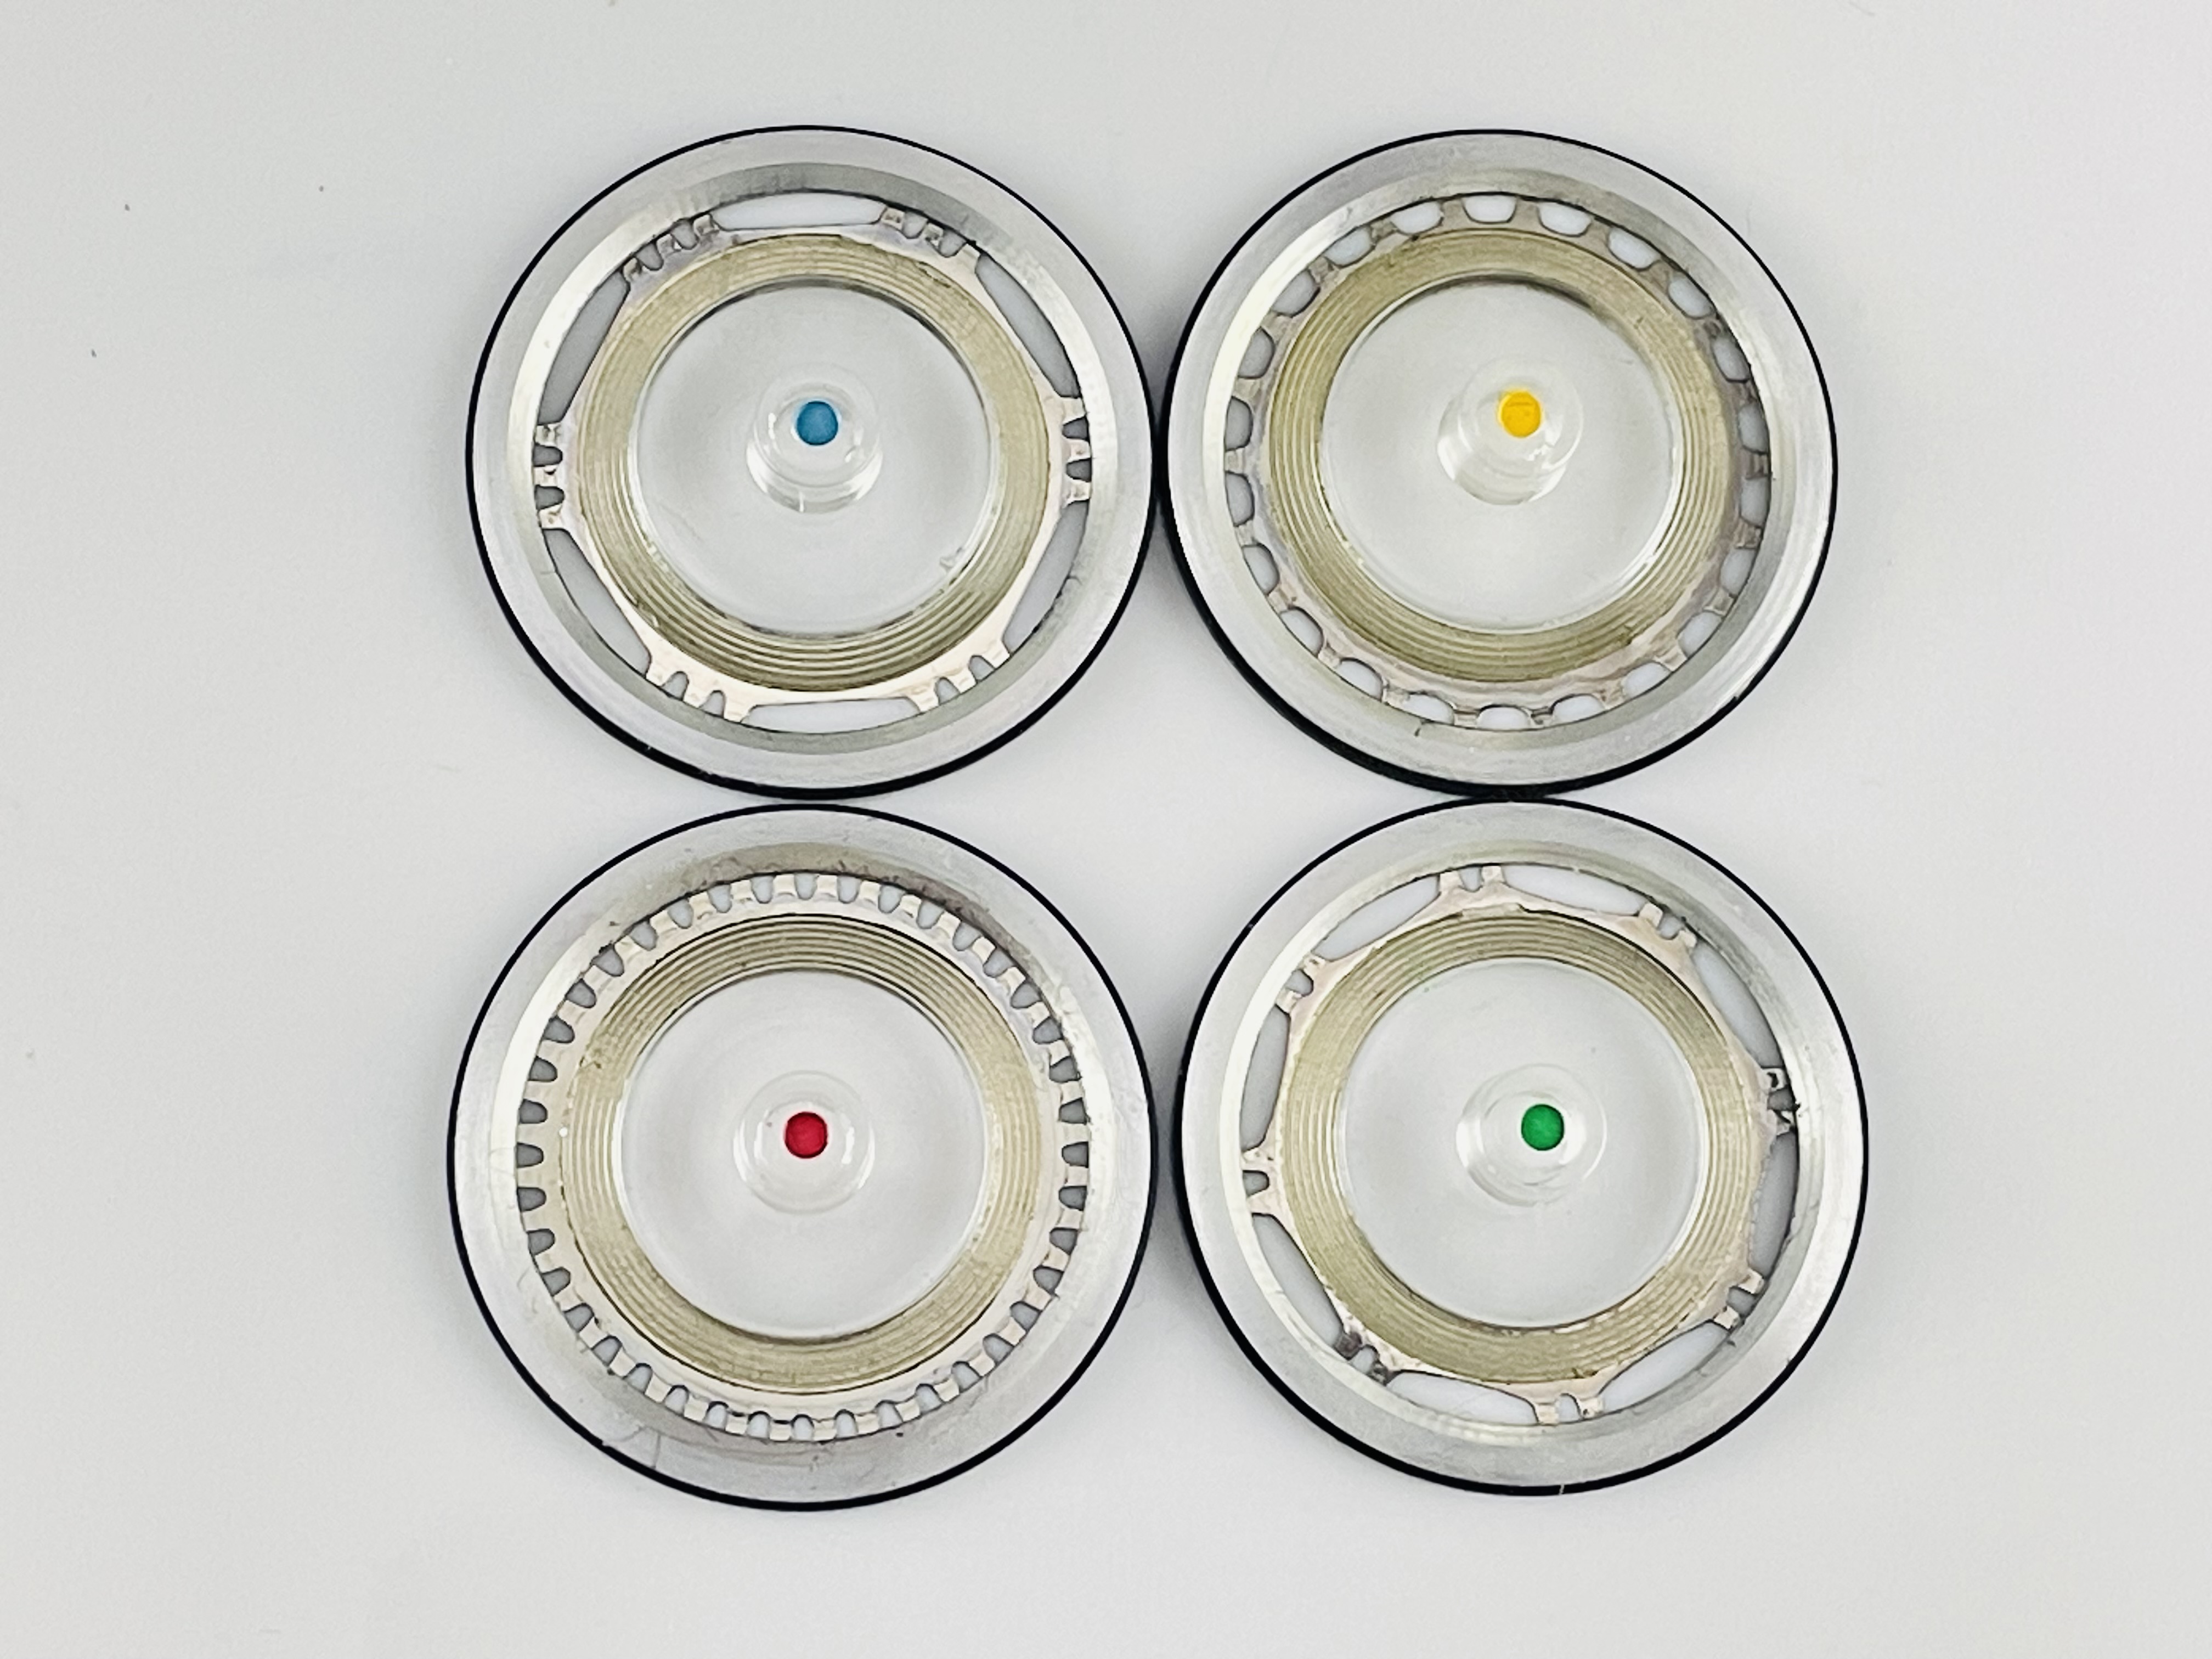
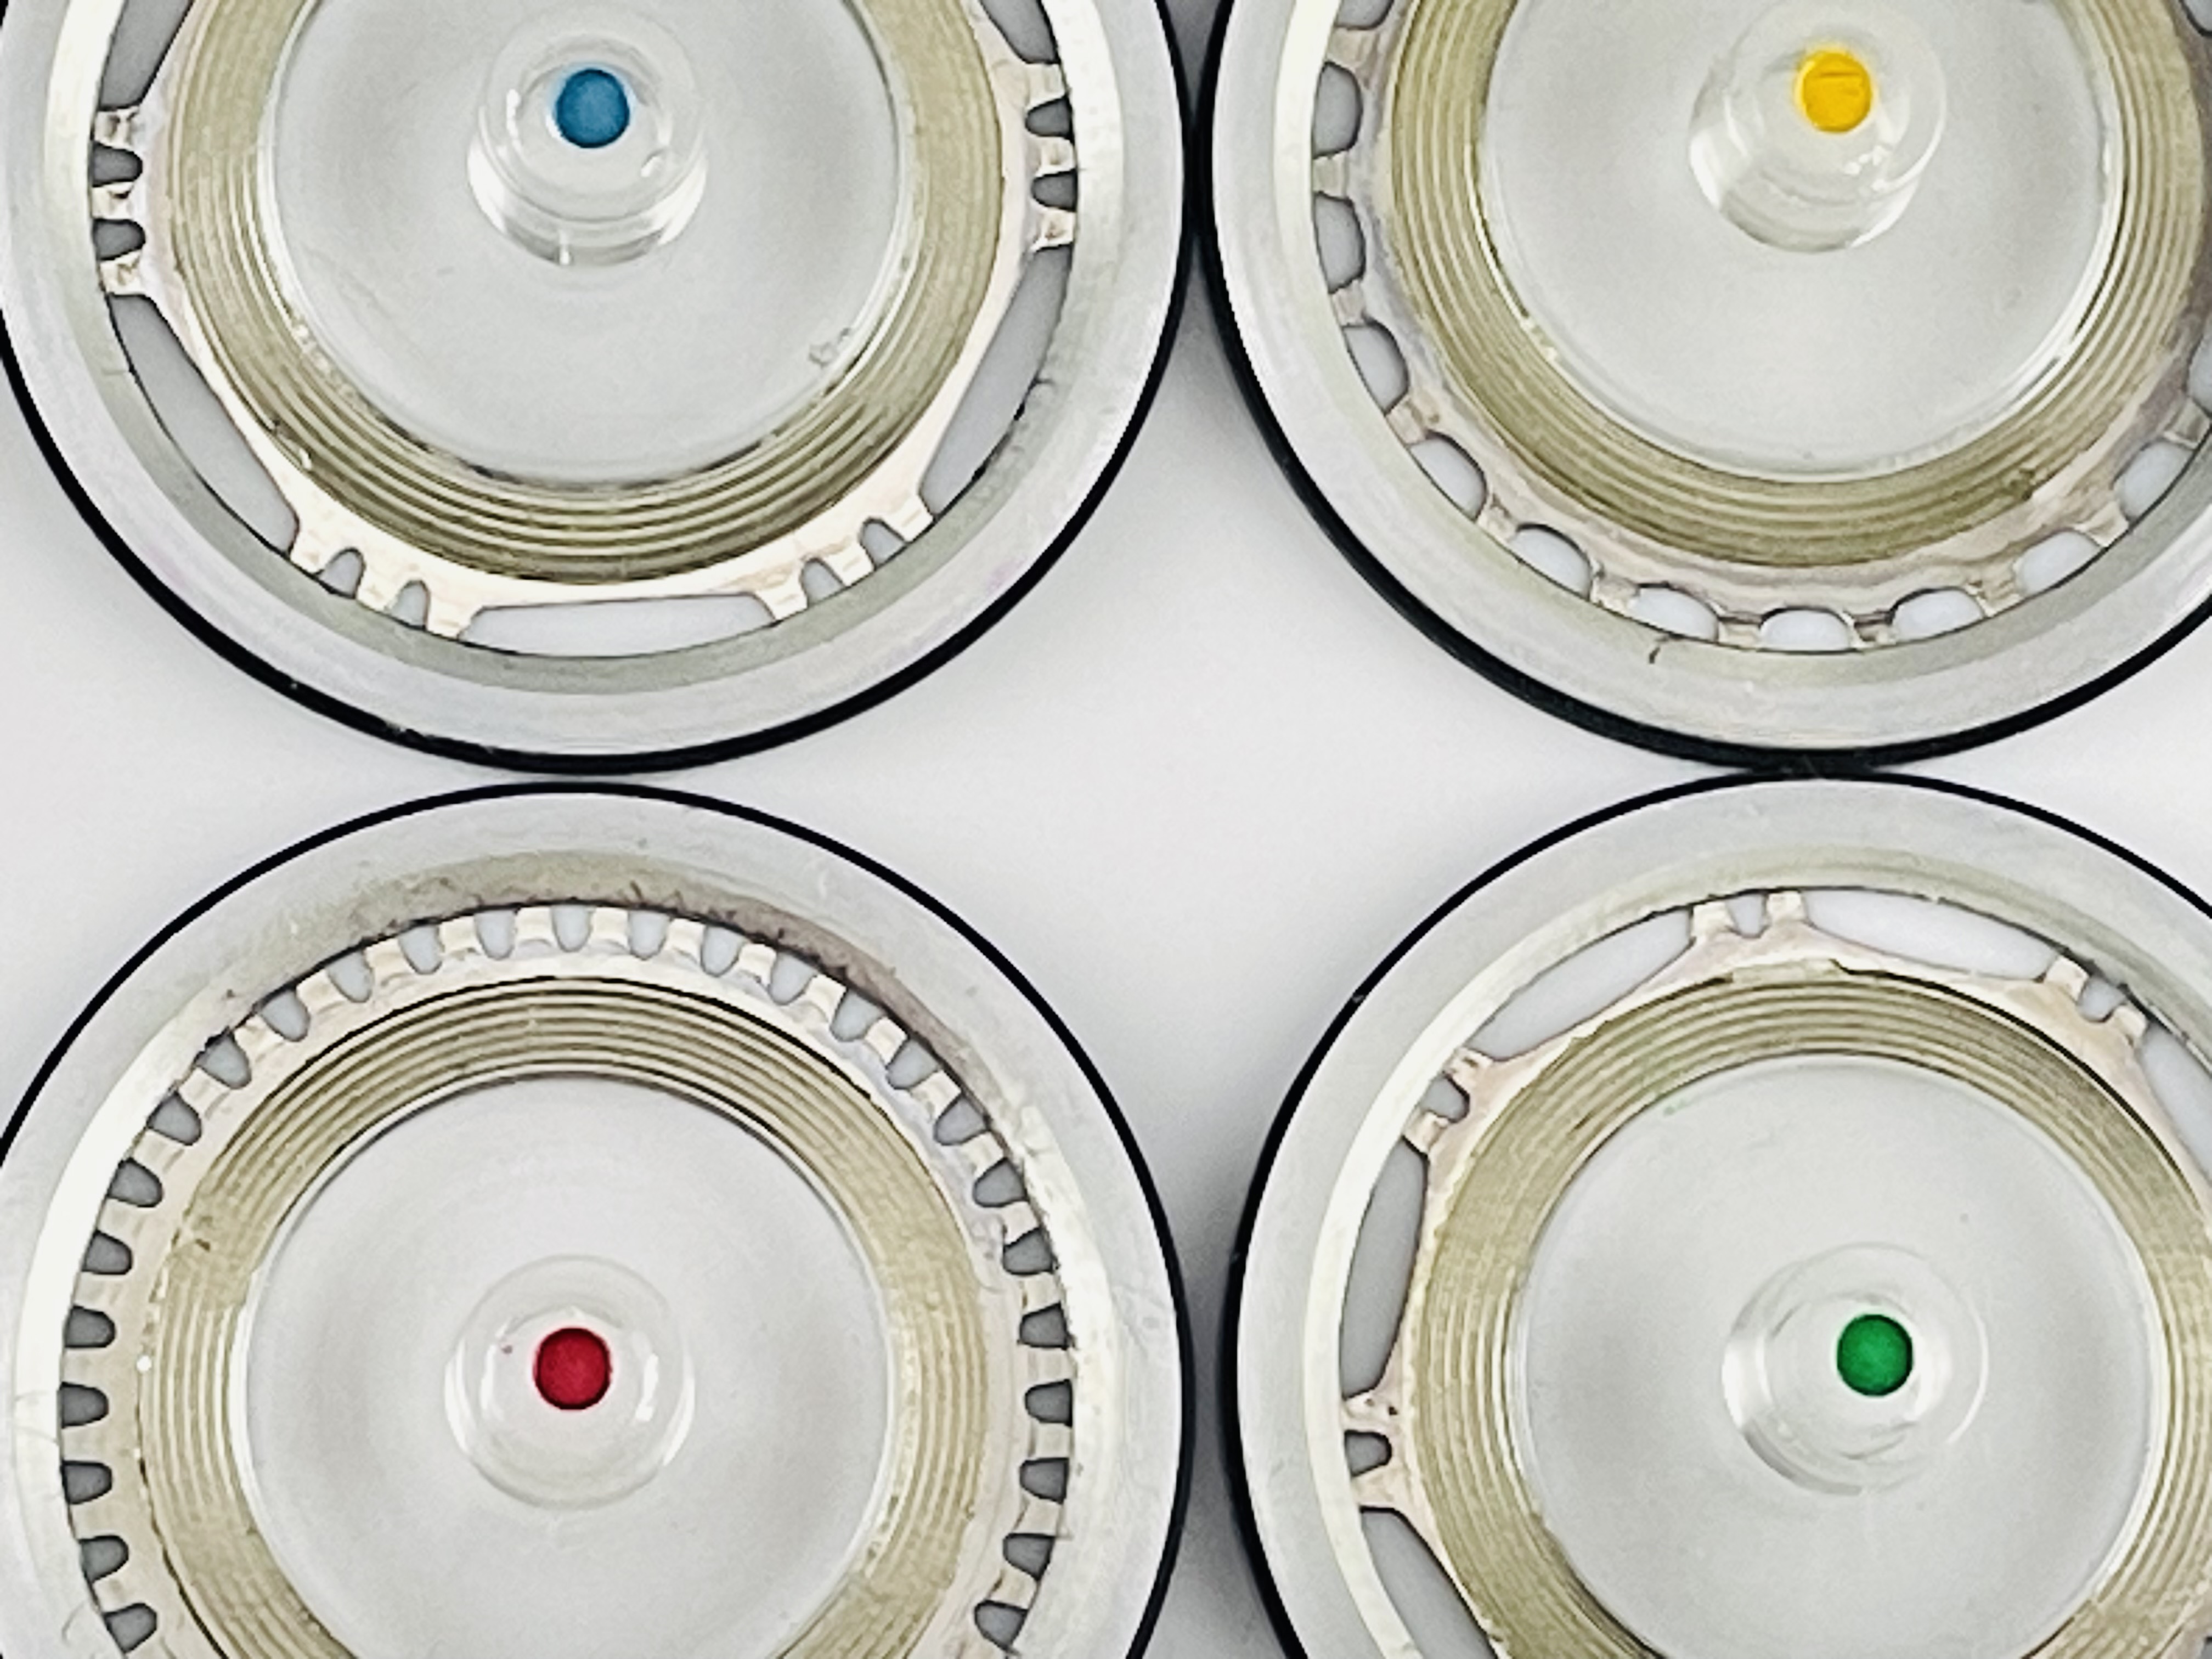
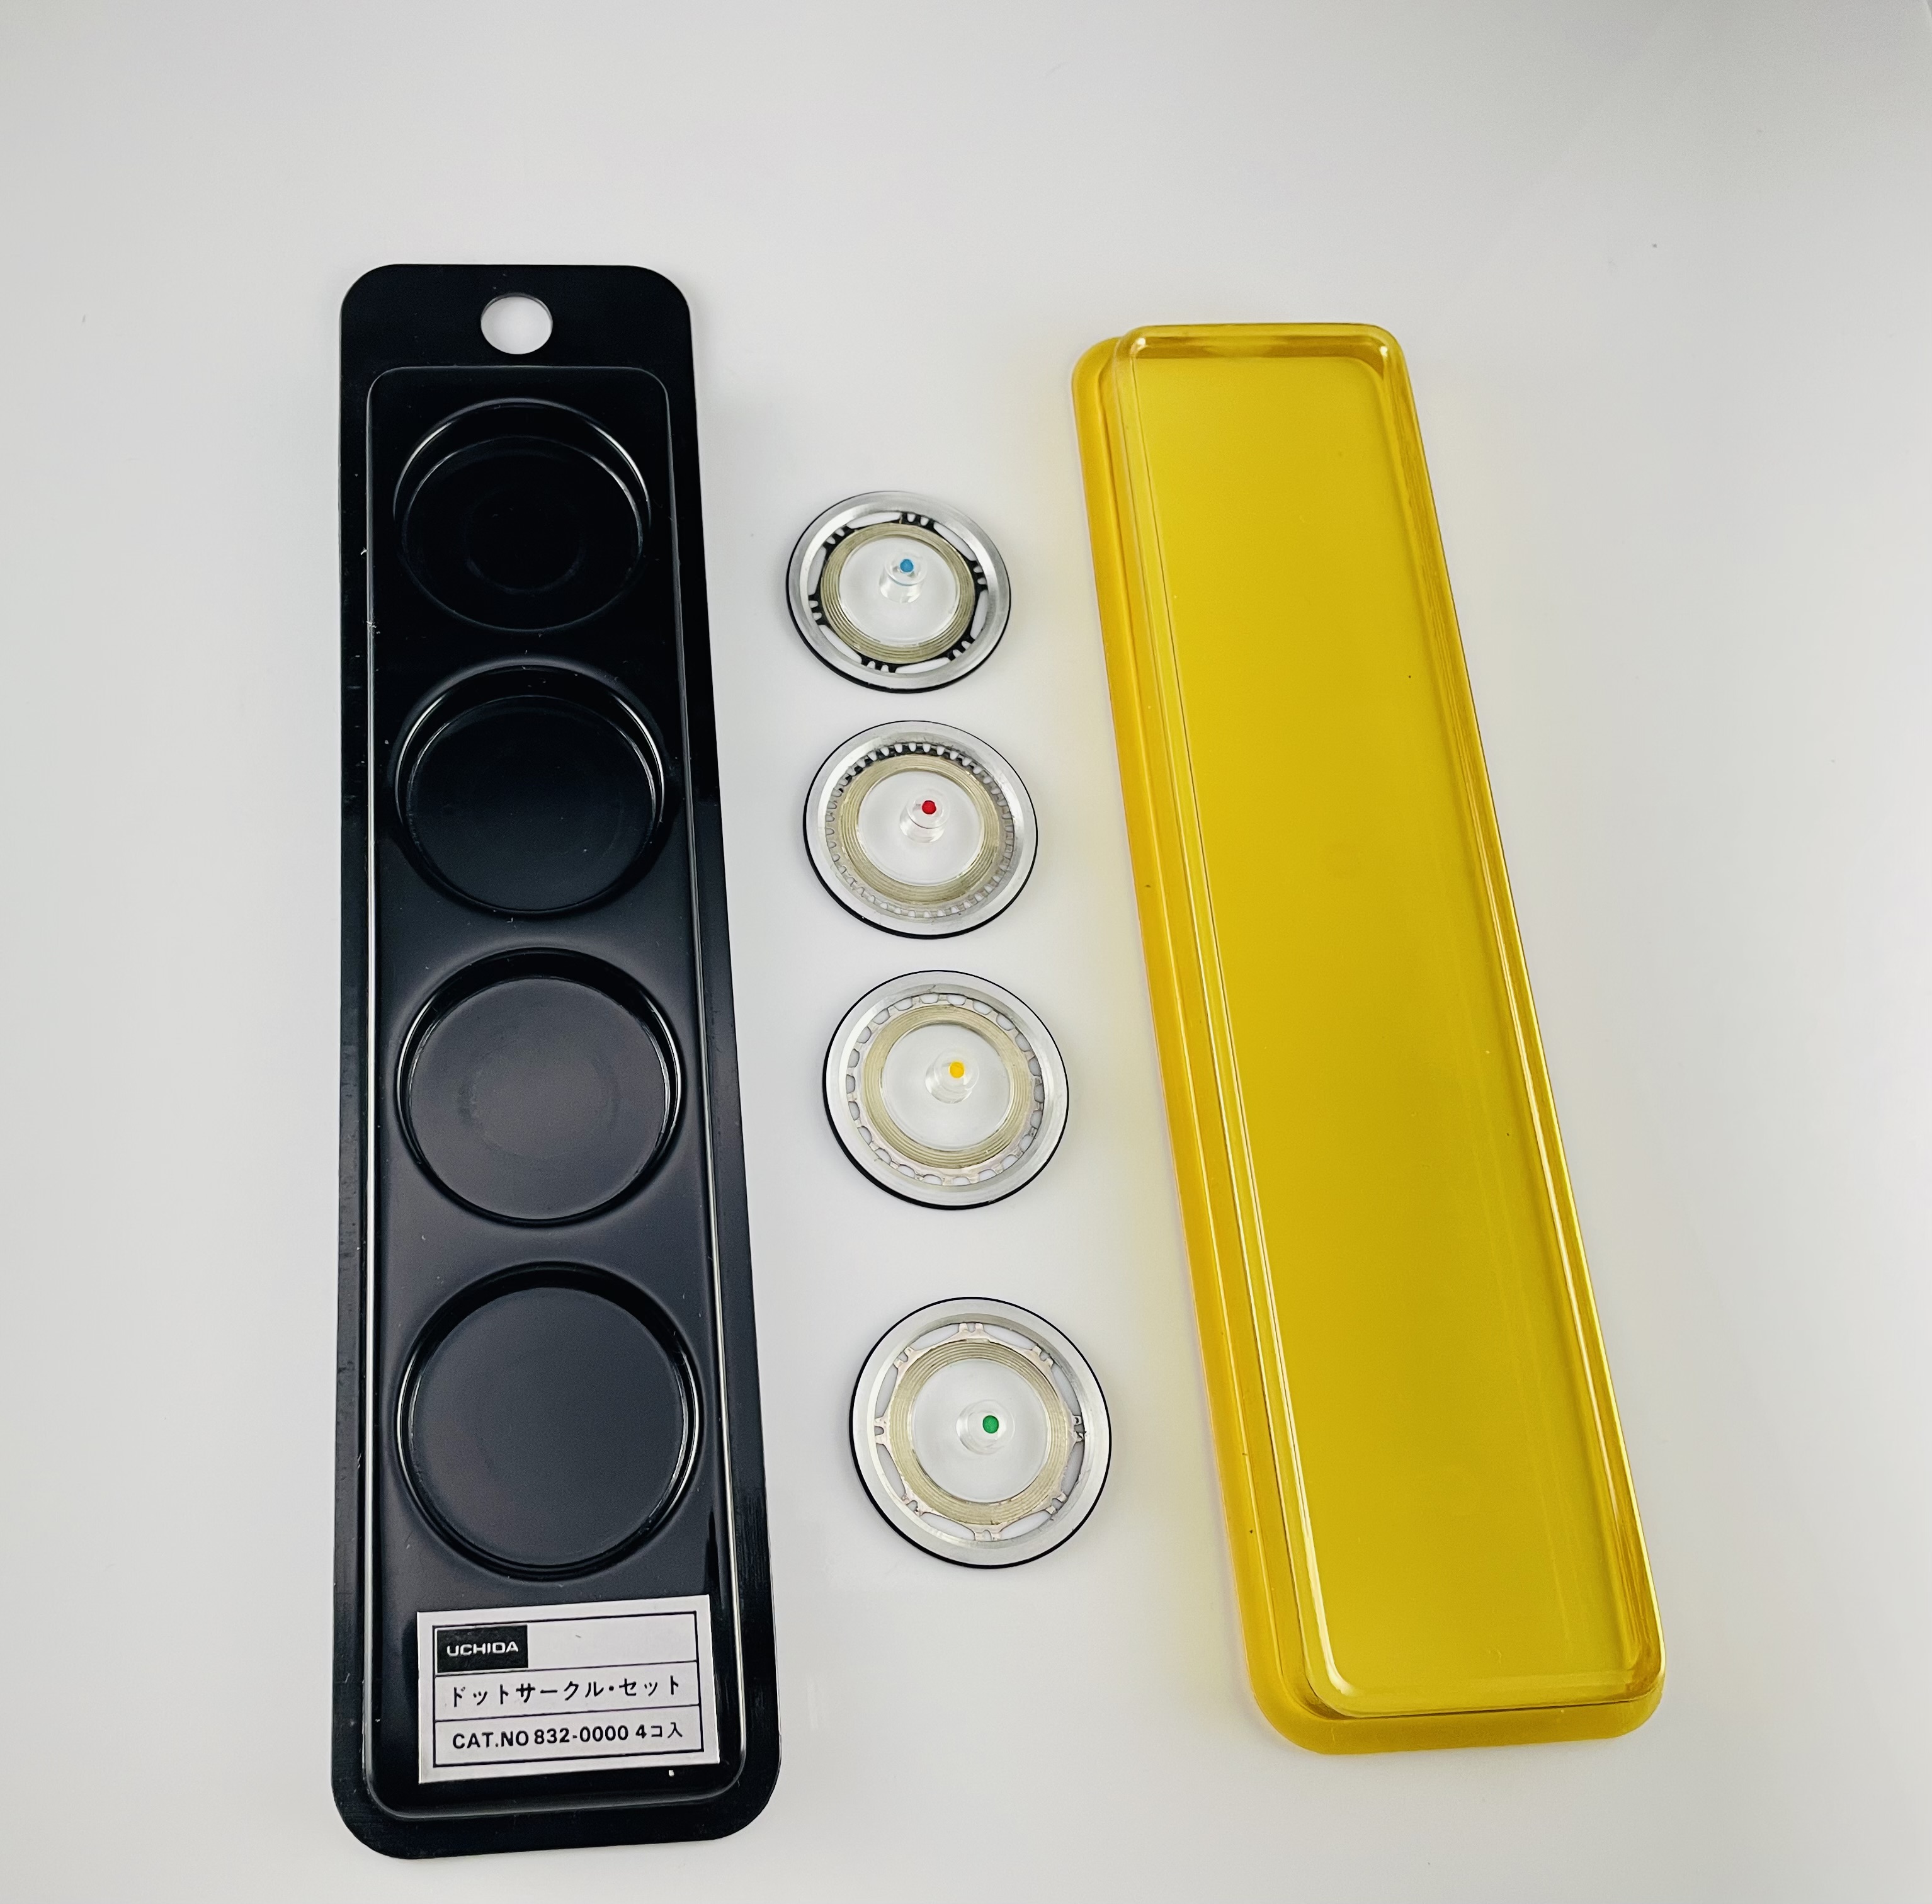
D: A relatively more modern version by Werein (1980’s maybe?): the needles are traded for a thin red rubber band ensuring full contact between the centre-finder and the paper; this is what can usually be found in Staedtler’s later compass sets and in all major Japanese manufacturers’ boxes, like the one by Uchida you have there. I prefer the needles, as the rubber band can easily slip out of its intended position.
D: A piece of light-blue felt upon which I have pinned all the smaller, non-transparent versions of the centre-finders I have: every one has a small needle-like point below the round gear (various manufacturers and production ages imply different levels of precision in the pointy tip), and works as stated earlier; I believe that these were used when you started a drawing with many concentric circles, and in principle you could choose where to put the common centre; the transparent ones were instead meant to be used when you were forced to find the center somewhere, and the limited freedom required a better way to exactly pinpoint the spot for the required centre.
Thanks for sharing that Uchida set, looks gorgeous!
10 Likes
Absolutely amazing @Leonov
Thank you for this information
1 Like
@ulfesharpe Thank you for sharing that story – these are great memories!
1 Like
Thank you for sharing these amazing details – your collection of centre finders is incredible!
Probably because, before the age of transparent acrylic/plastic, the window section contained a very thin layer of semi-transparent horn. Those were the days.
4 Likes
Ok guys I need some help with these. I bought them assuming they are center finders for use with a compass, but when they arrived, there is no hole in the center like my other ones have.
2 Likes
Well well well, not sure whether you were super lucky or what.
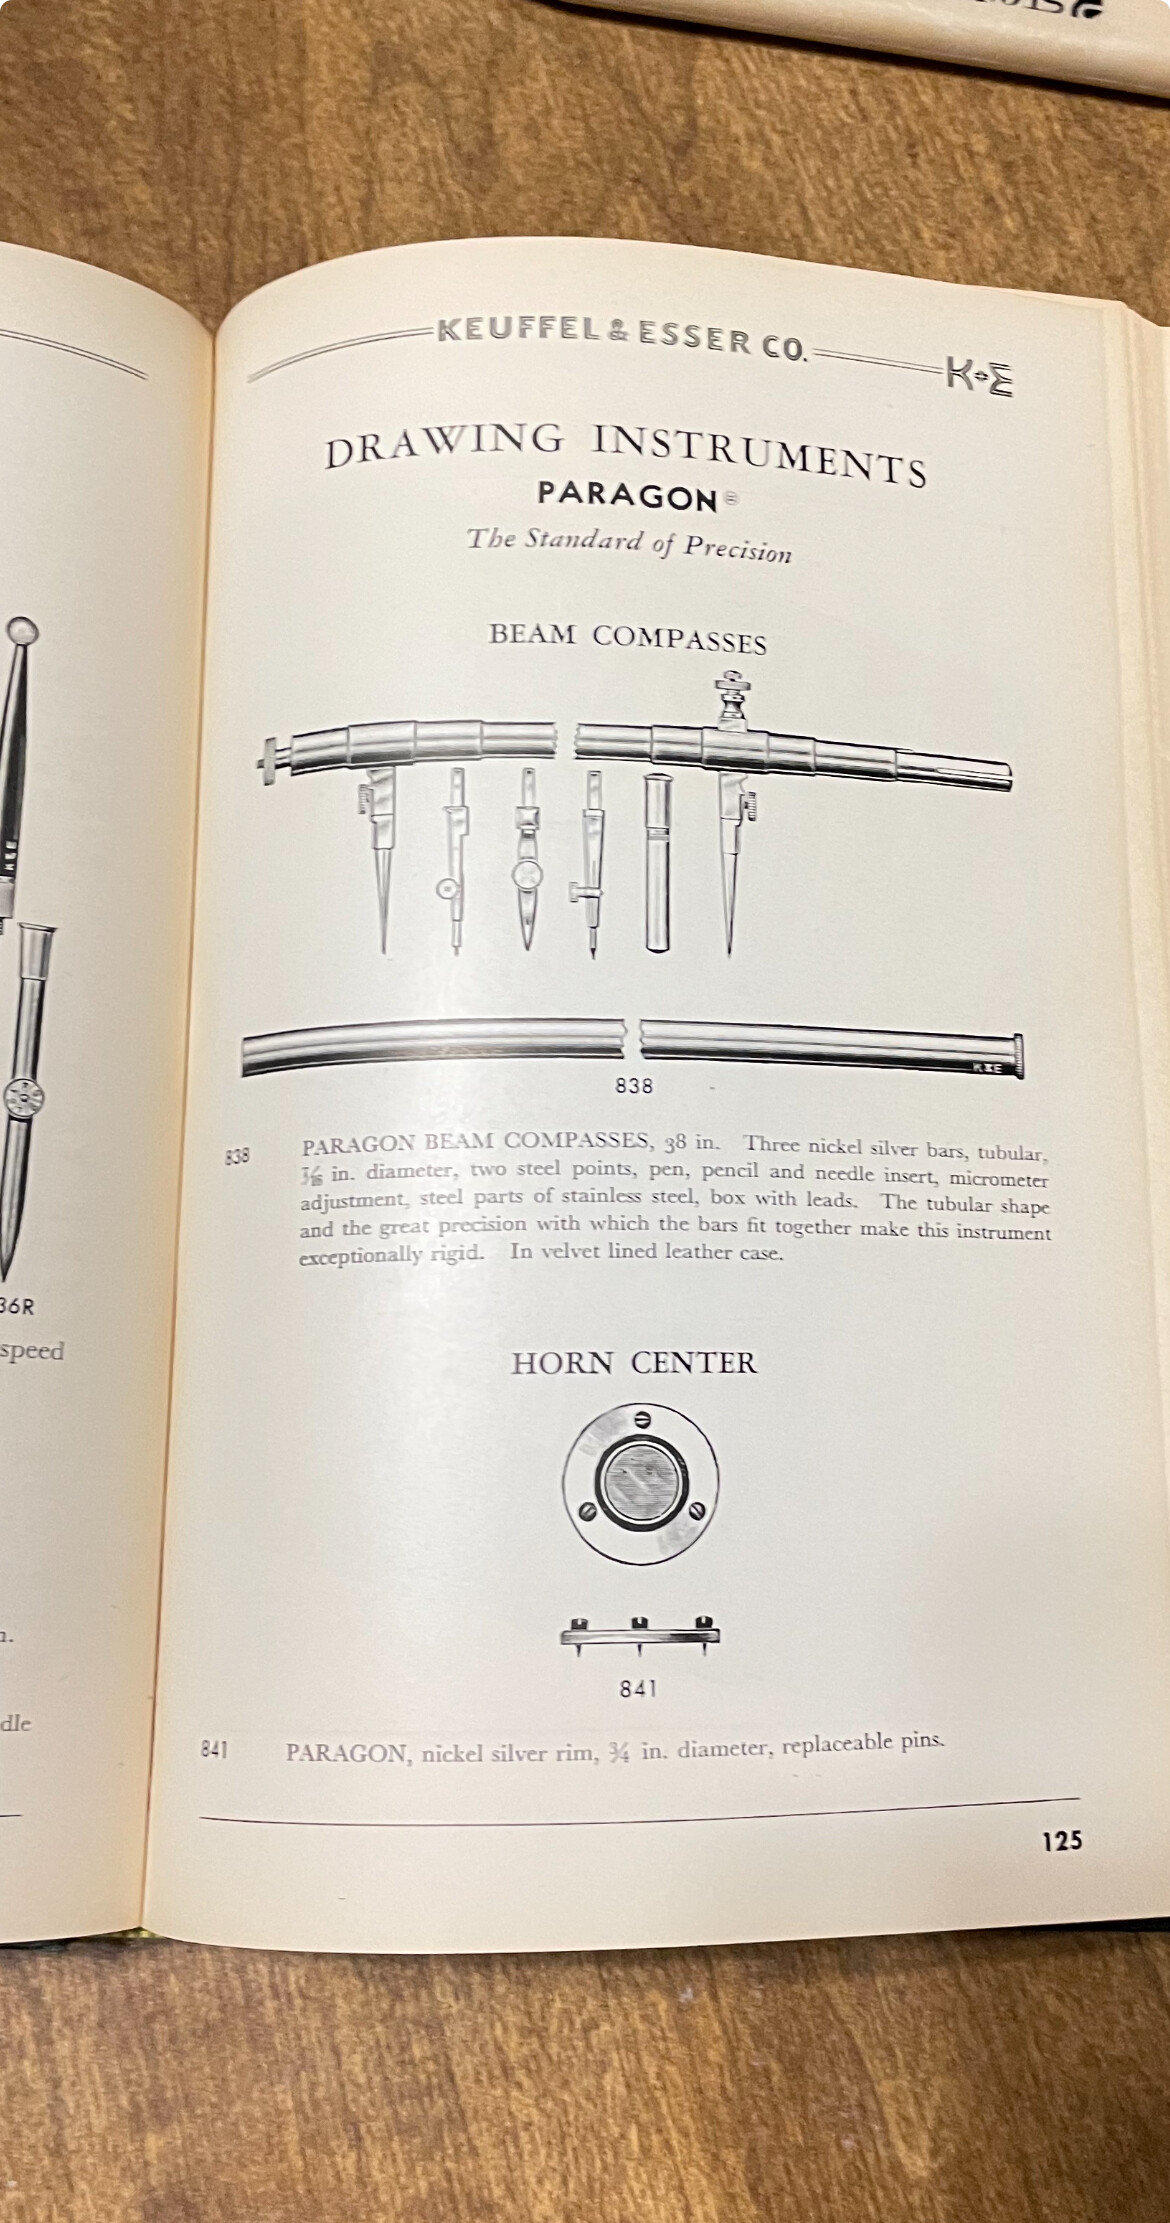
I think you just landed on a set of “dotting apparatus wheels”, as they look very similar to the ones to be swapped in specific drafting accessories to trace dotted, dashed, dotted-dashed or similarly discontinuous lines given by ruling pen accessories — such contraptions were available by companies like Haff, Riefler, Richter, and Kern in Europe.
This is the one of the “things” these wheels should be attached to: https://www.etsy.com/it/listing/1305375118/mid-century-kern-arrau-dotting?show_sold_out_detail=1&ref=nla_listing_details
I had no ideas Uchida made something like this as well (maybe their version is completely different in design, I really can’t tell); at any rate, I think you found something quite rare and special. If only we had some full Uchida catalogue to check for reference numbers, and maybe explanations…
4 Likes