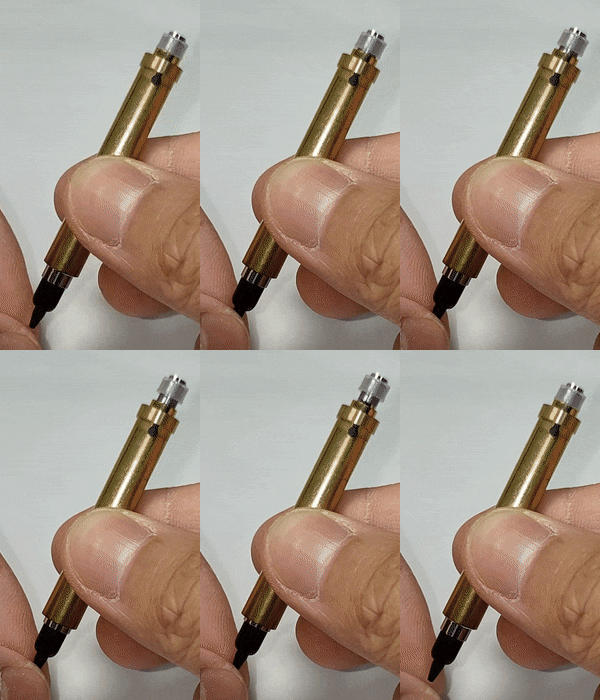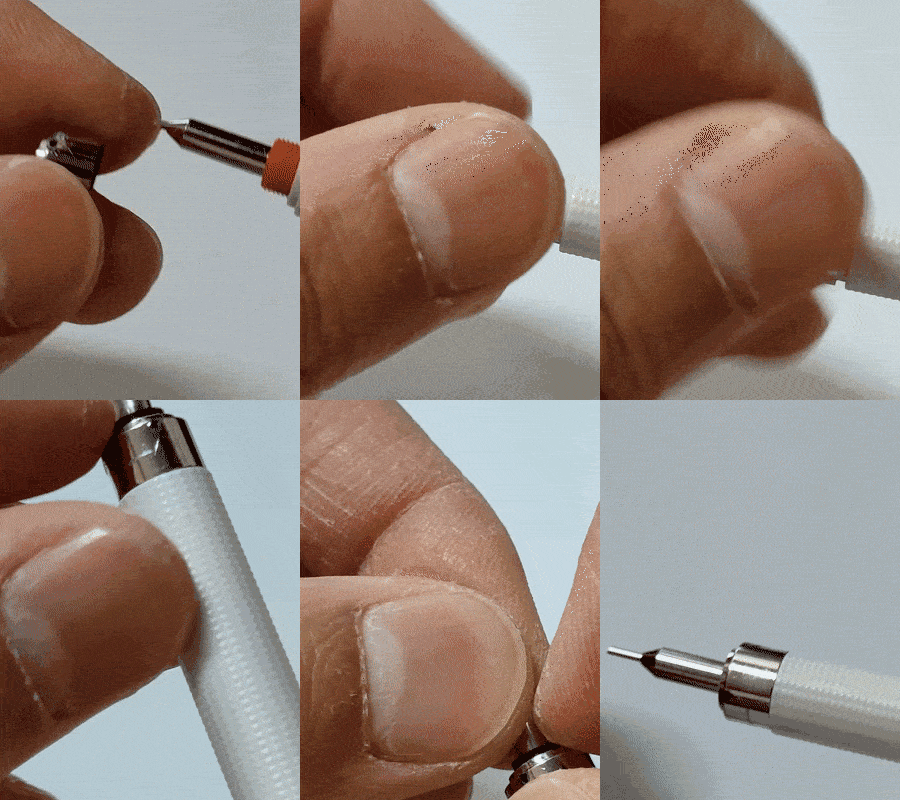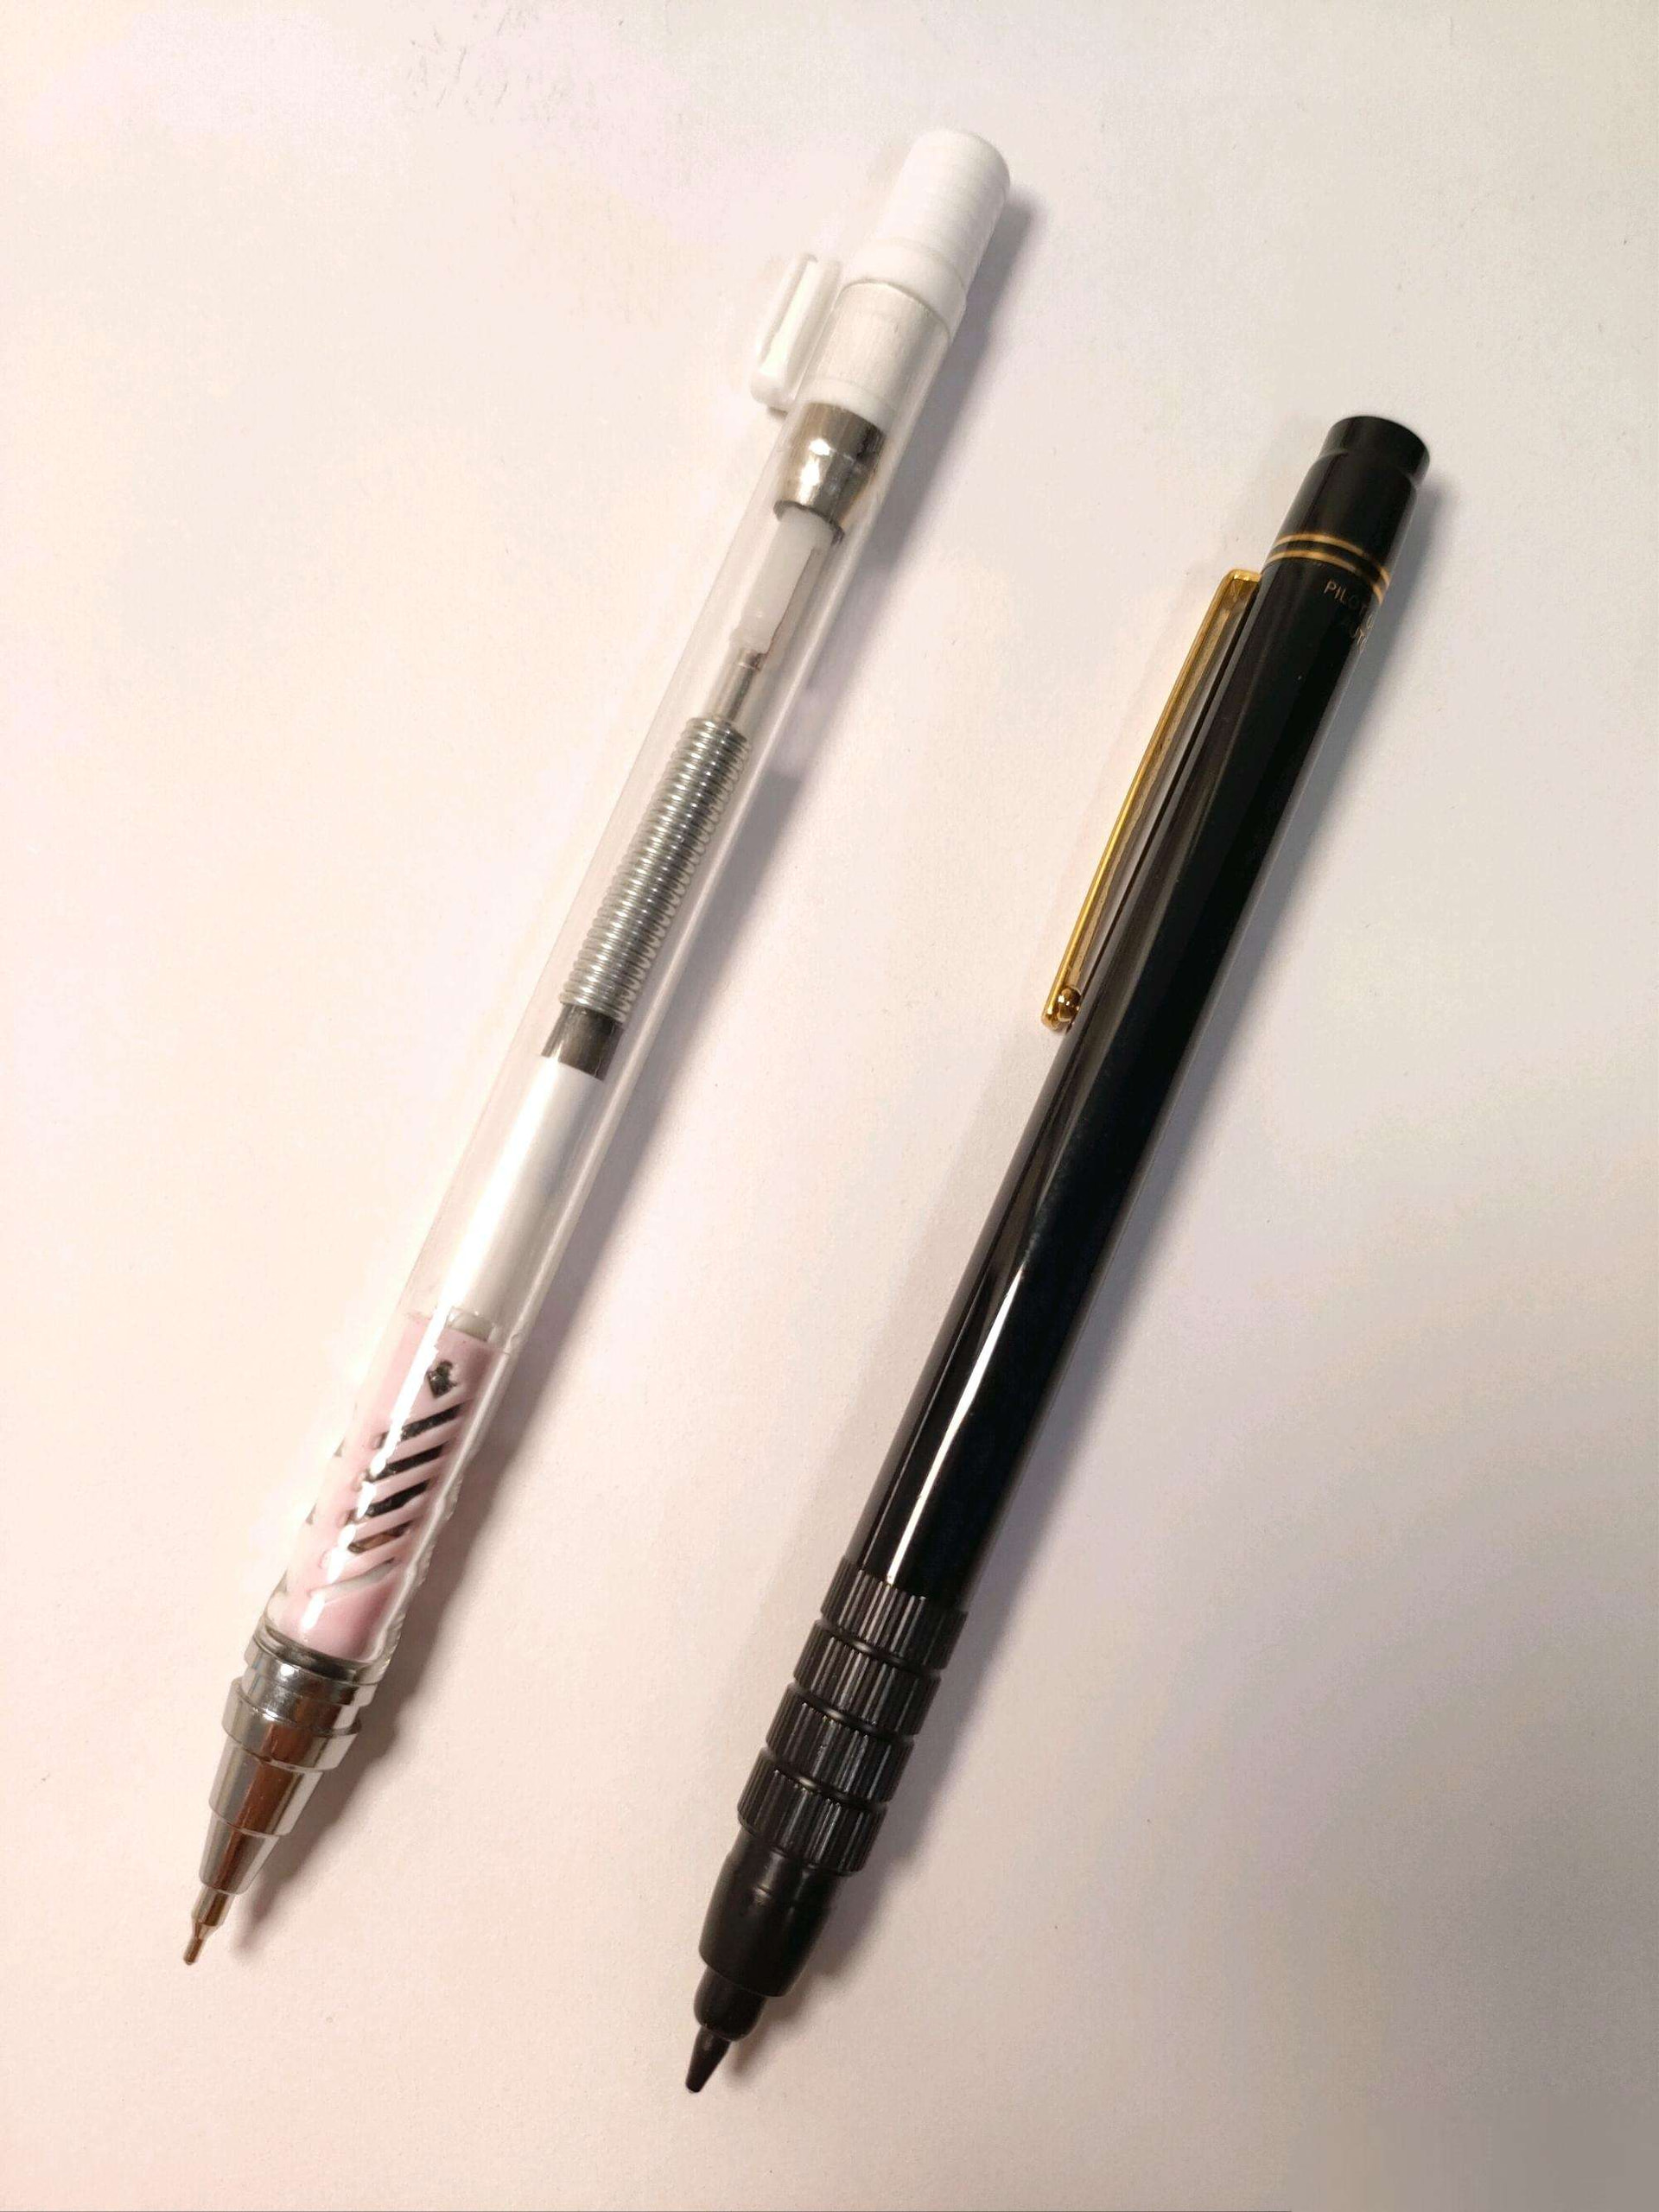
A Chinese talent just DIY'd their own Automac E500

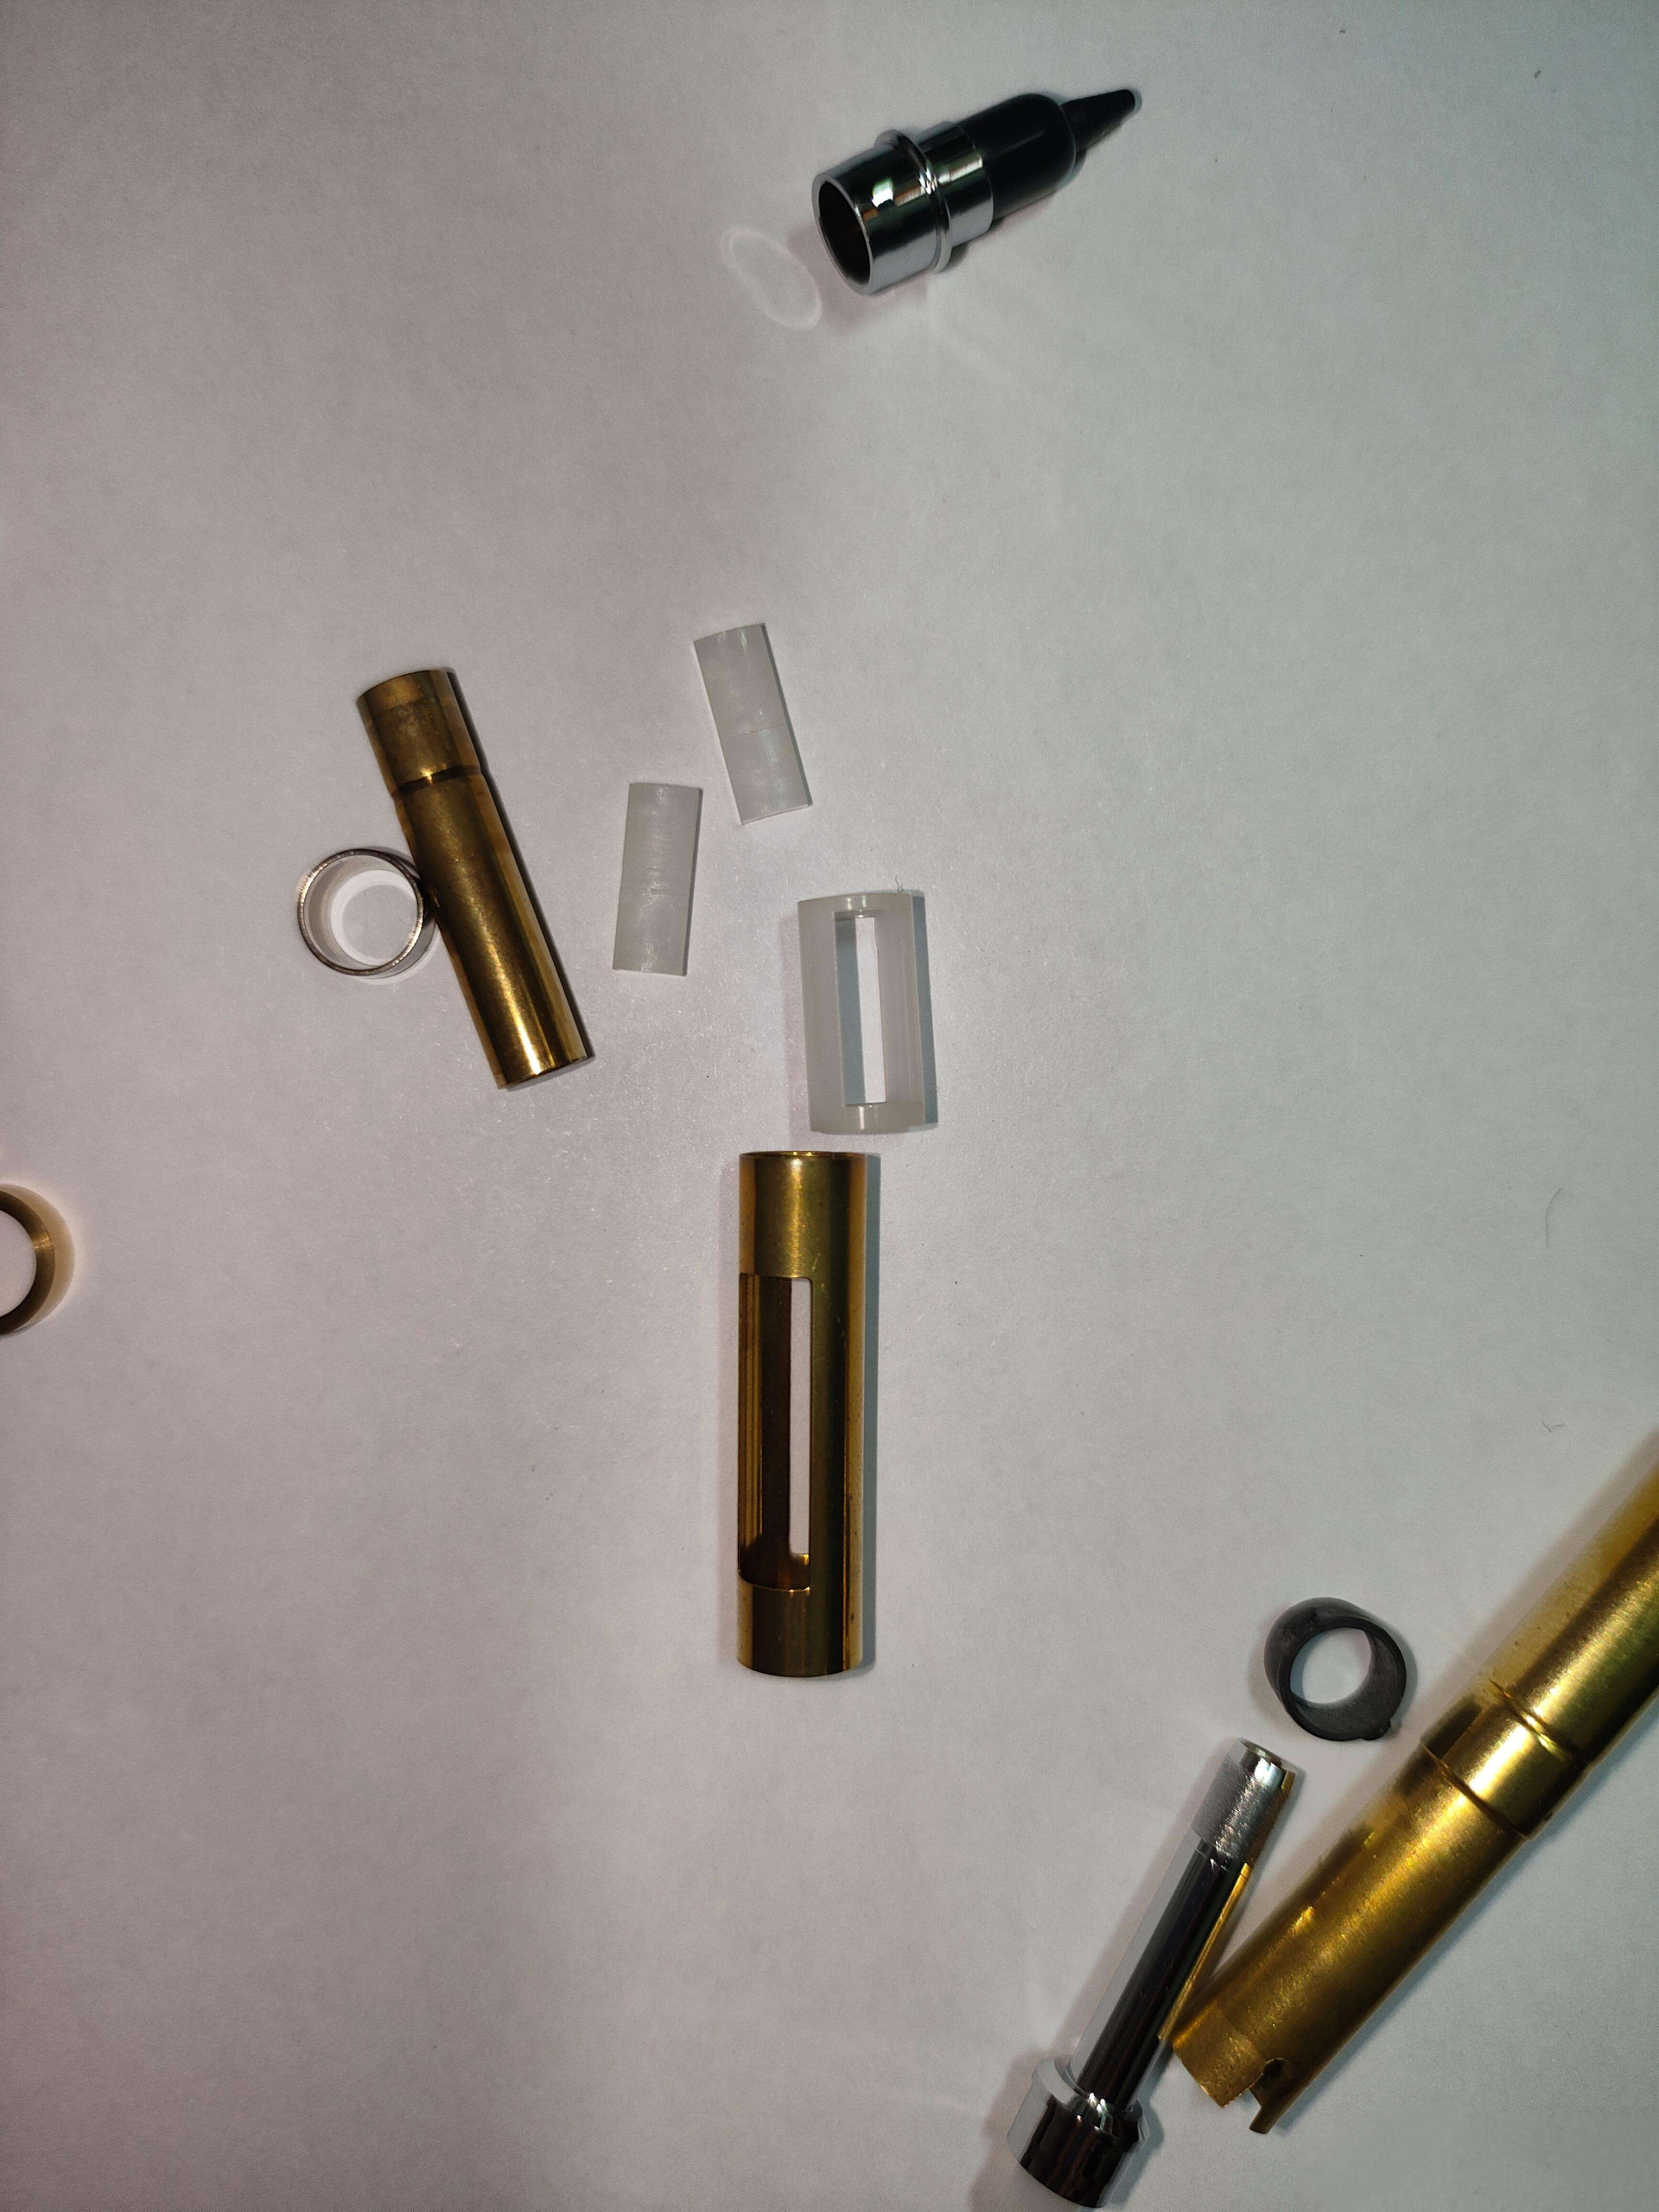
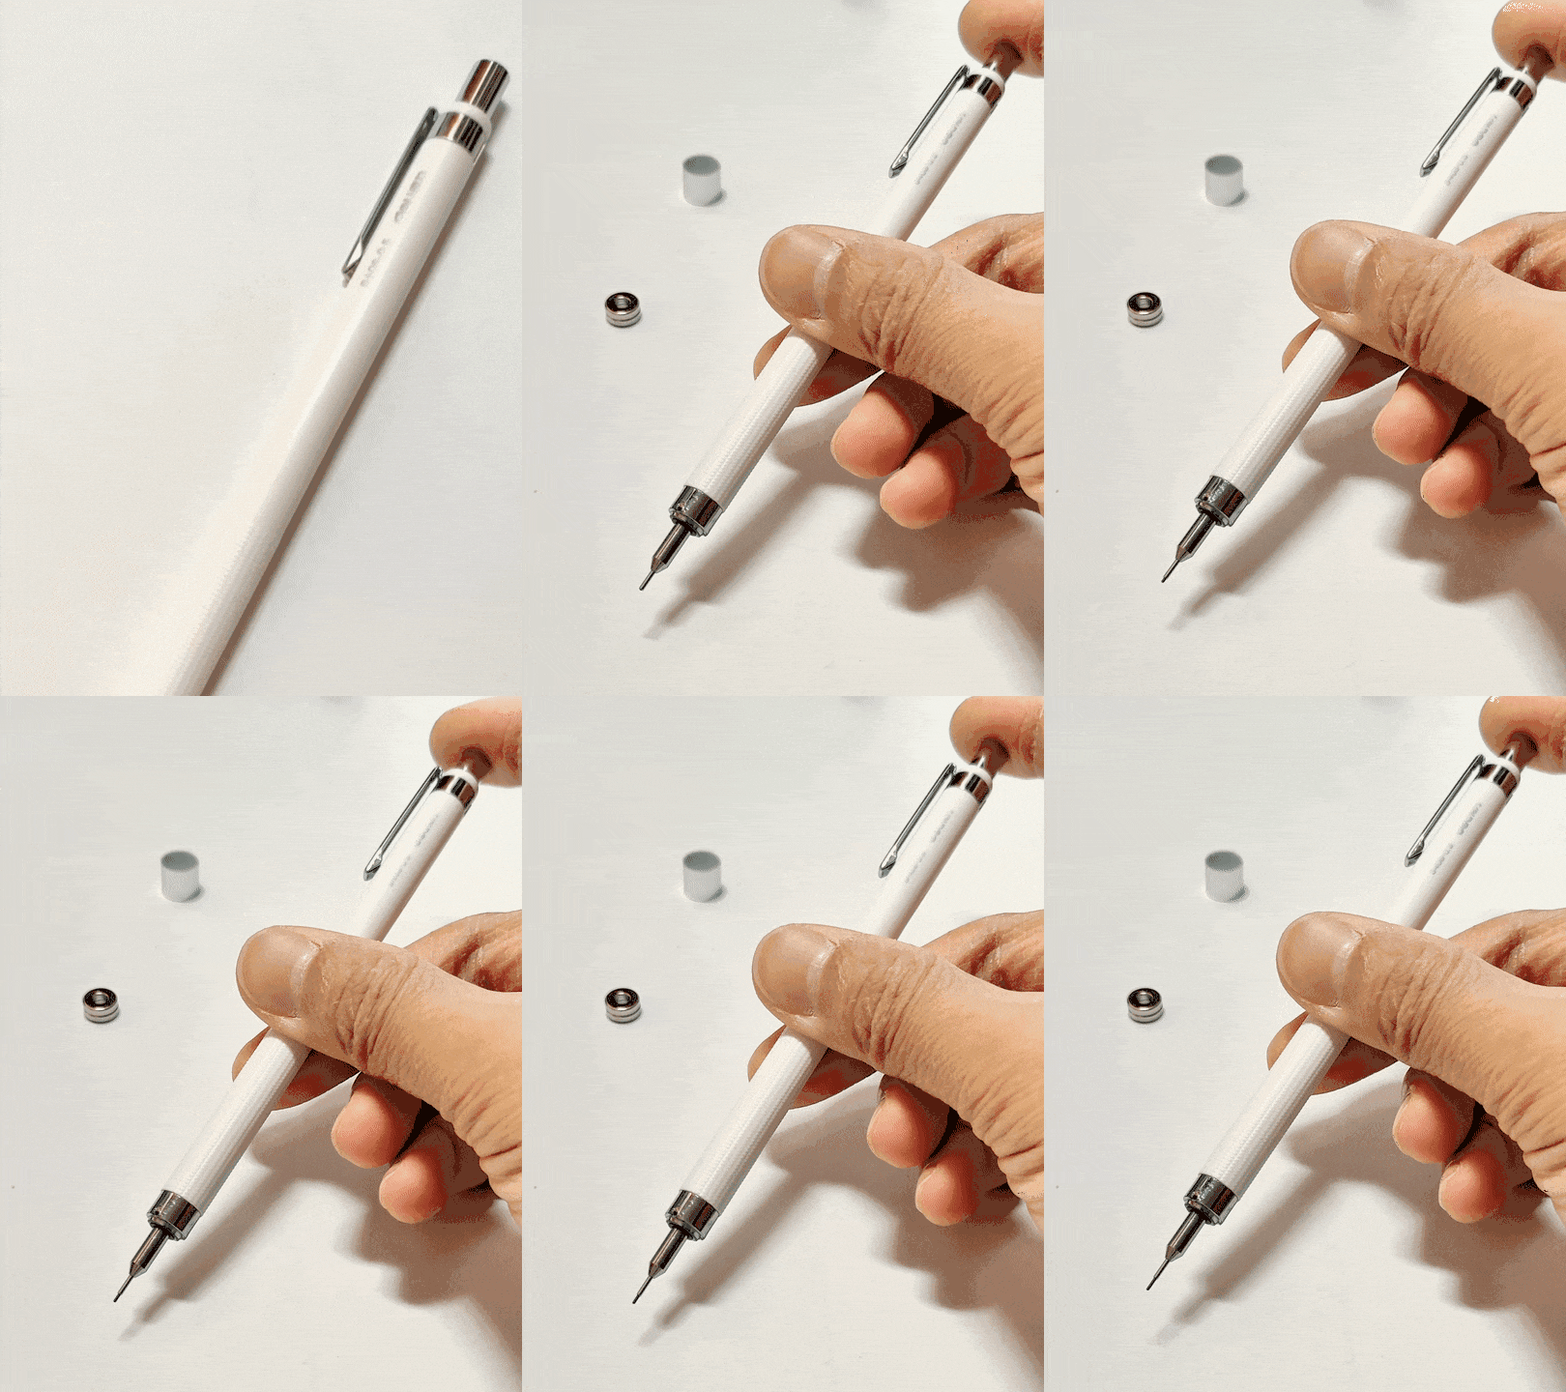
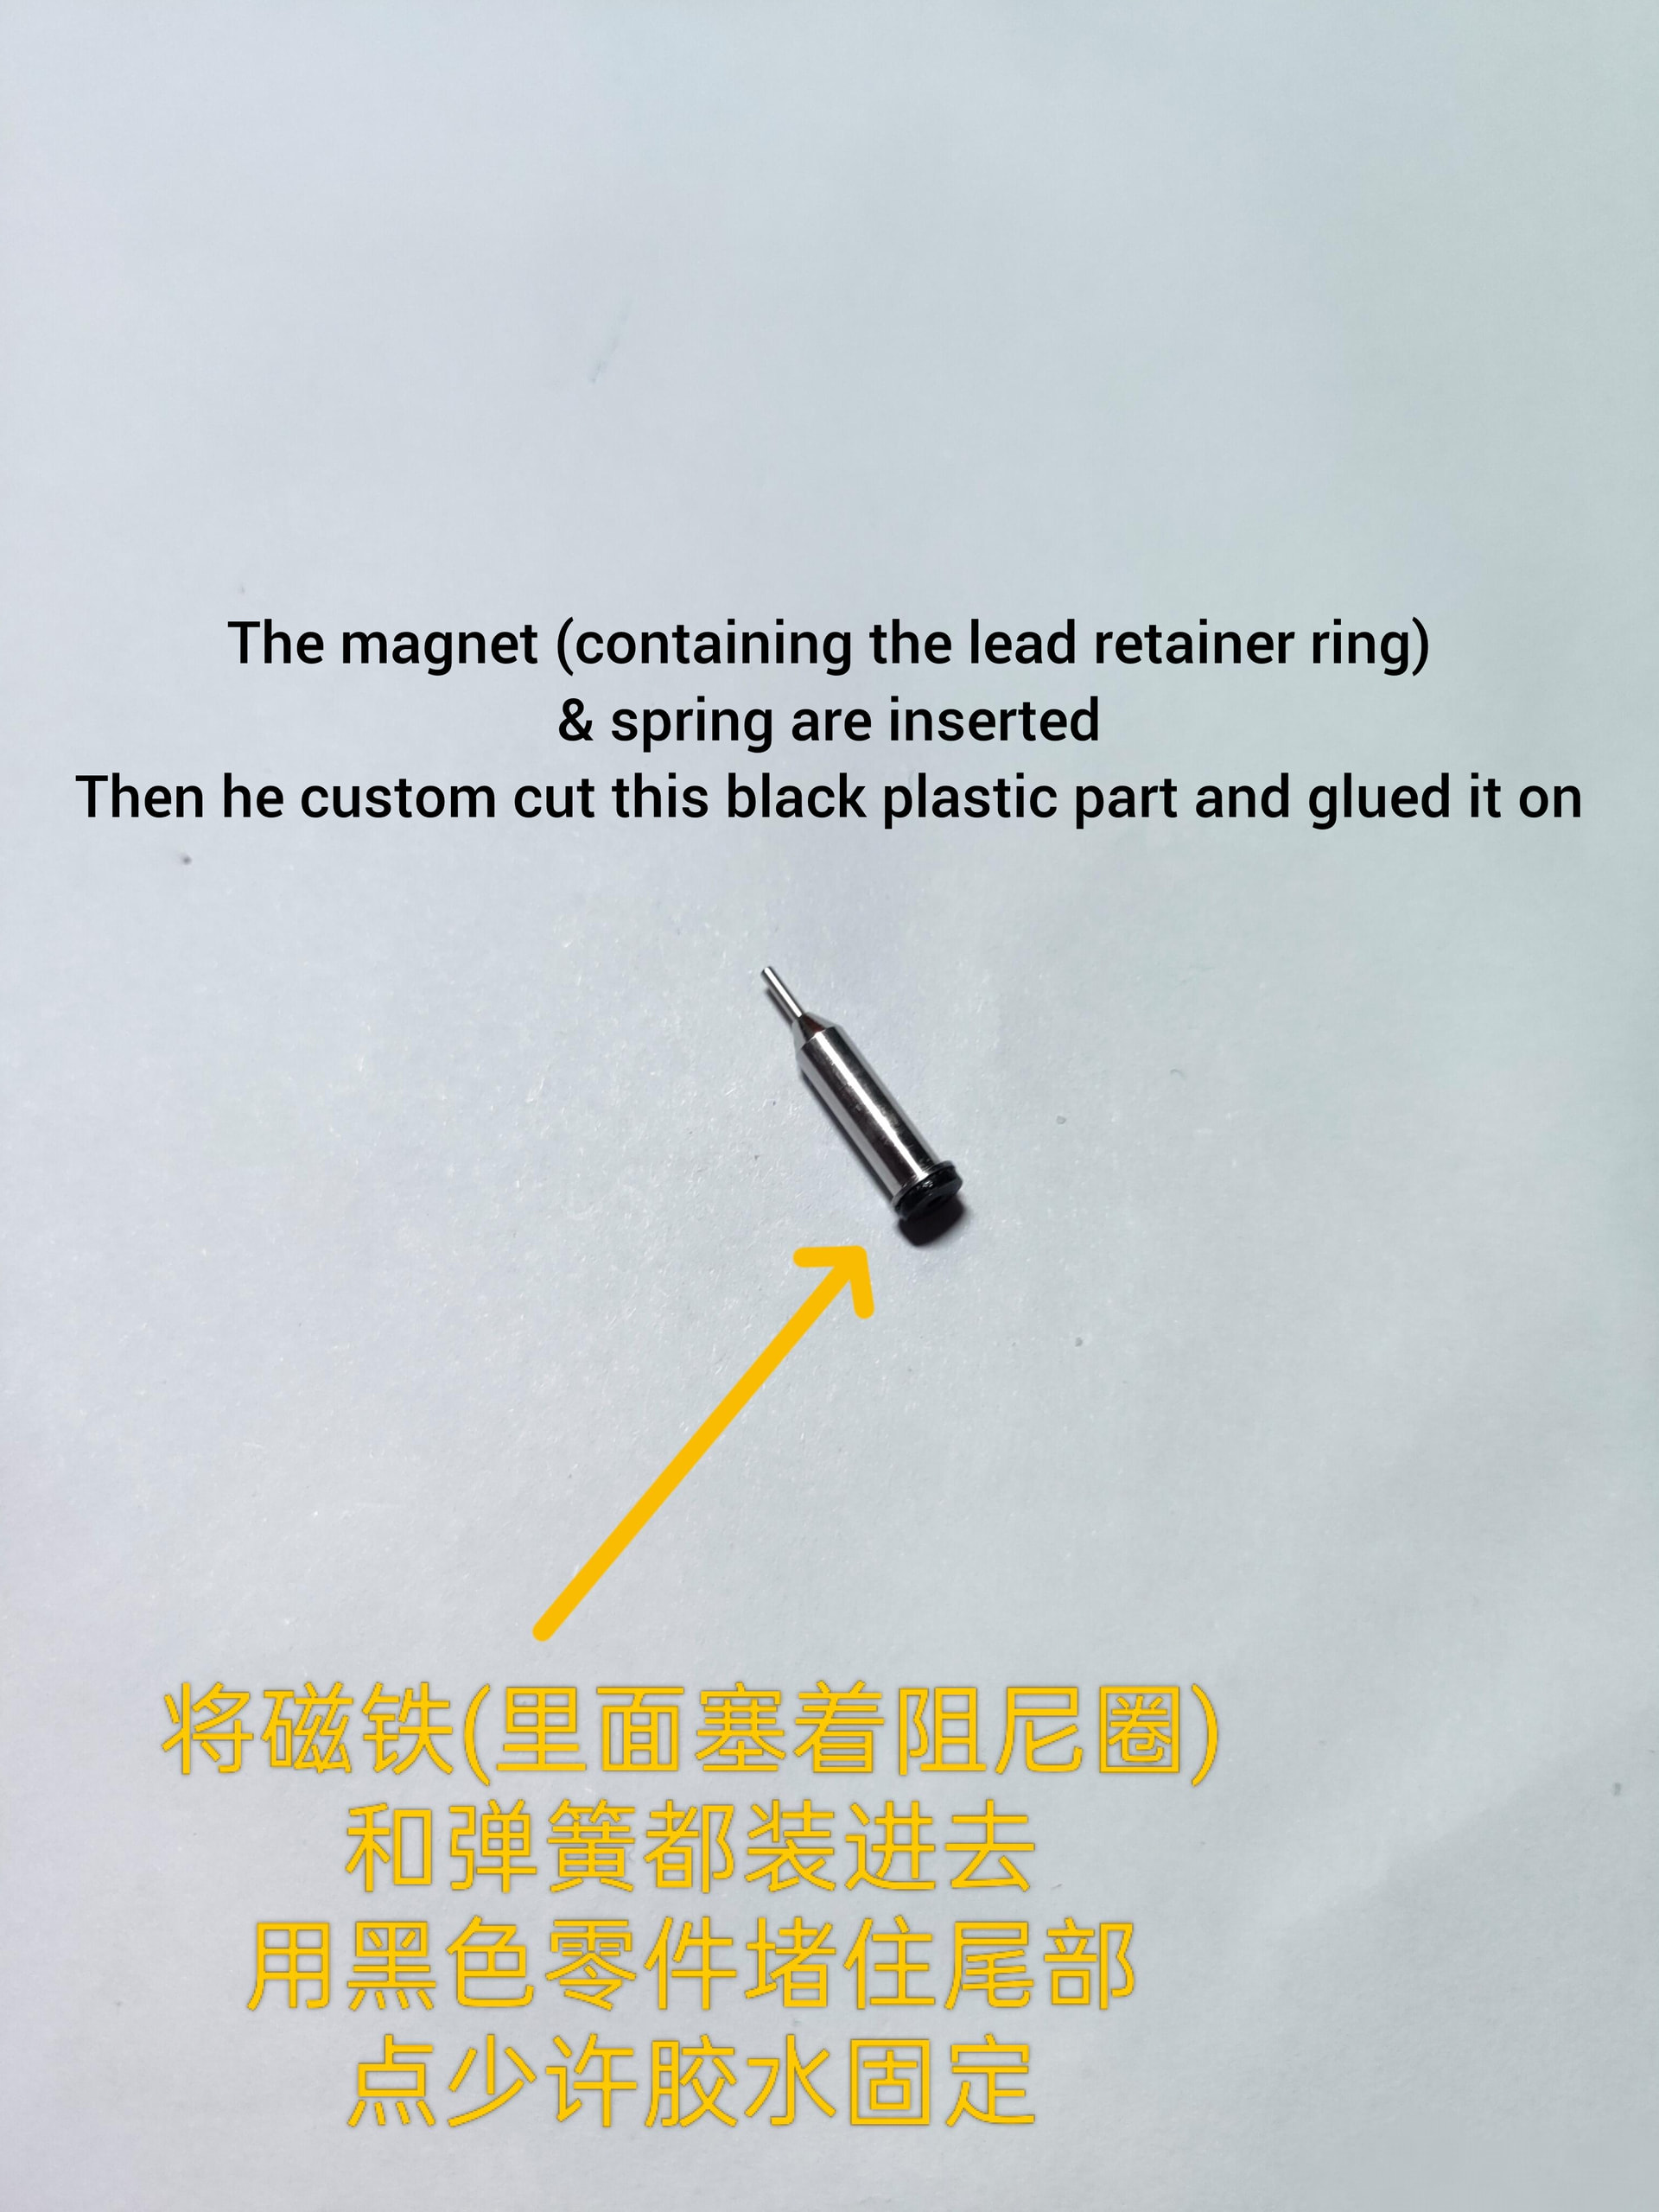
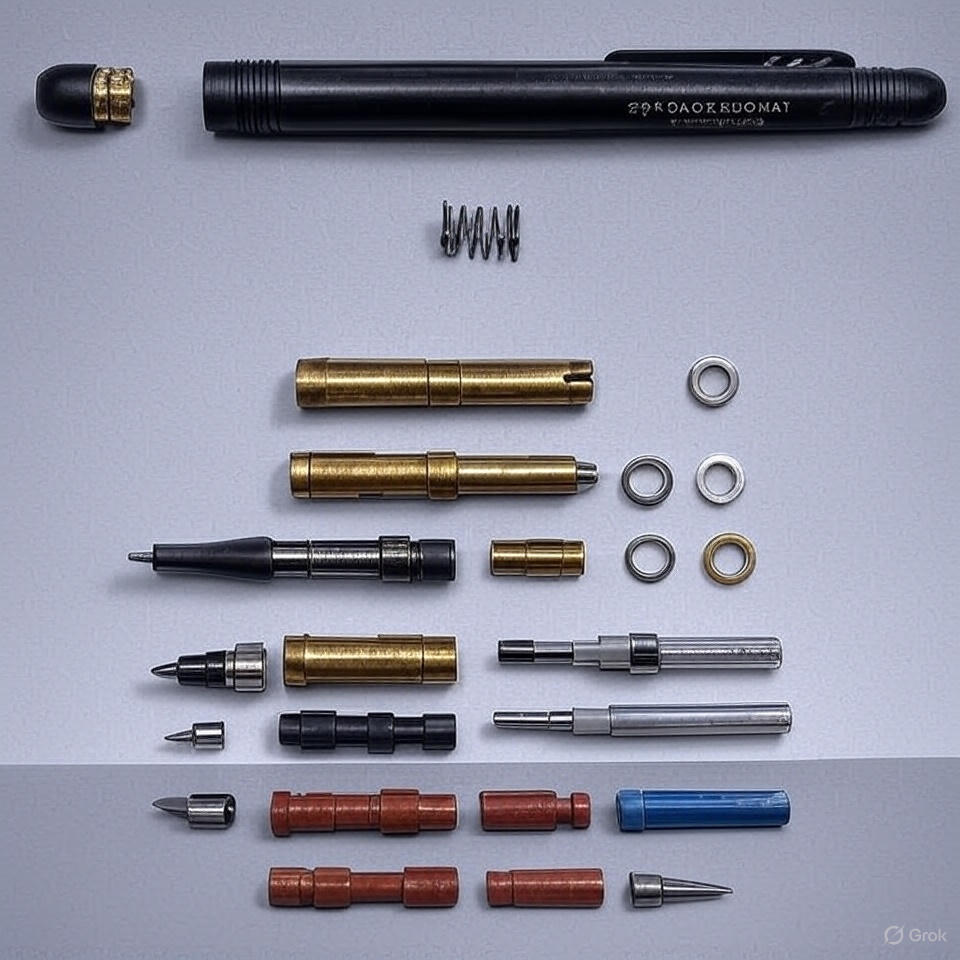
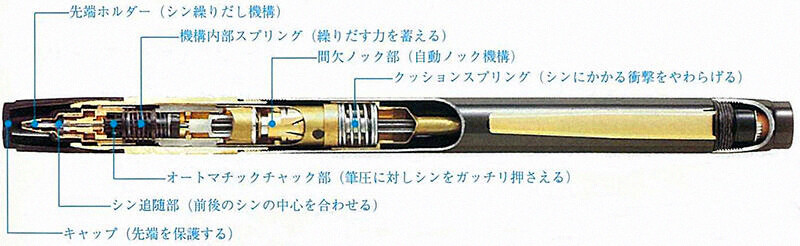
This is a pencil he made from numerous scrap parts and a small amount of custom parts. He did it largely referring to the internal structure of the actual Automac E/E500, hence his one has all the main functions as well.

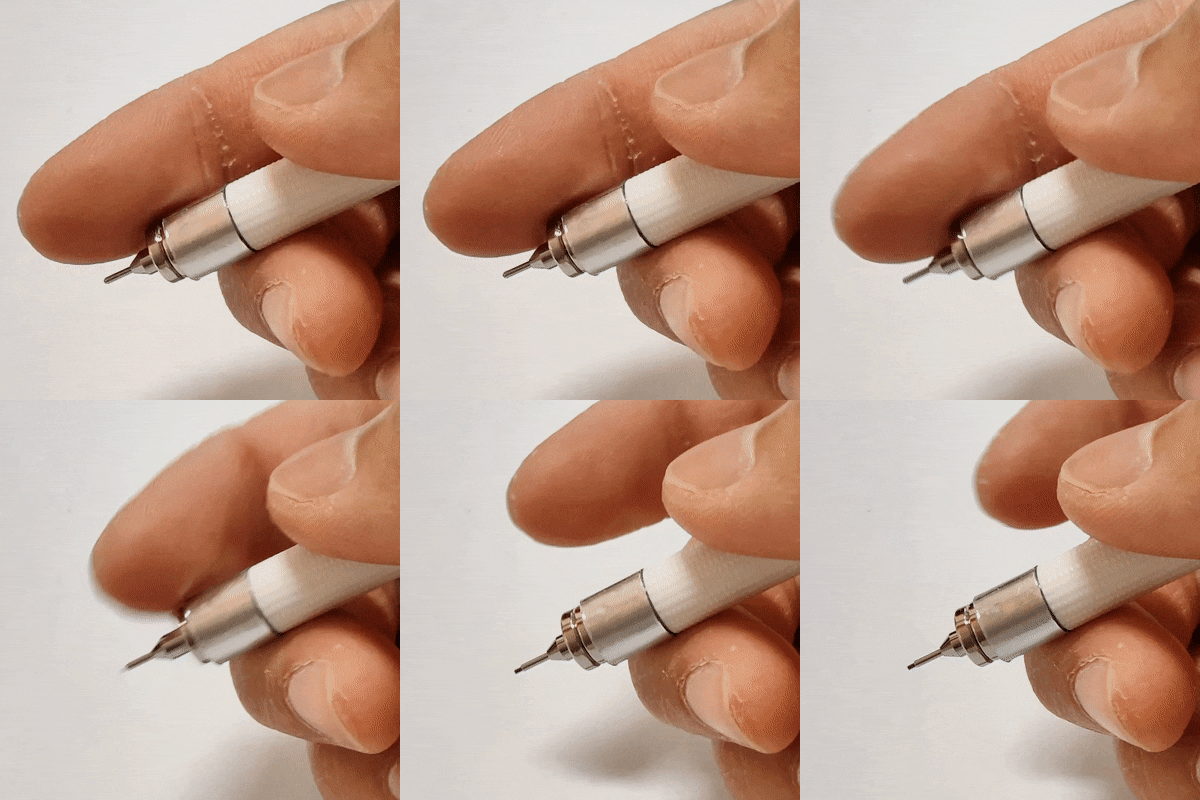
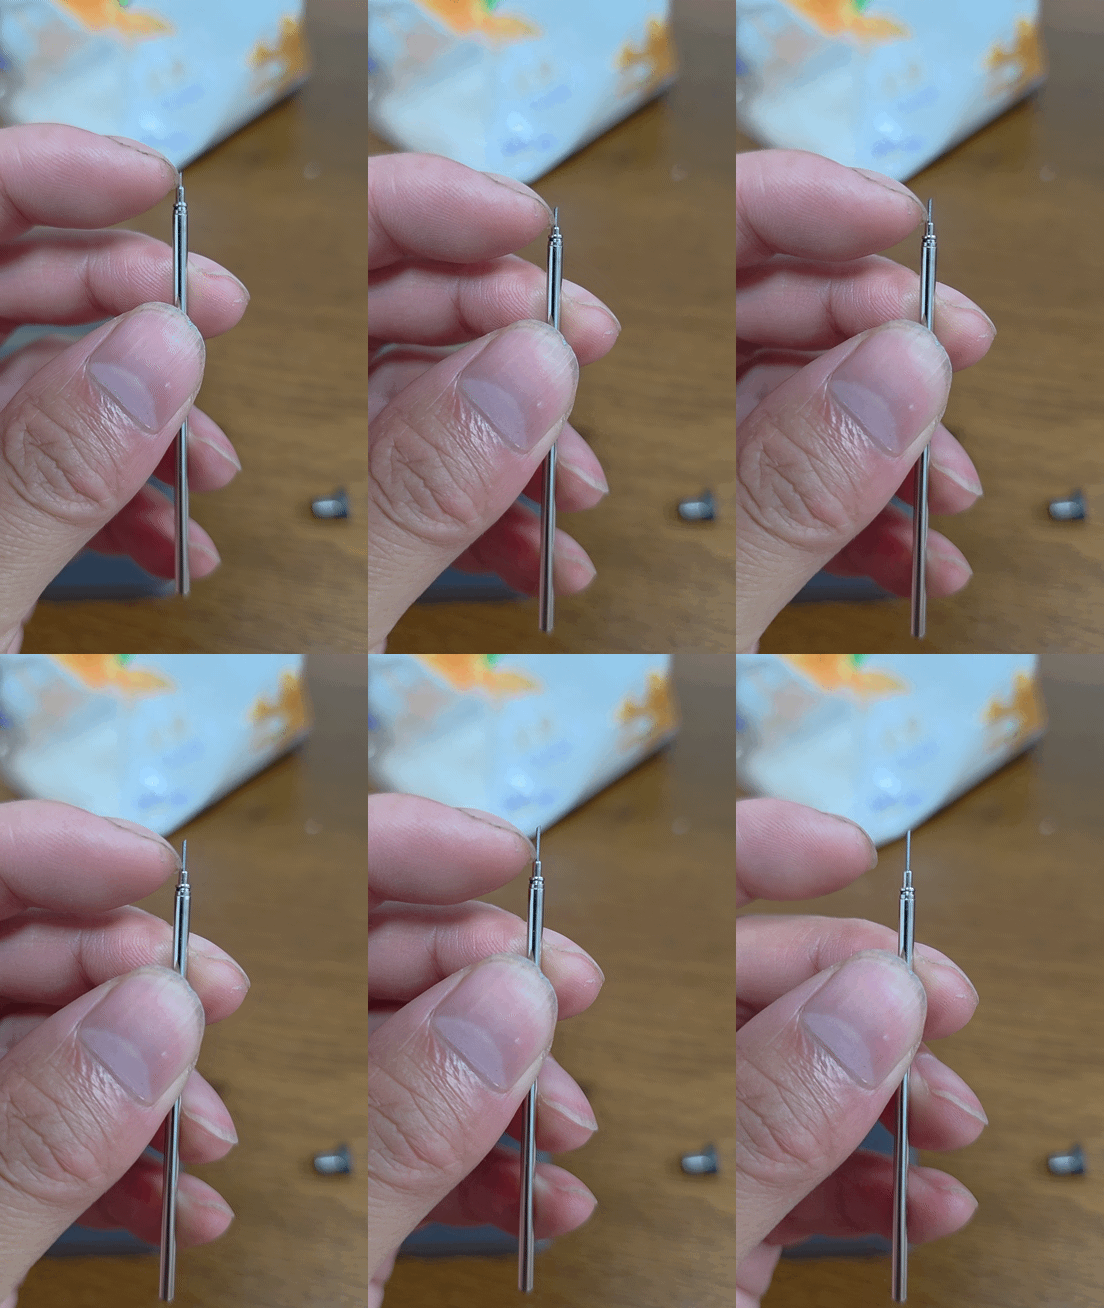
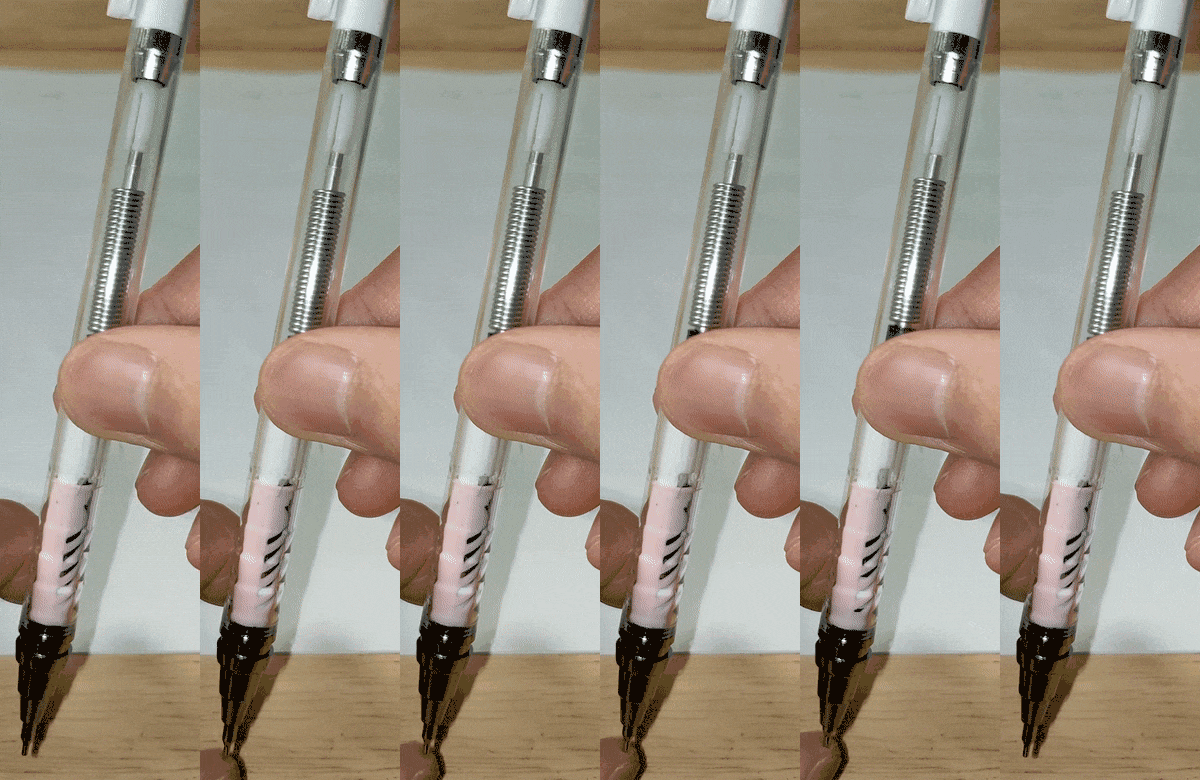
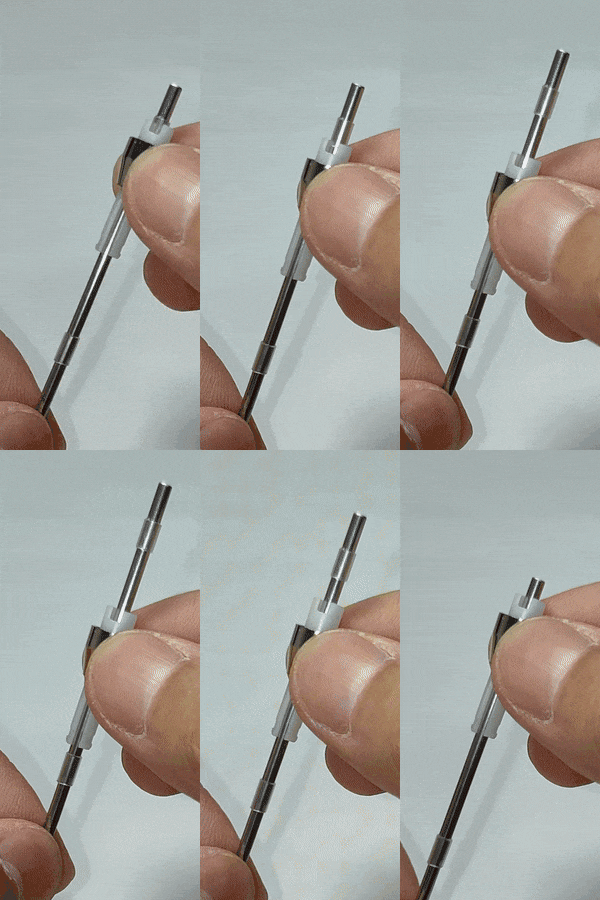
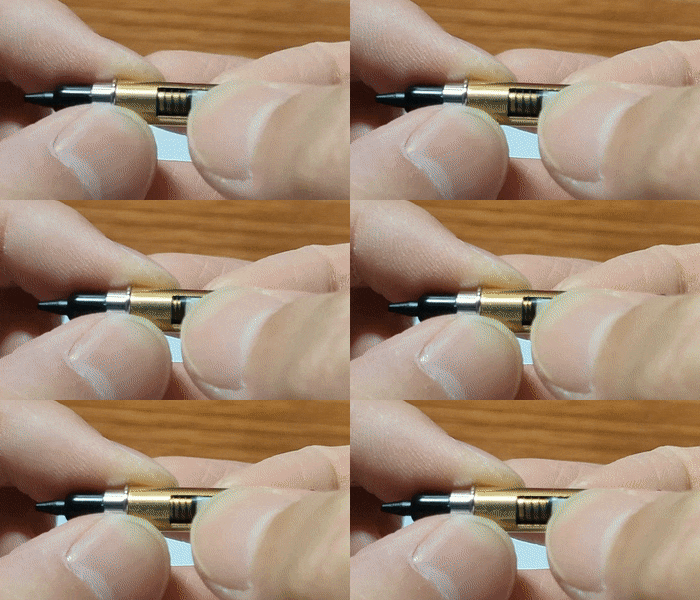
The Automac E style of auto lead advancing is slightly different from what we see on most auto MPs in general. For most auto MPs like Orenznero, when the lead is used up, the next stroke we write pushes the spring loaded lead sleeve inwards. Once we lift the pencil from the paper, the lead sleeve instantly extends back to full length, bringing the lead along. For Automac E/E500, the lead sleeve does not instantly extend back. Instead, it shortens as we write, until it reaches the end of its travel and extends back to full length completely. It’s very similar to how a base Orenz works, except the internal mechanism is doing that final one full click for you.

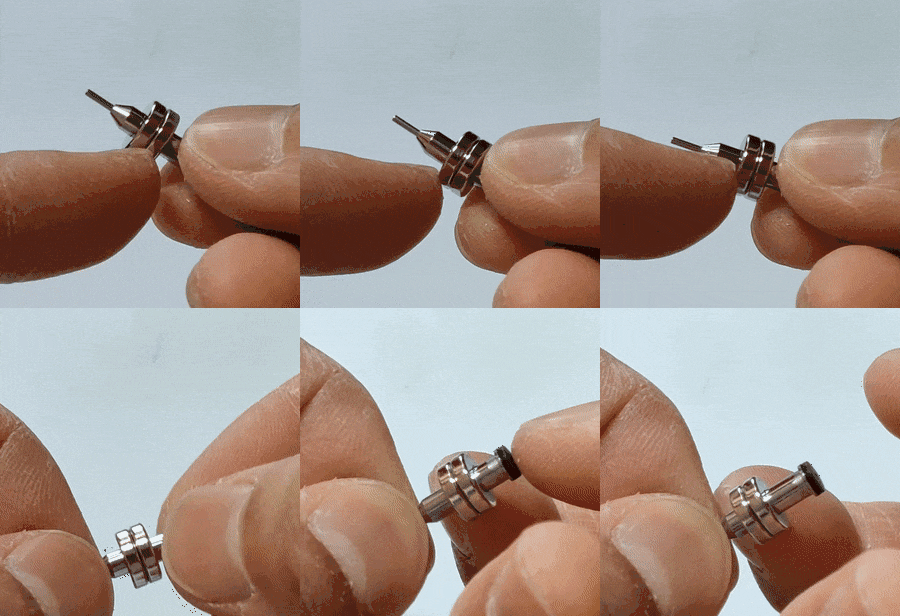
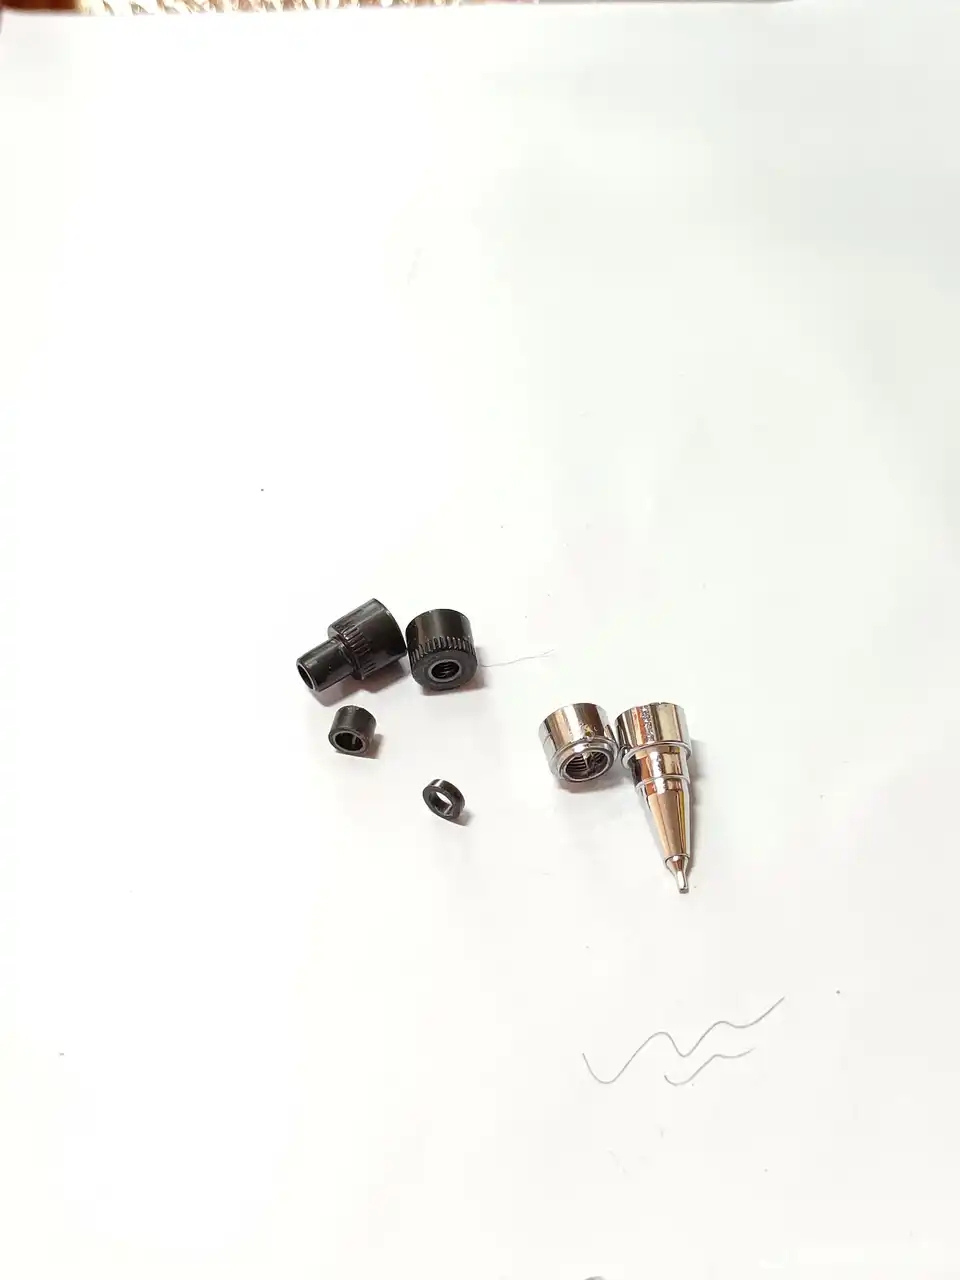
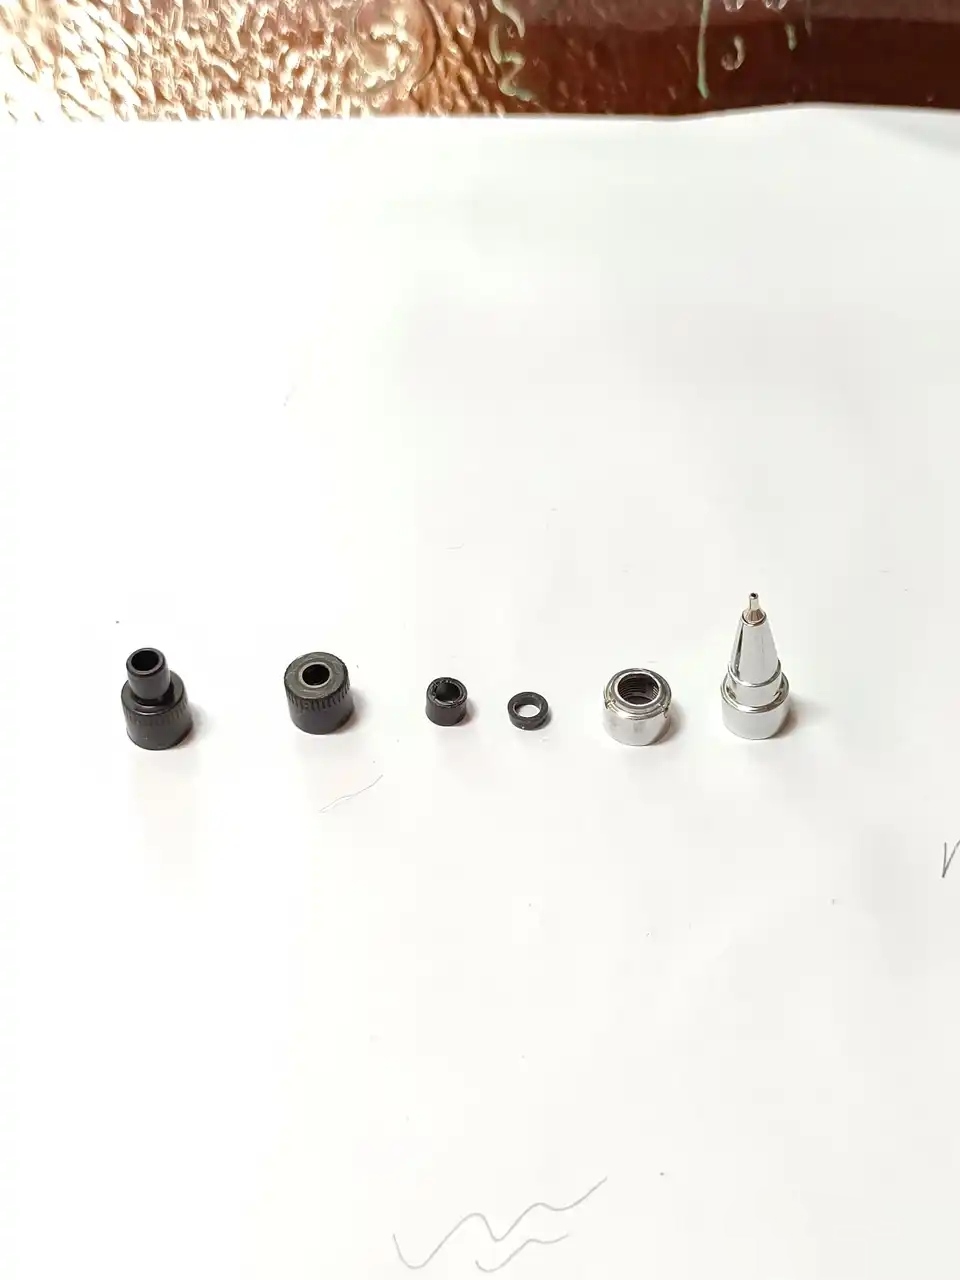
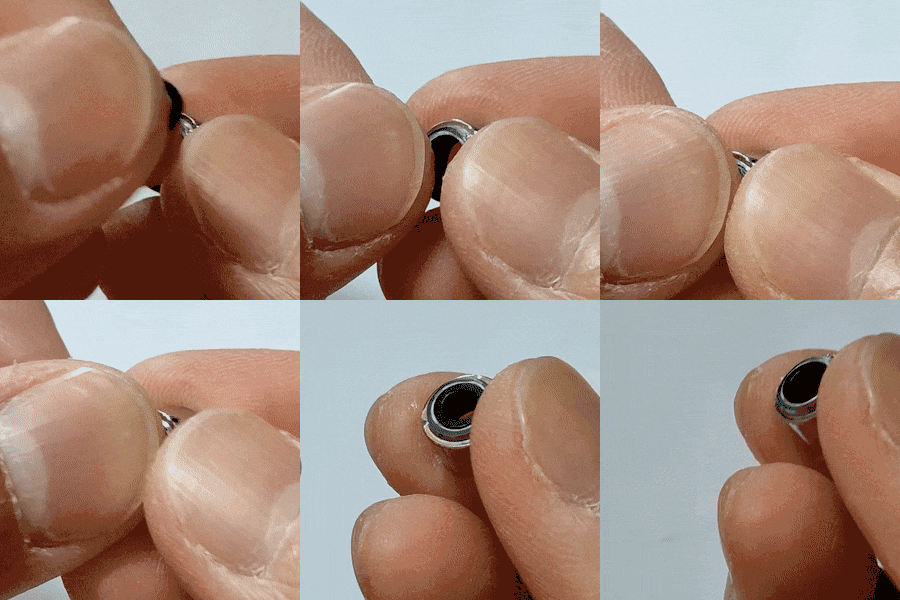
This mechanism is somewhat similar to security tags seen in clothing stores. The original E500 has 6 tiny steel balls inside, but he only put 2 inside his, for ease of assembly.
84753B339EFE1404ADEB4ED2EFEF65C7

E2040461AABB80F49801CA5446E7AA93

62D877676B886F1AF3E4E621CA80EB5F

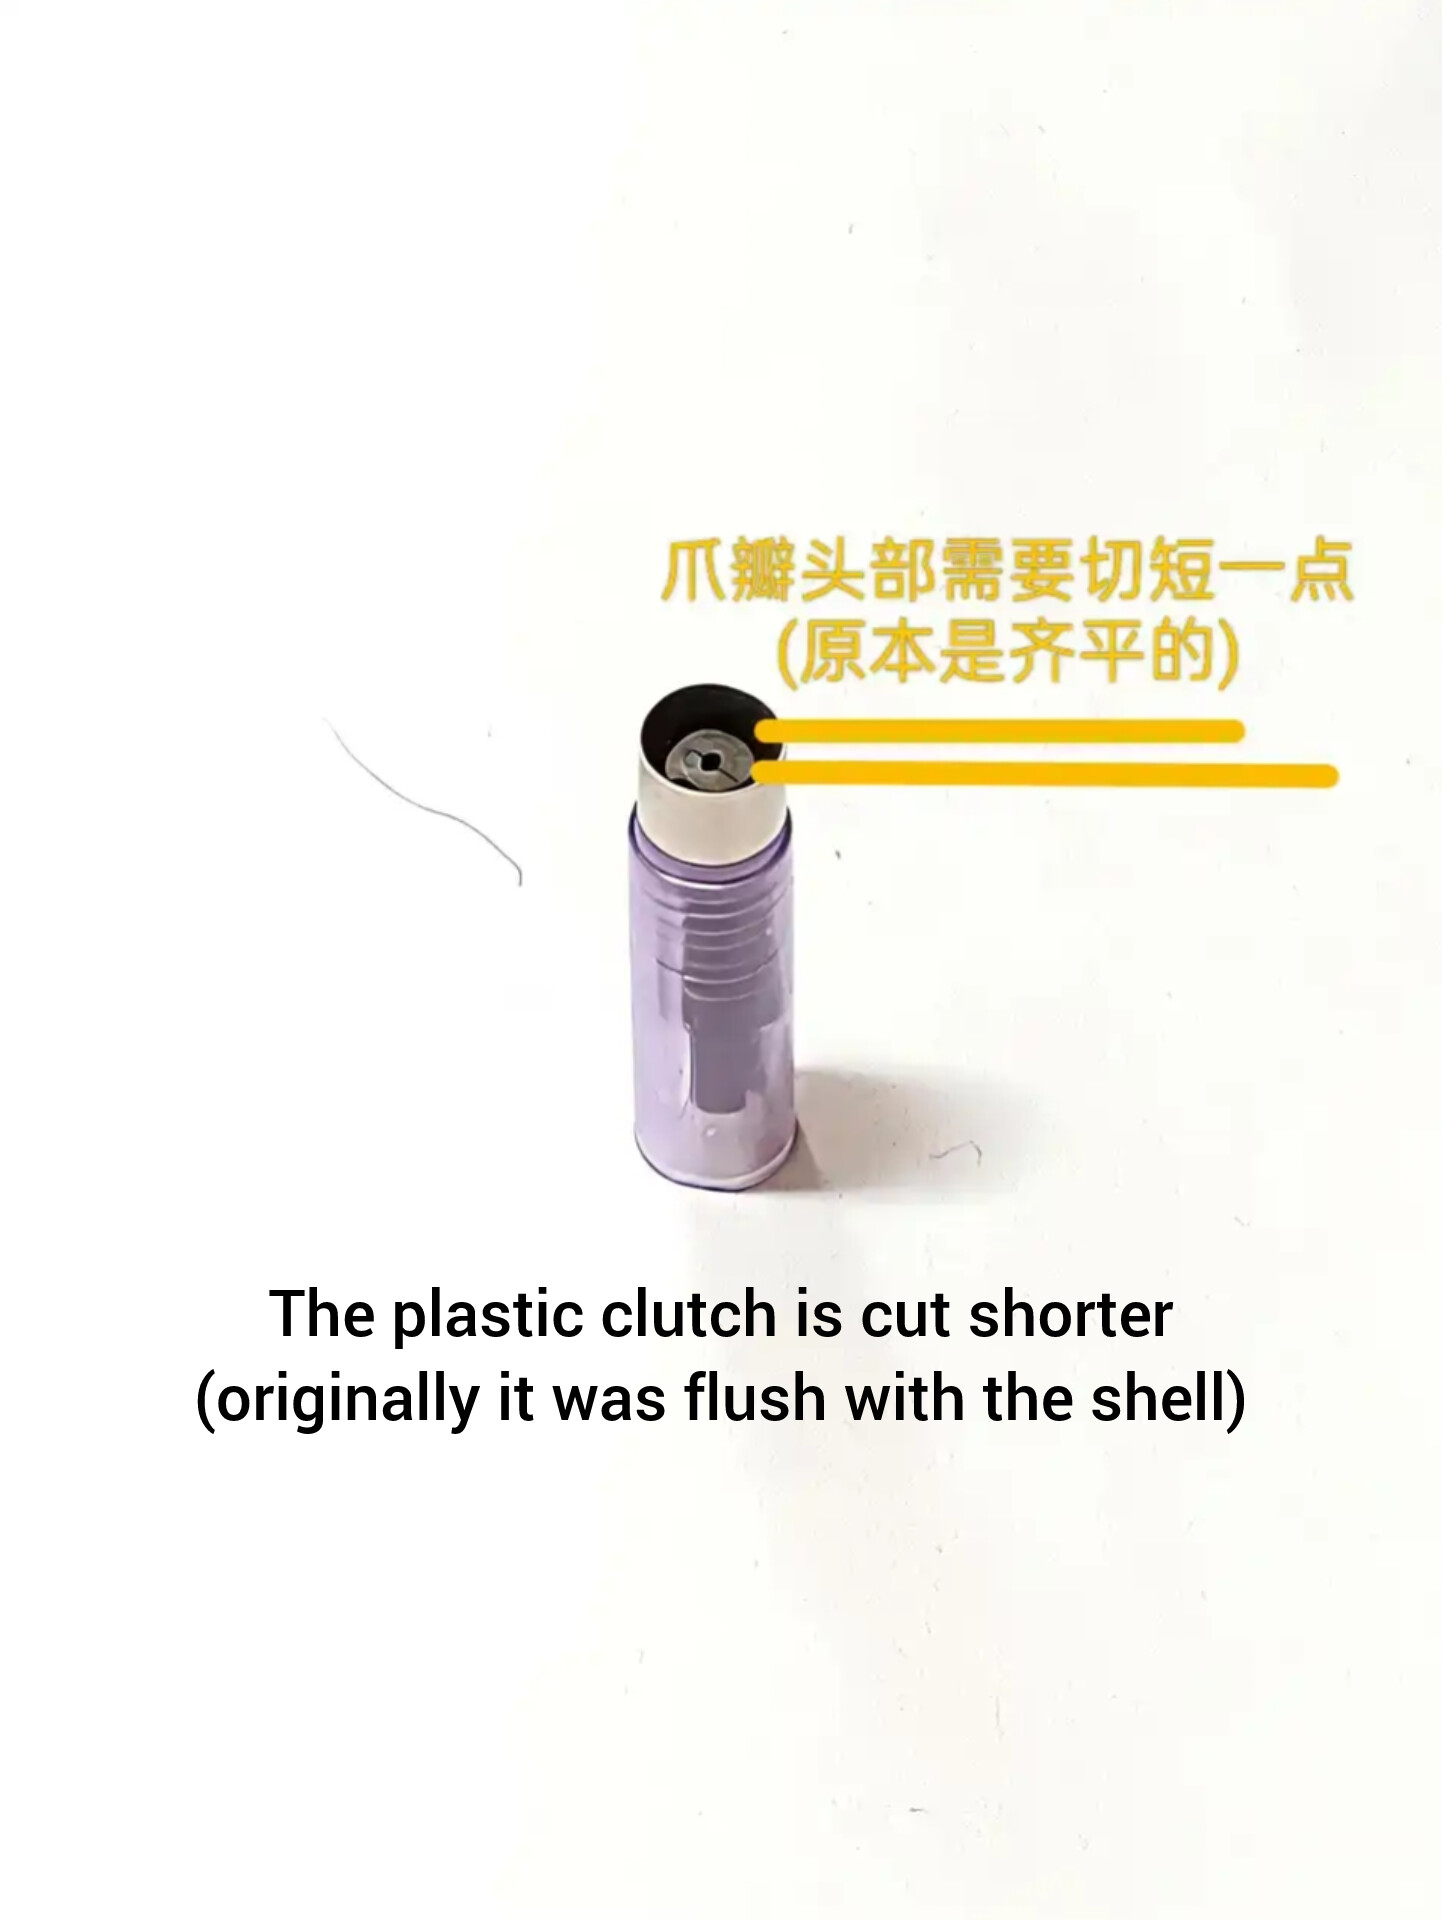
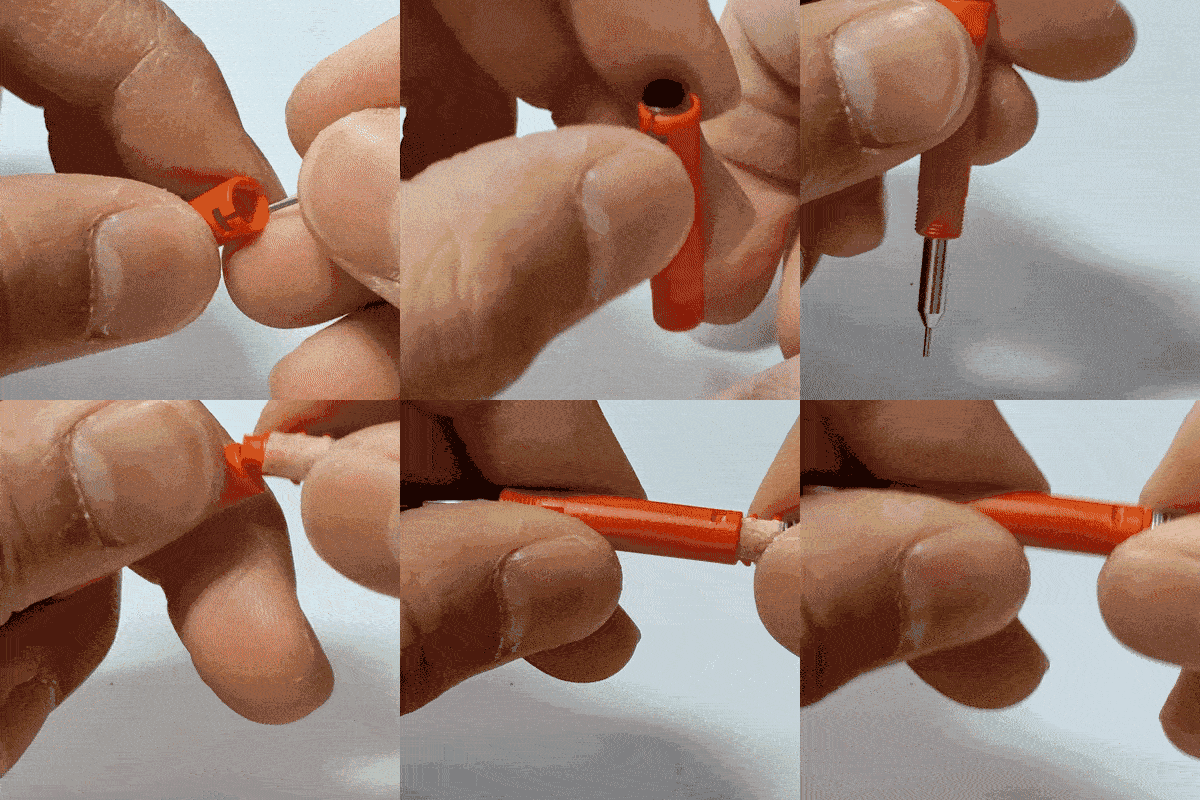
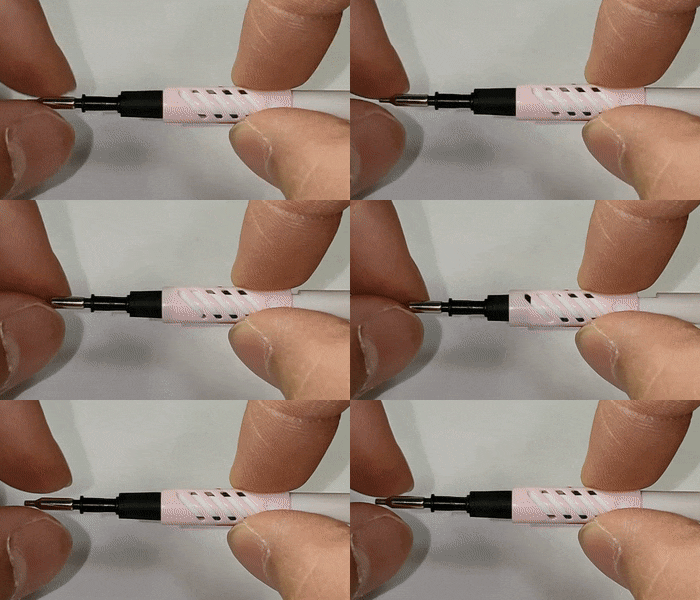
The auto lead replacement is less complicated, basically when the tip is pushed fully inside it pushes an internal part that opens the clutch, which allows the next piece of lead to fall into the clutch.
25818975E73E397A0B8D6A967A213F88

AA33A181AE1535F76EC24F52109F0058

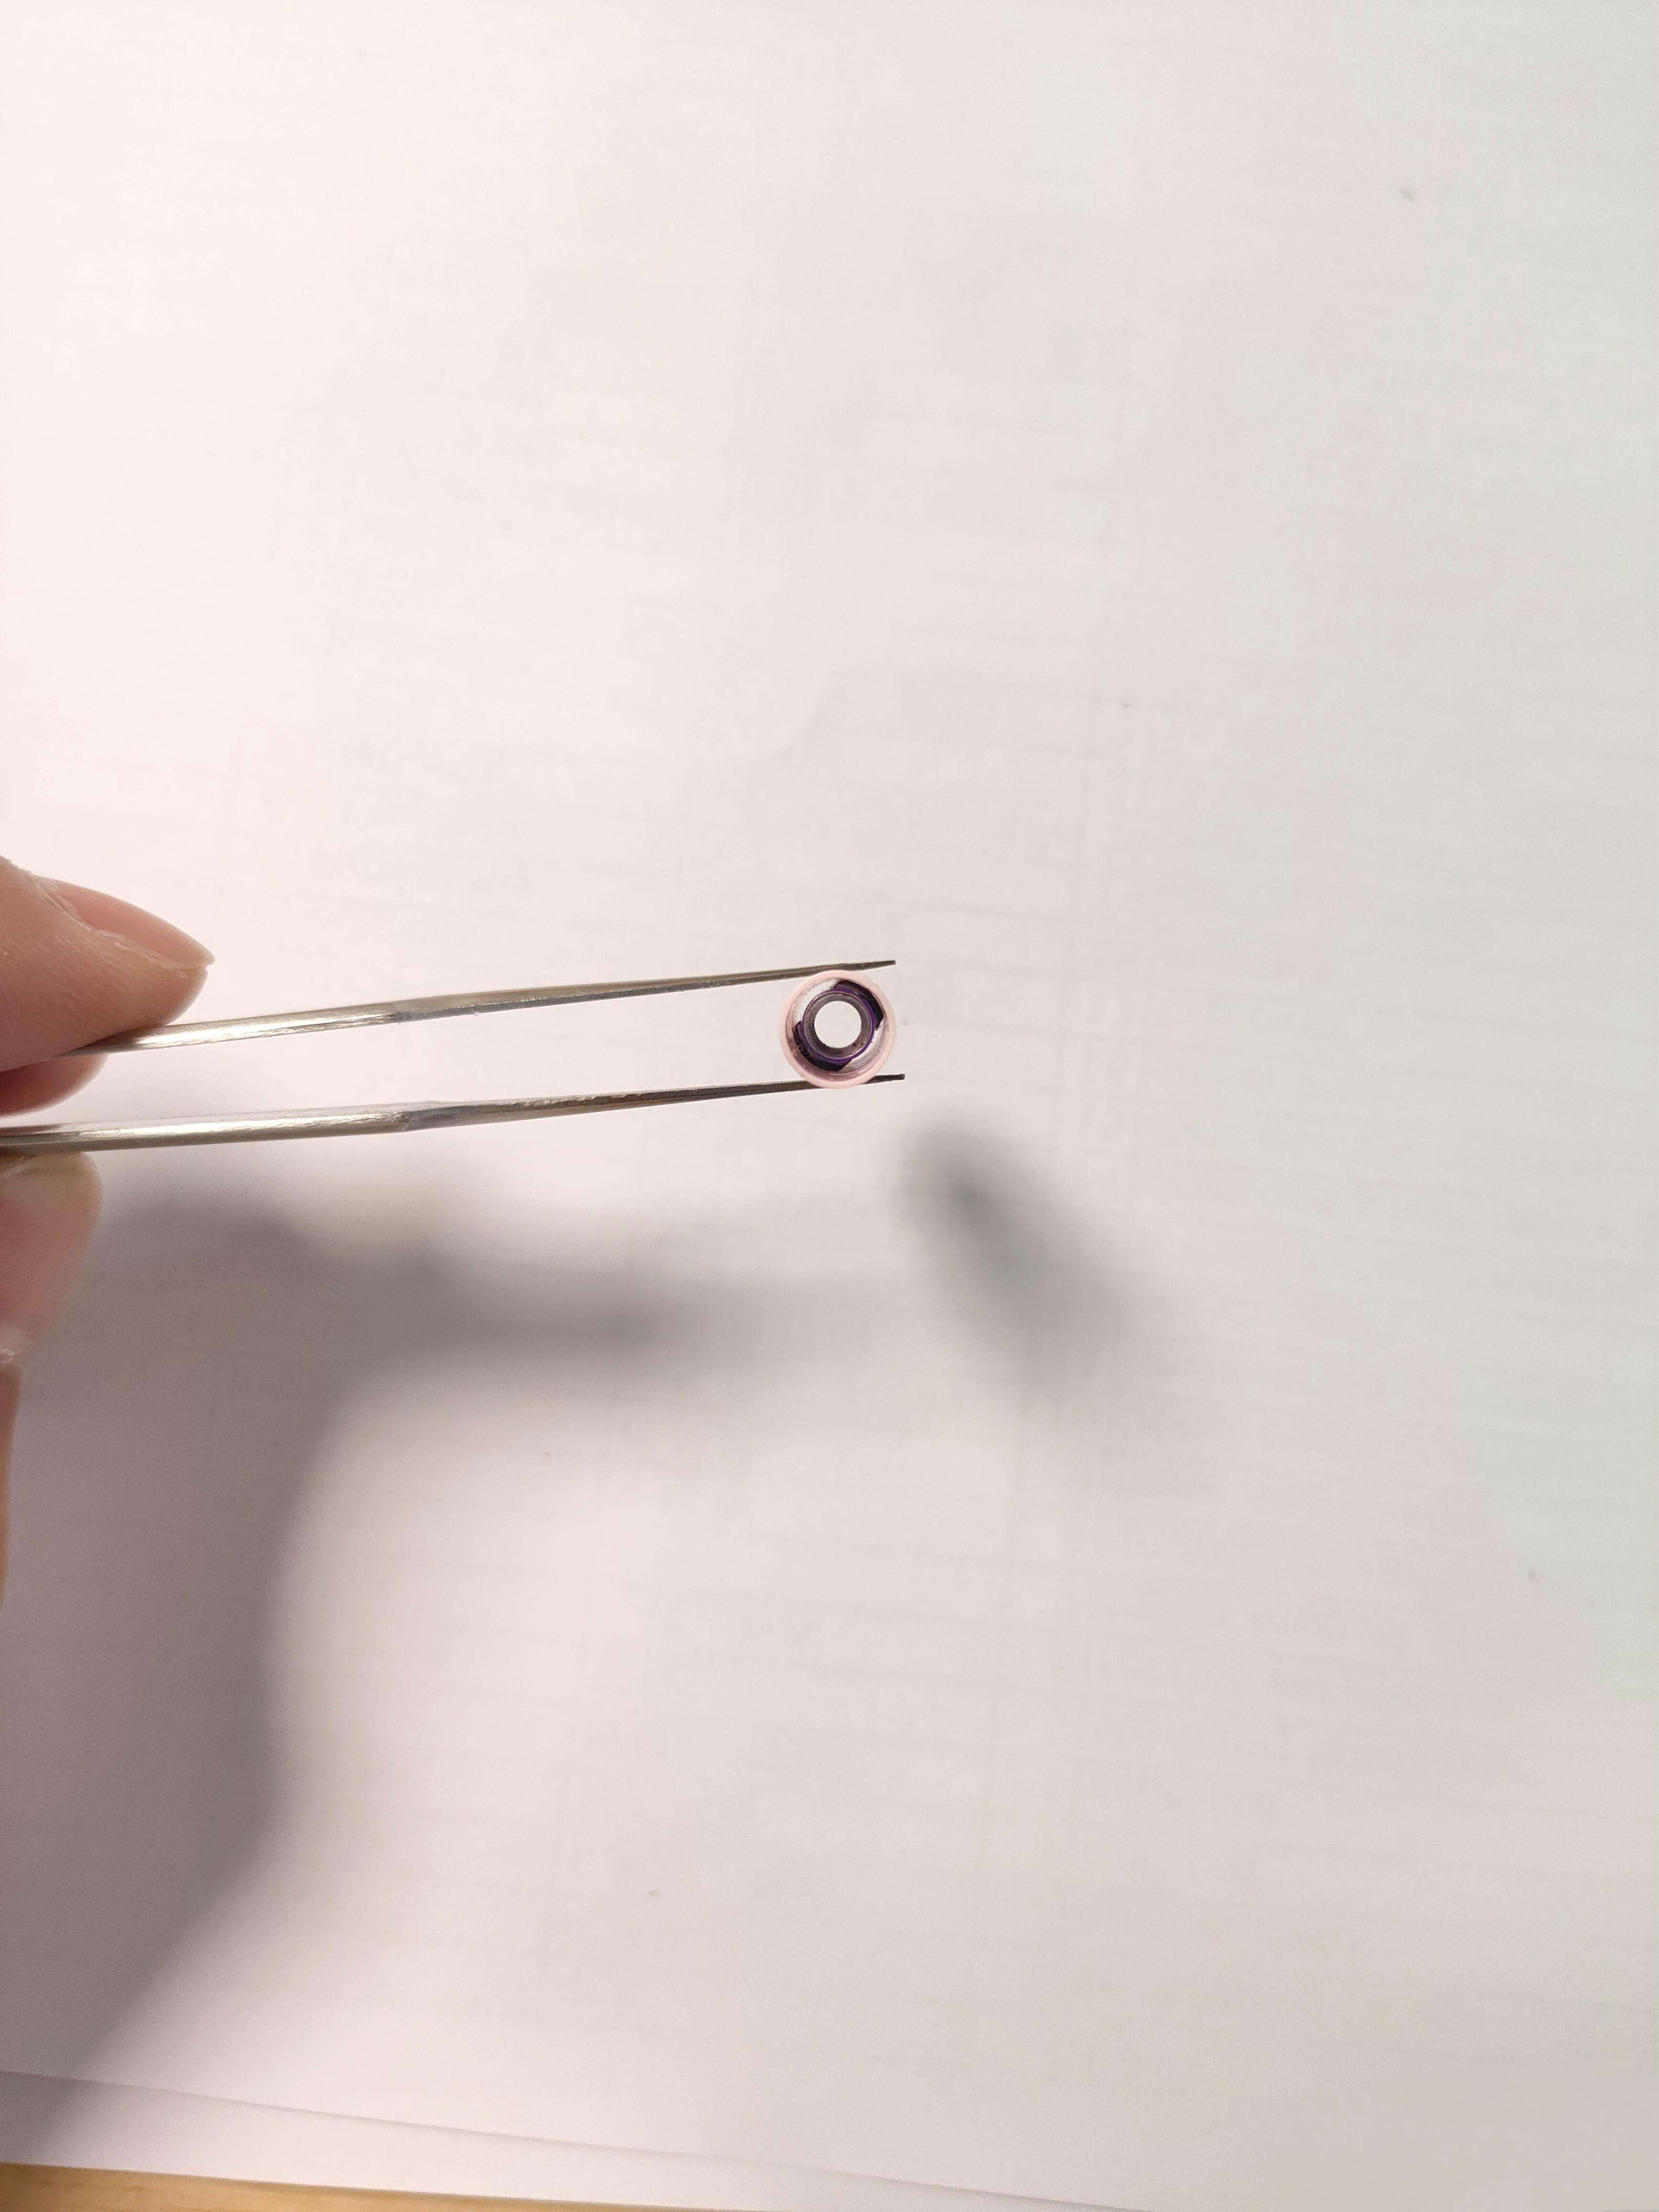
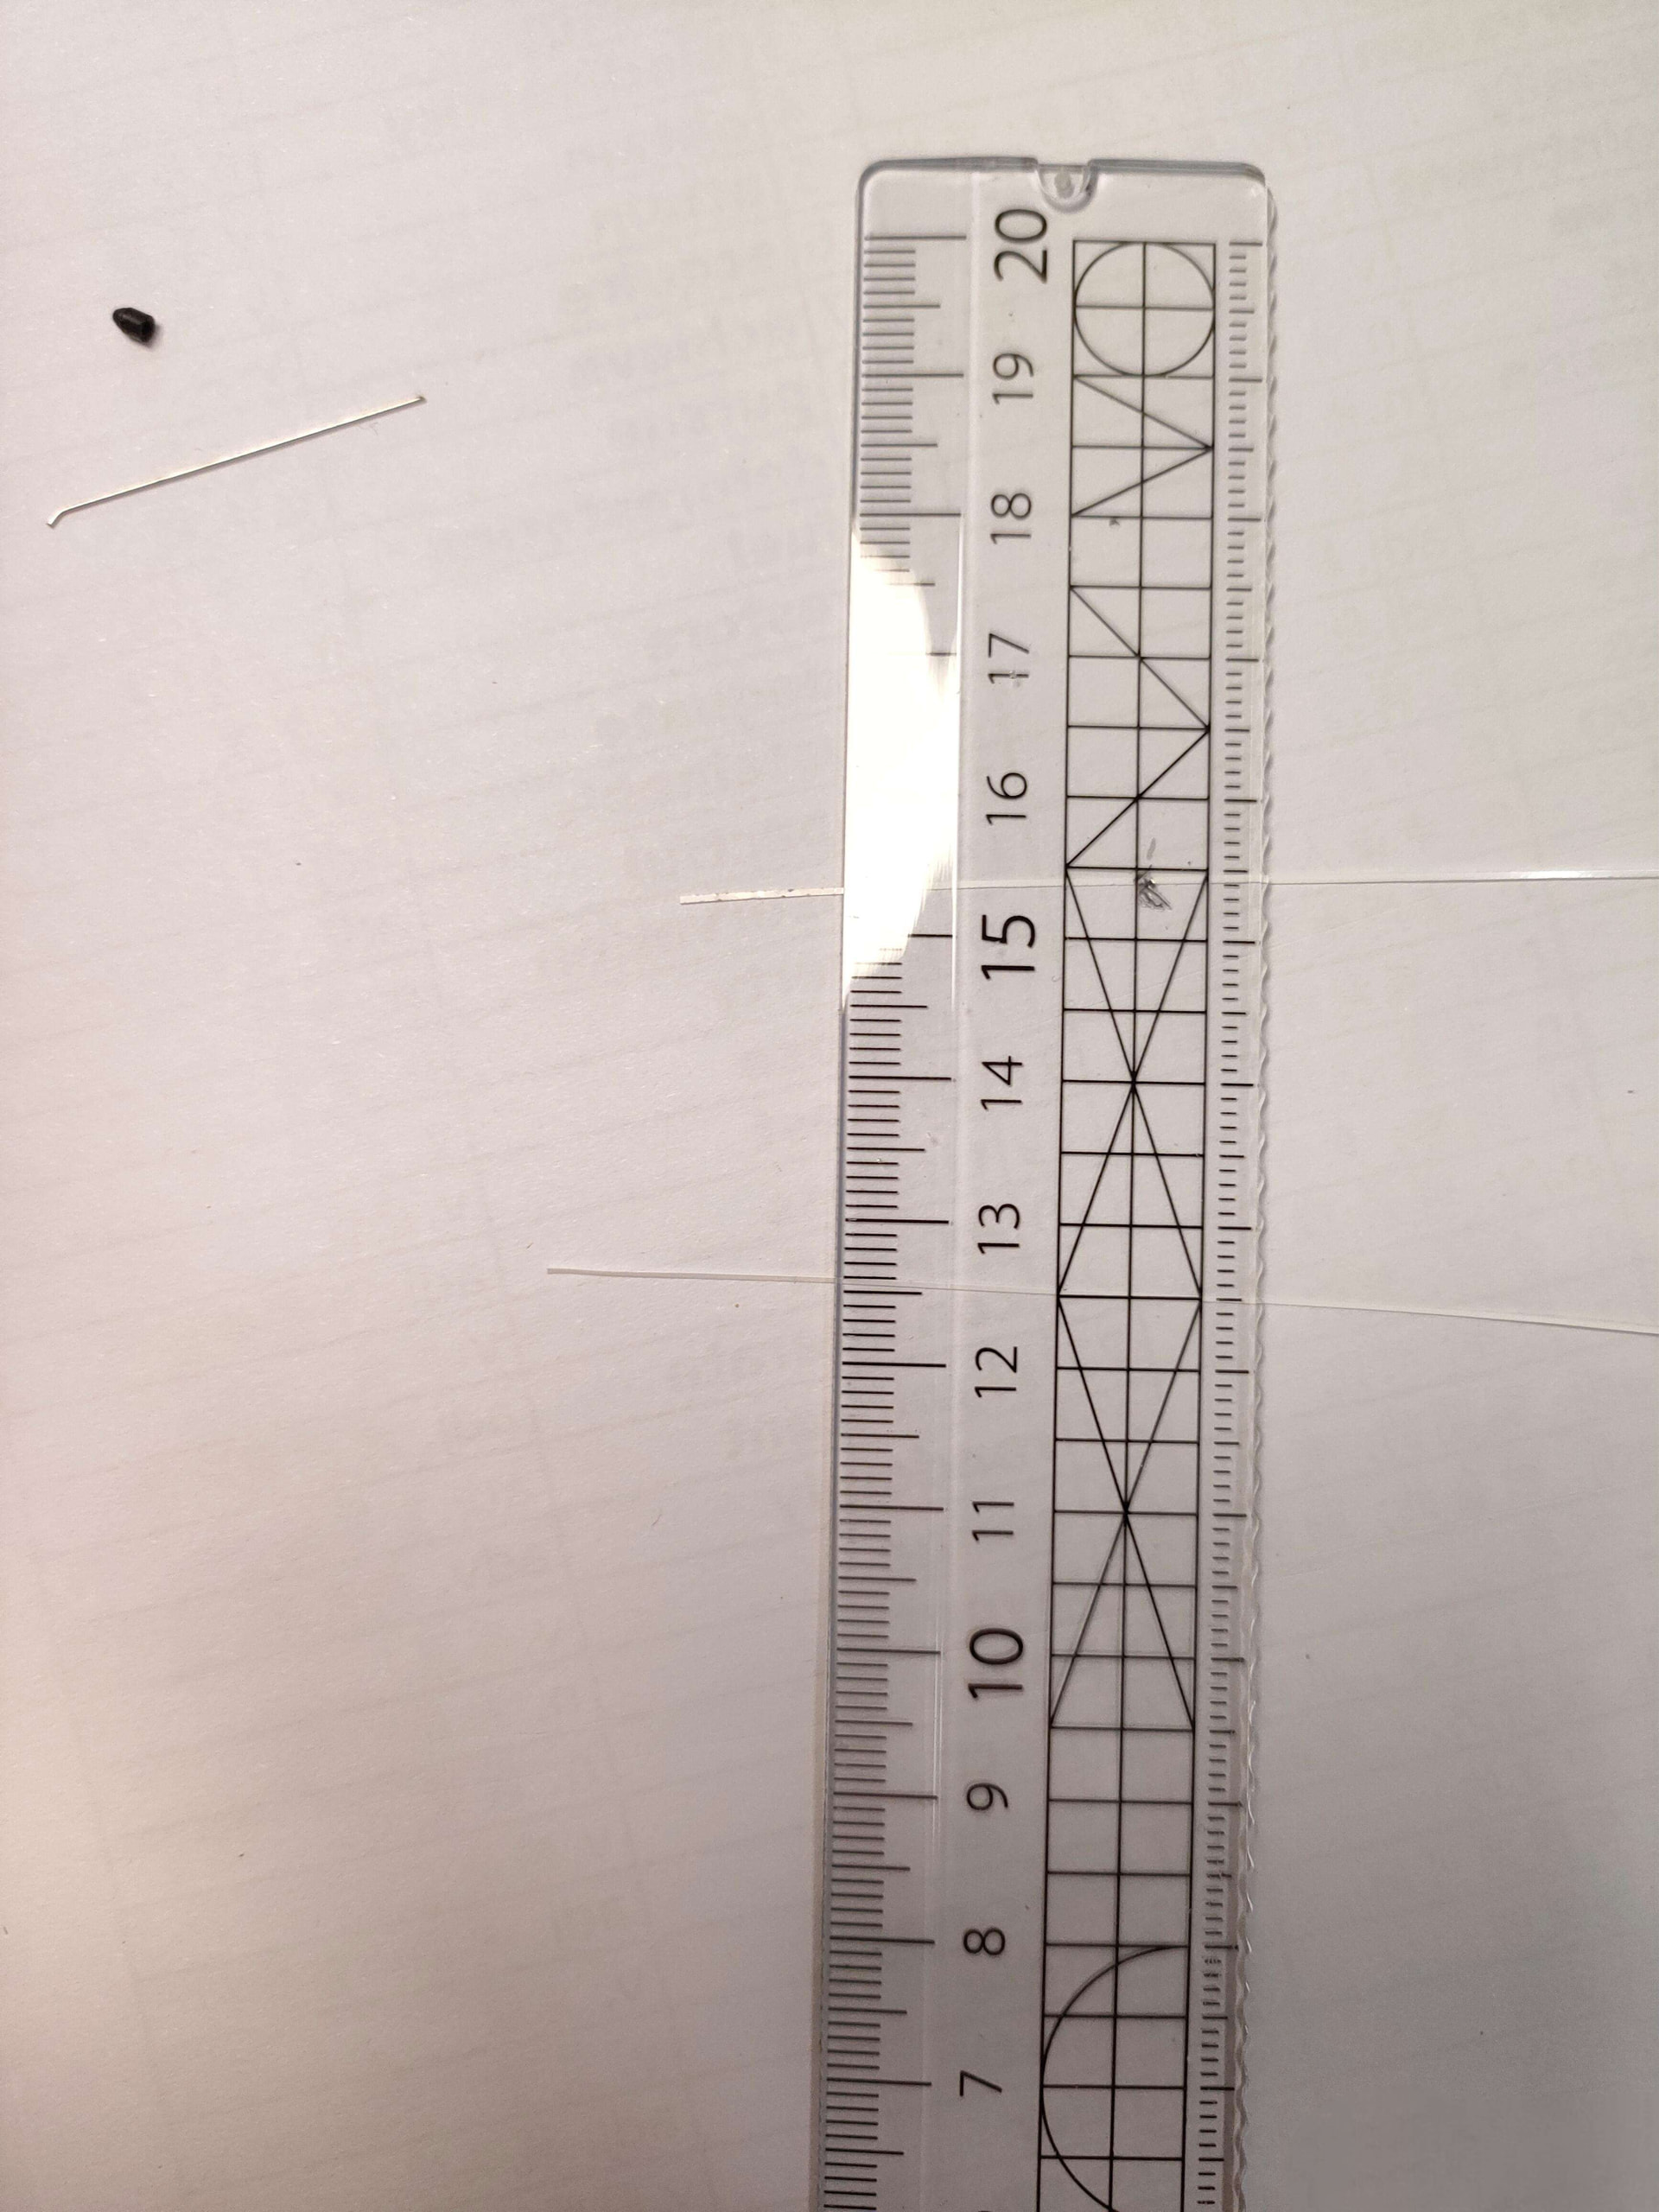
He even solved one problem of the original Automac E/E500, where when there’s around 2-3mm of lead left, the tiny final piece of lead is fit loosely enough to freely rotate within the lead sleeve, making it hard to keep the sharp side facing the paper (once you apply writing pressure, the lead will rotate until the flatter dull side faces down). His creation has its lead retainer going all the way to the tip of the lead sleeve, holding the lead securely until the final 0.5mm length, and by that time the lead bit is already ejected by the next piece of lead being loaded to the tip.

The original E500 uses a conventional rubber lead retainer ring, which only covers the rear end of the lead sleeve, hence the spontaneous lead spin when the lead completely loses contact with the rubber ring. However, if we simply made the inside of the lead sleeve as grippy as the rubber ring, that would be too much drag in normal lead advancing, which translates to too scratchy of a writing feel (the lead is not being fed enough, so the lead sleeve constantly scratches the paper).

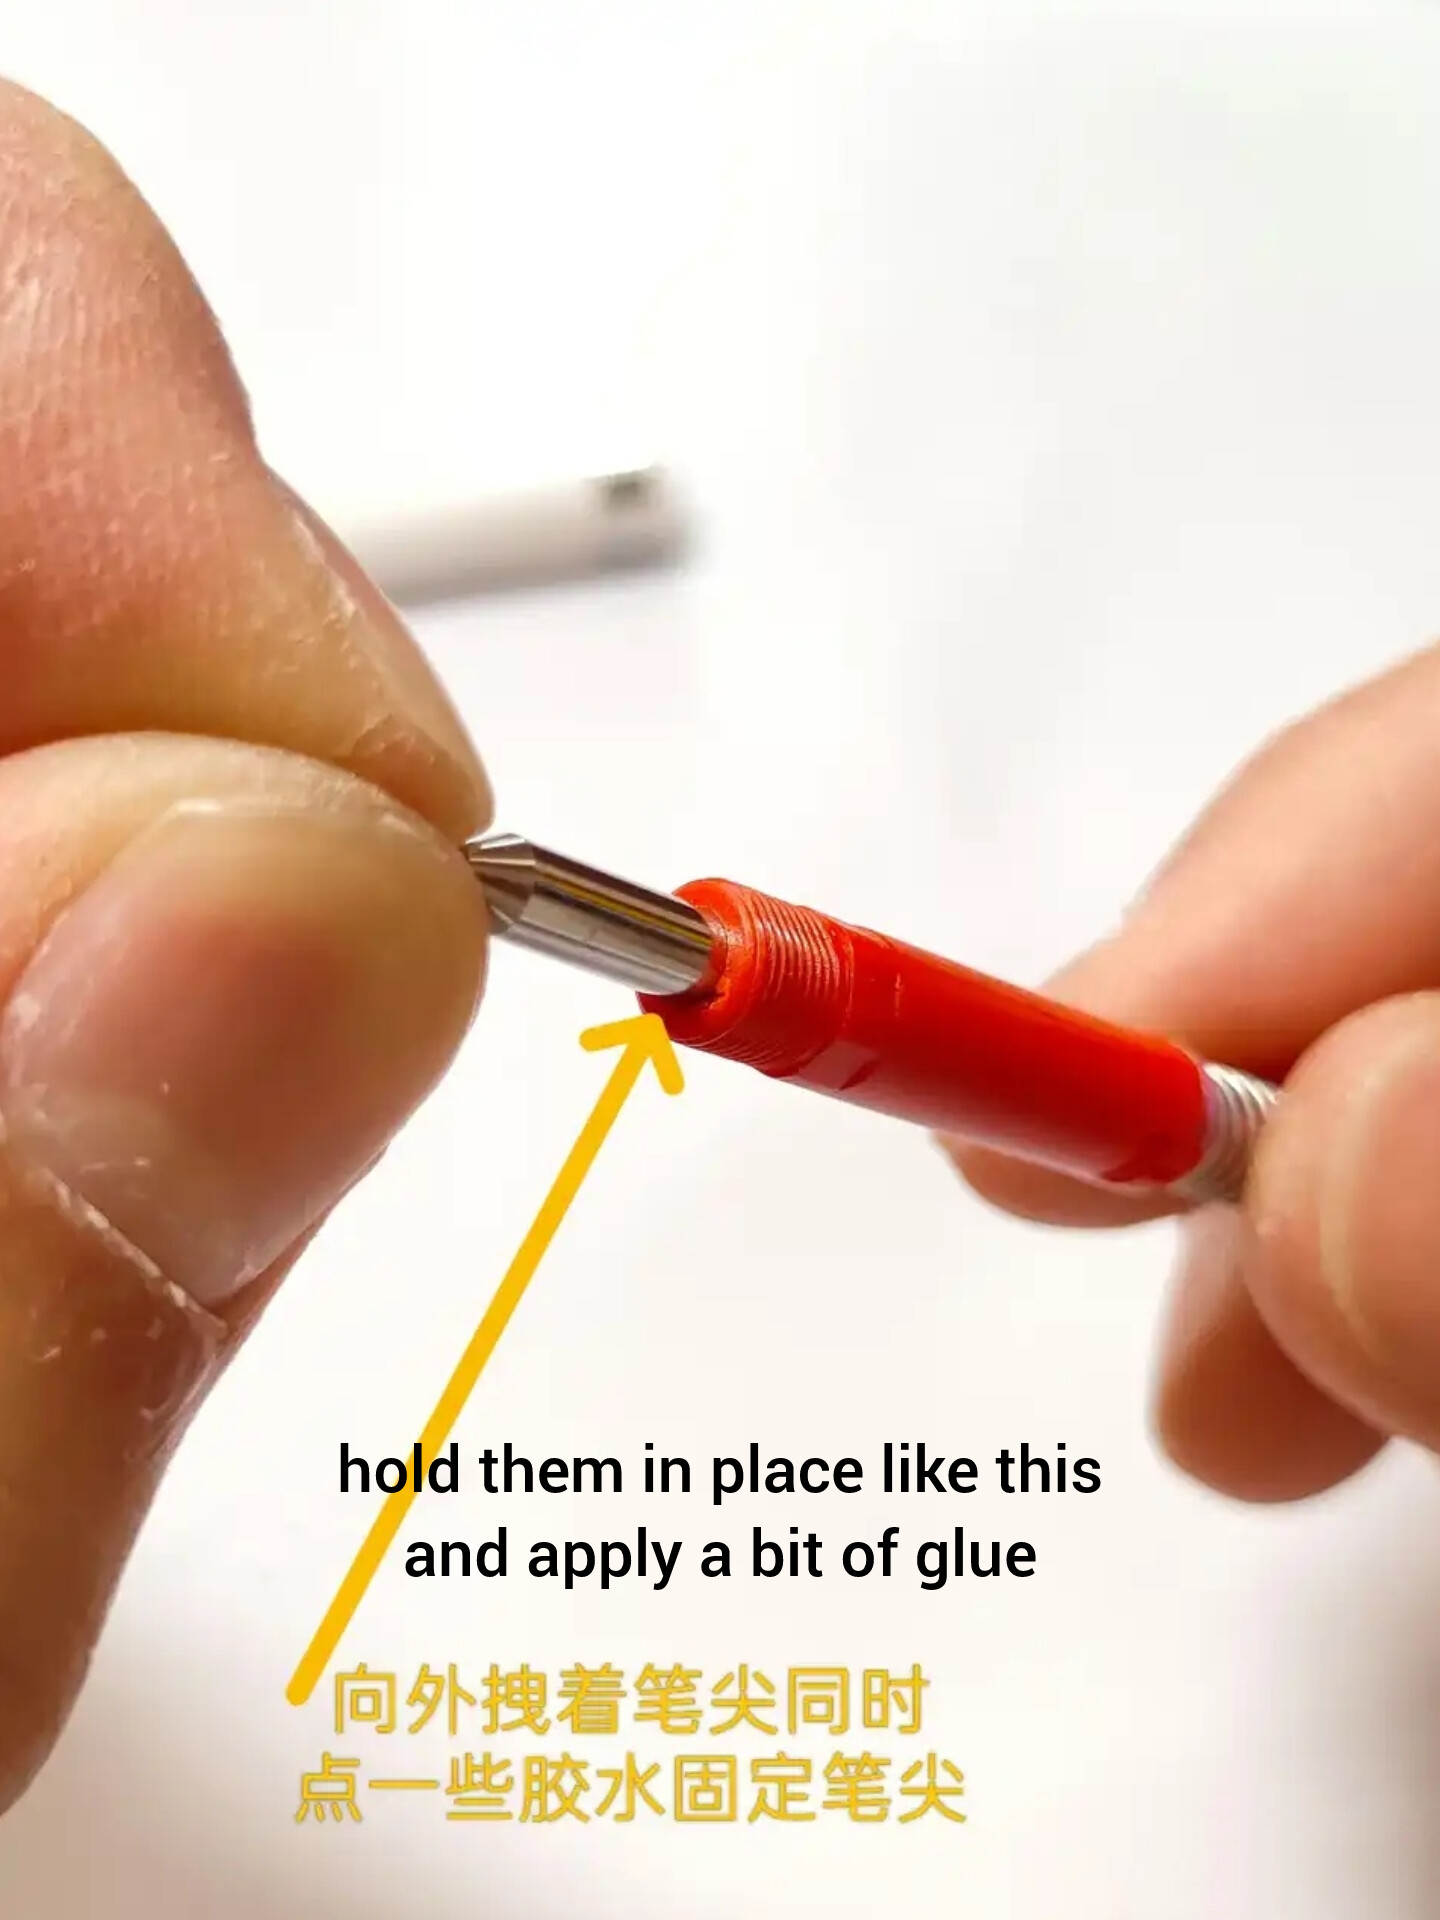
His solution was to get rid of the rubber ring entirely, and used a thin plastic film “stripe” that went all the way through the inside of the lead sleeve. It has its non-tip side attached to the inside of the pen body, so it won’t fall off. Multiple attempts and he finally figured out the right width that gives a sweet amount of friction and won’t curl up.

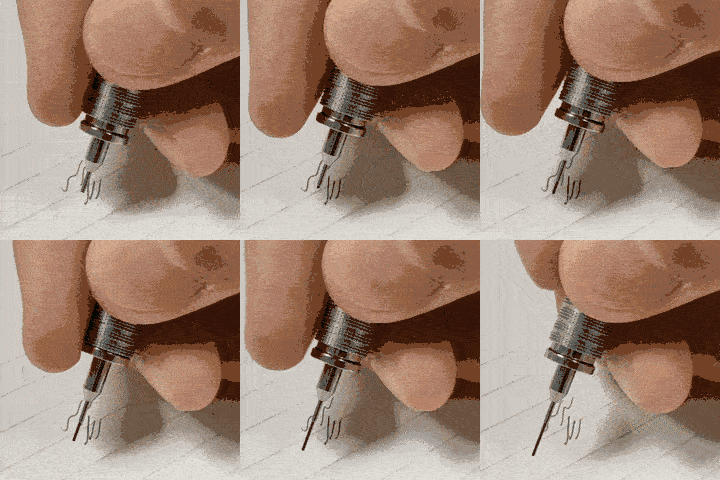
By the way, this guy is such a legend. He’s currently a high school student, and - besides this “E500” - had already DIY’d a fully functional Sakura AT-Matic as well as an FF-Matic in the past, without any machining of metal.
B1881BB6D1C23BA551A23435CD8D61F5

12 Likes

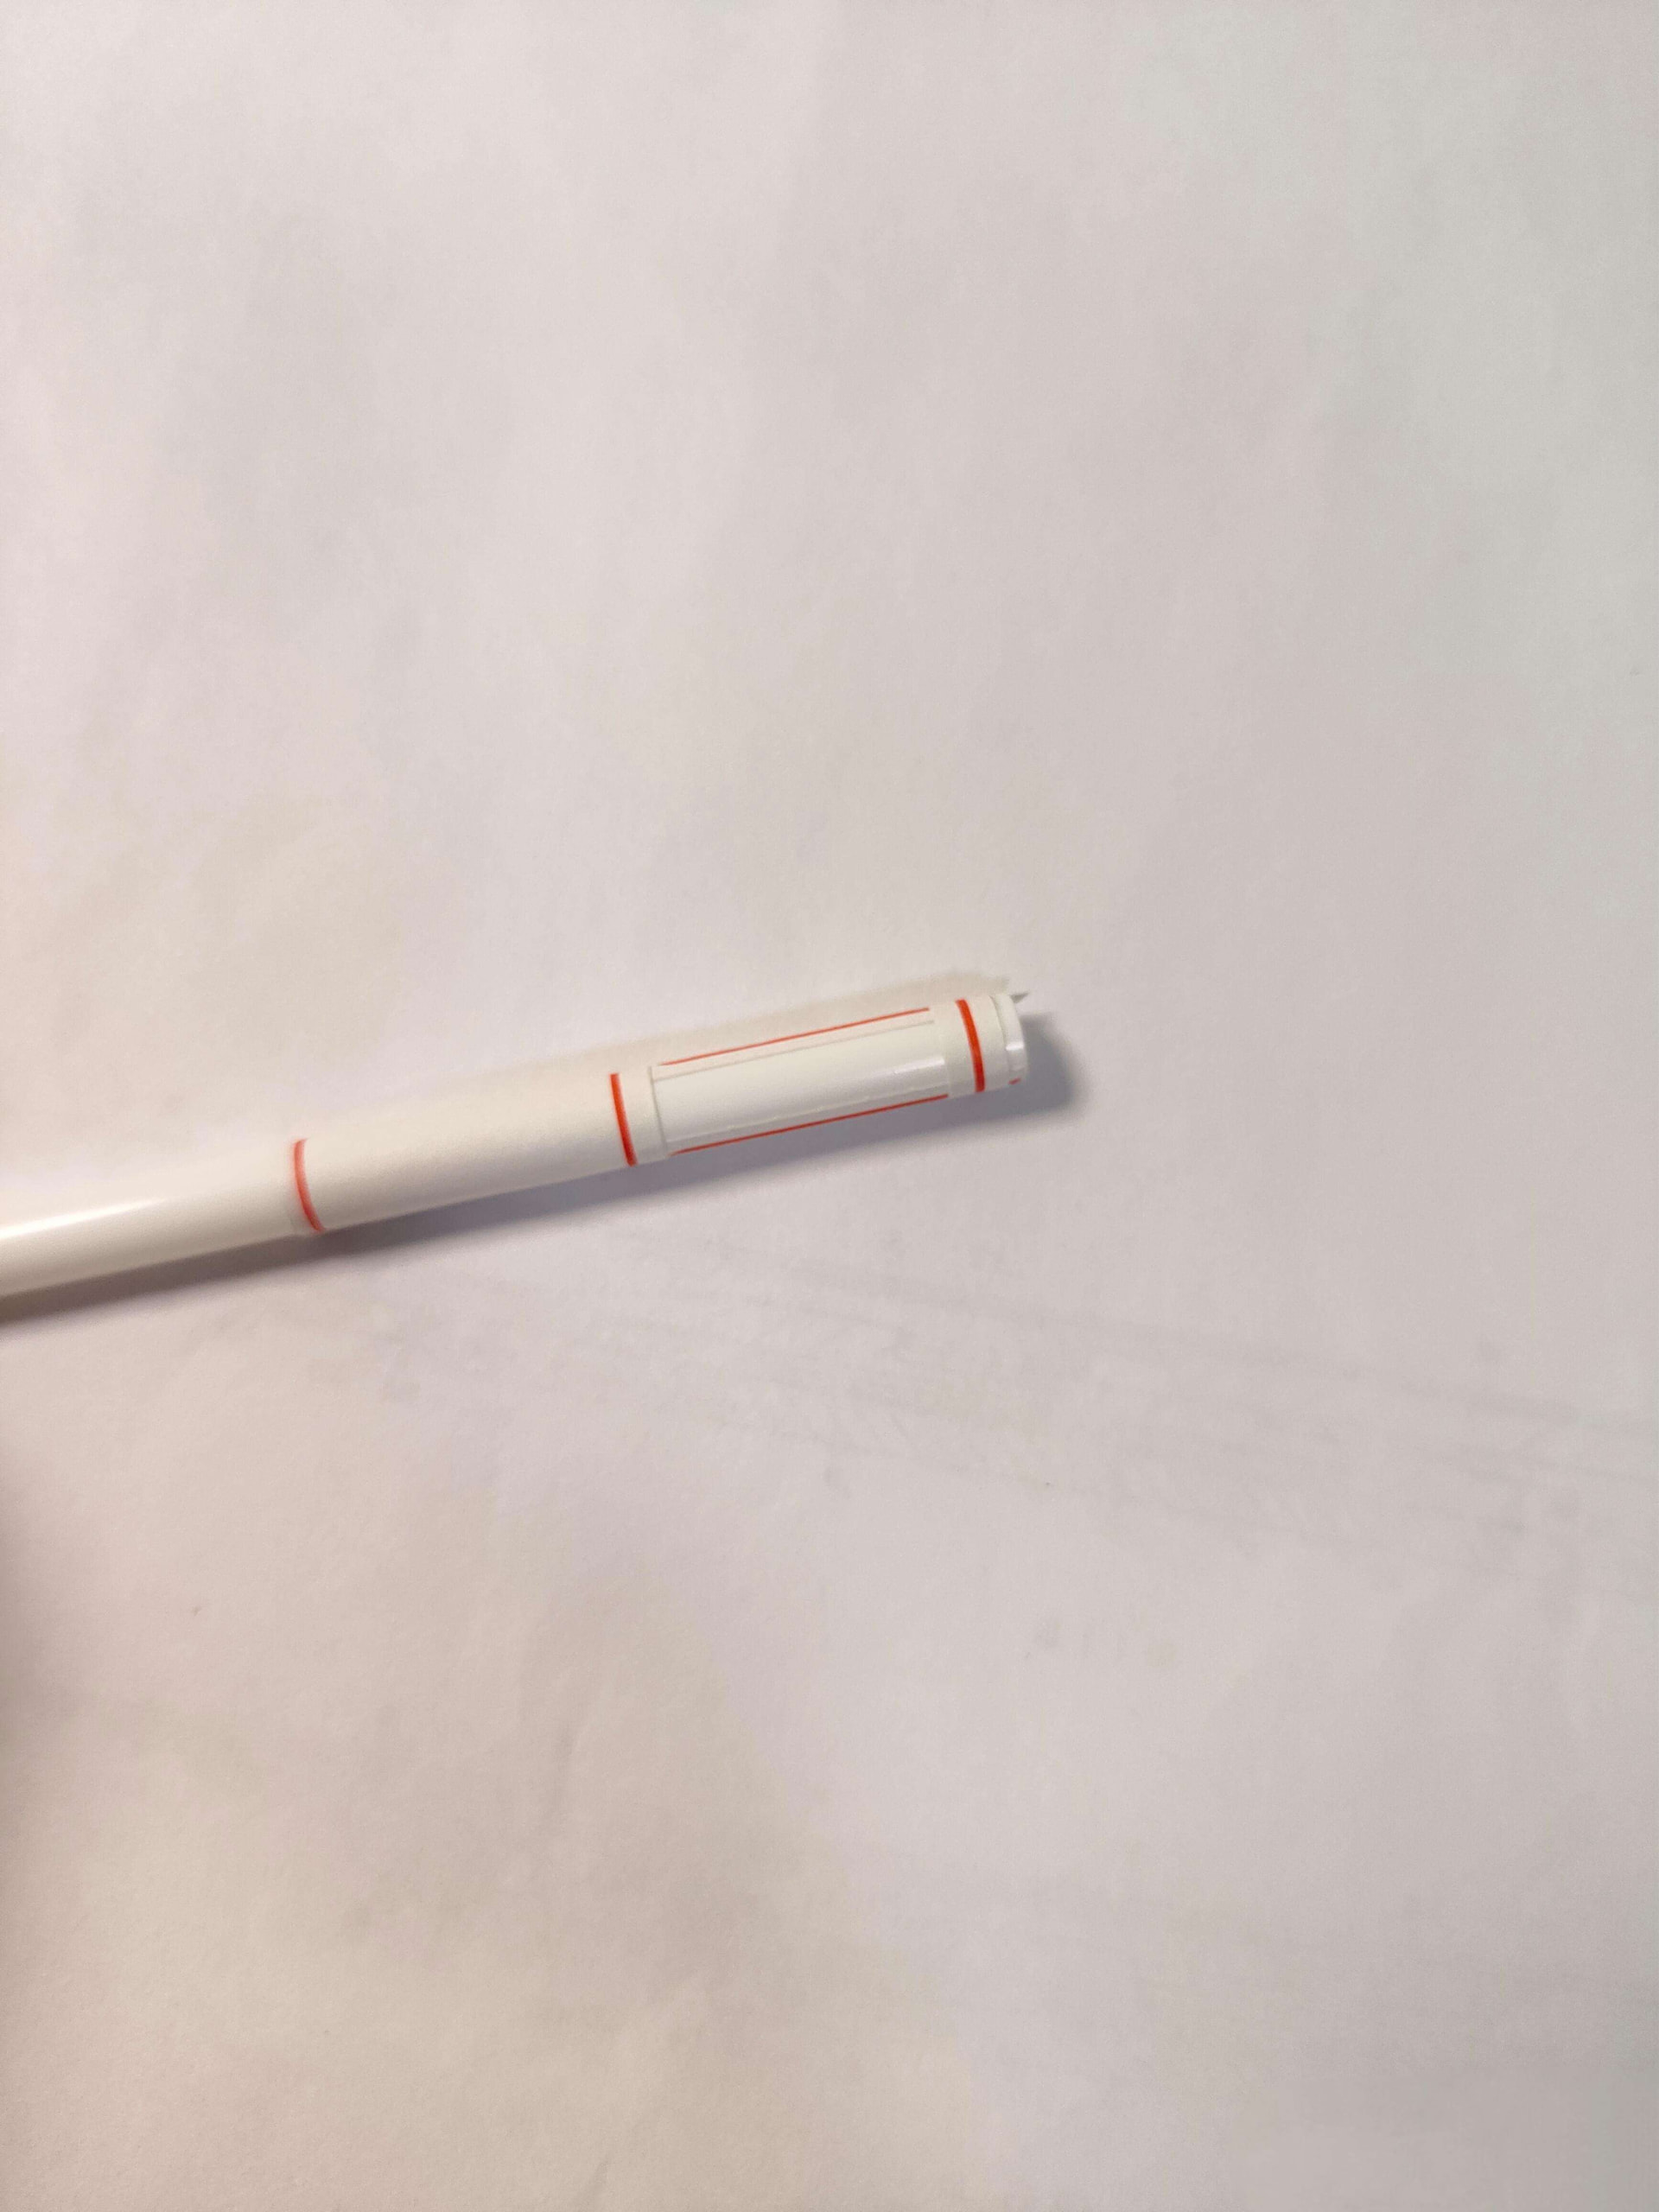
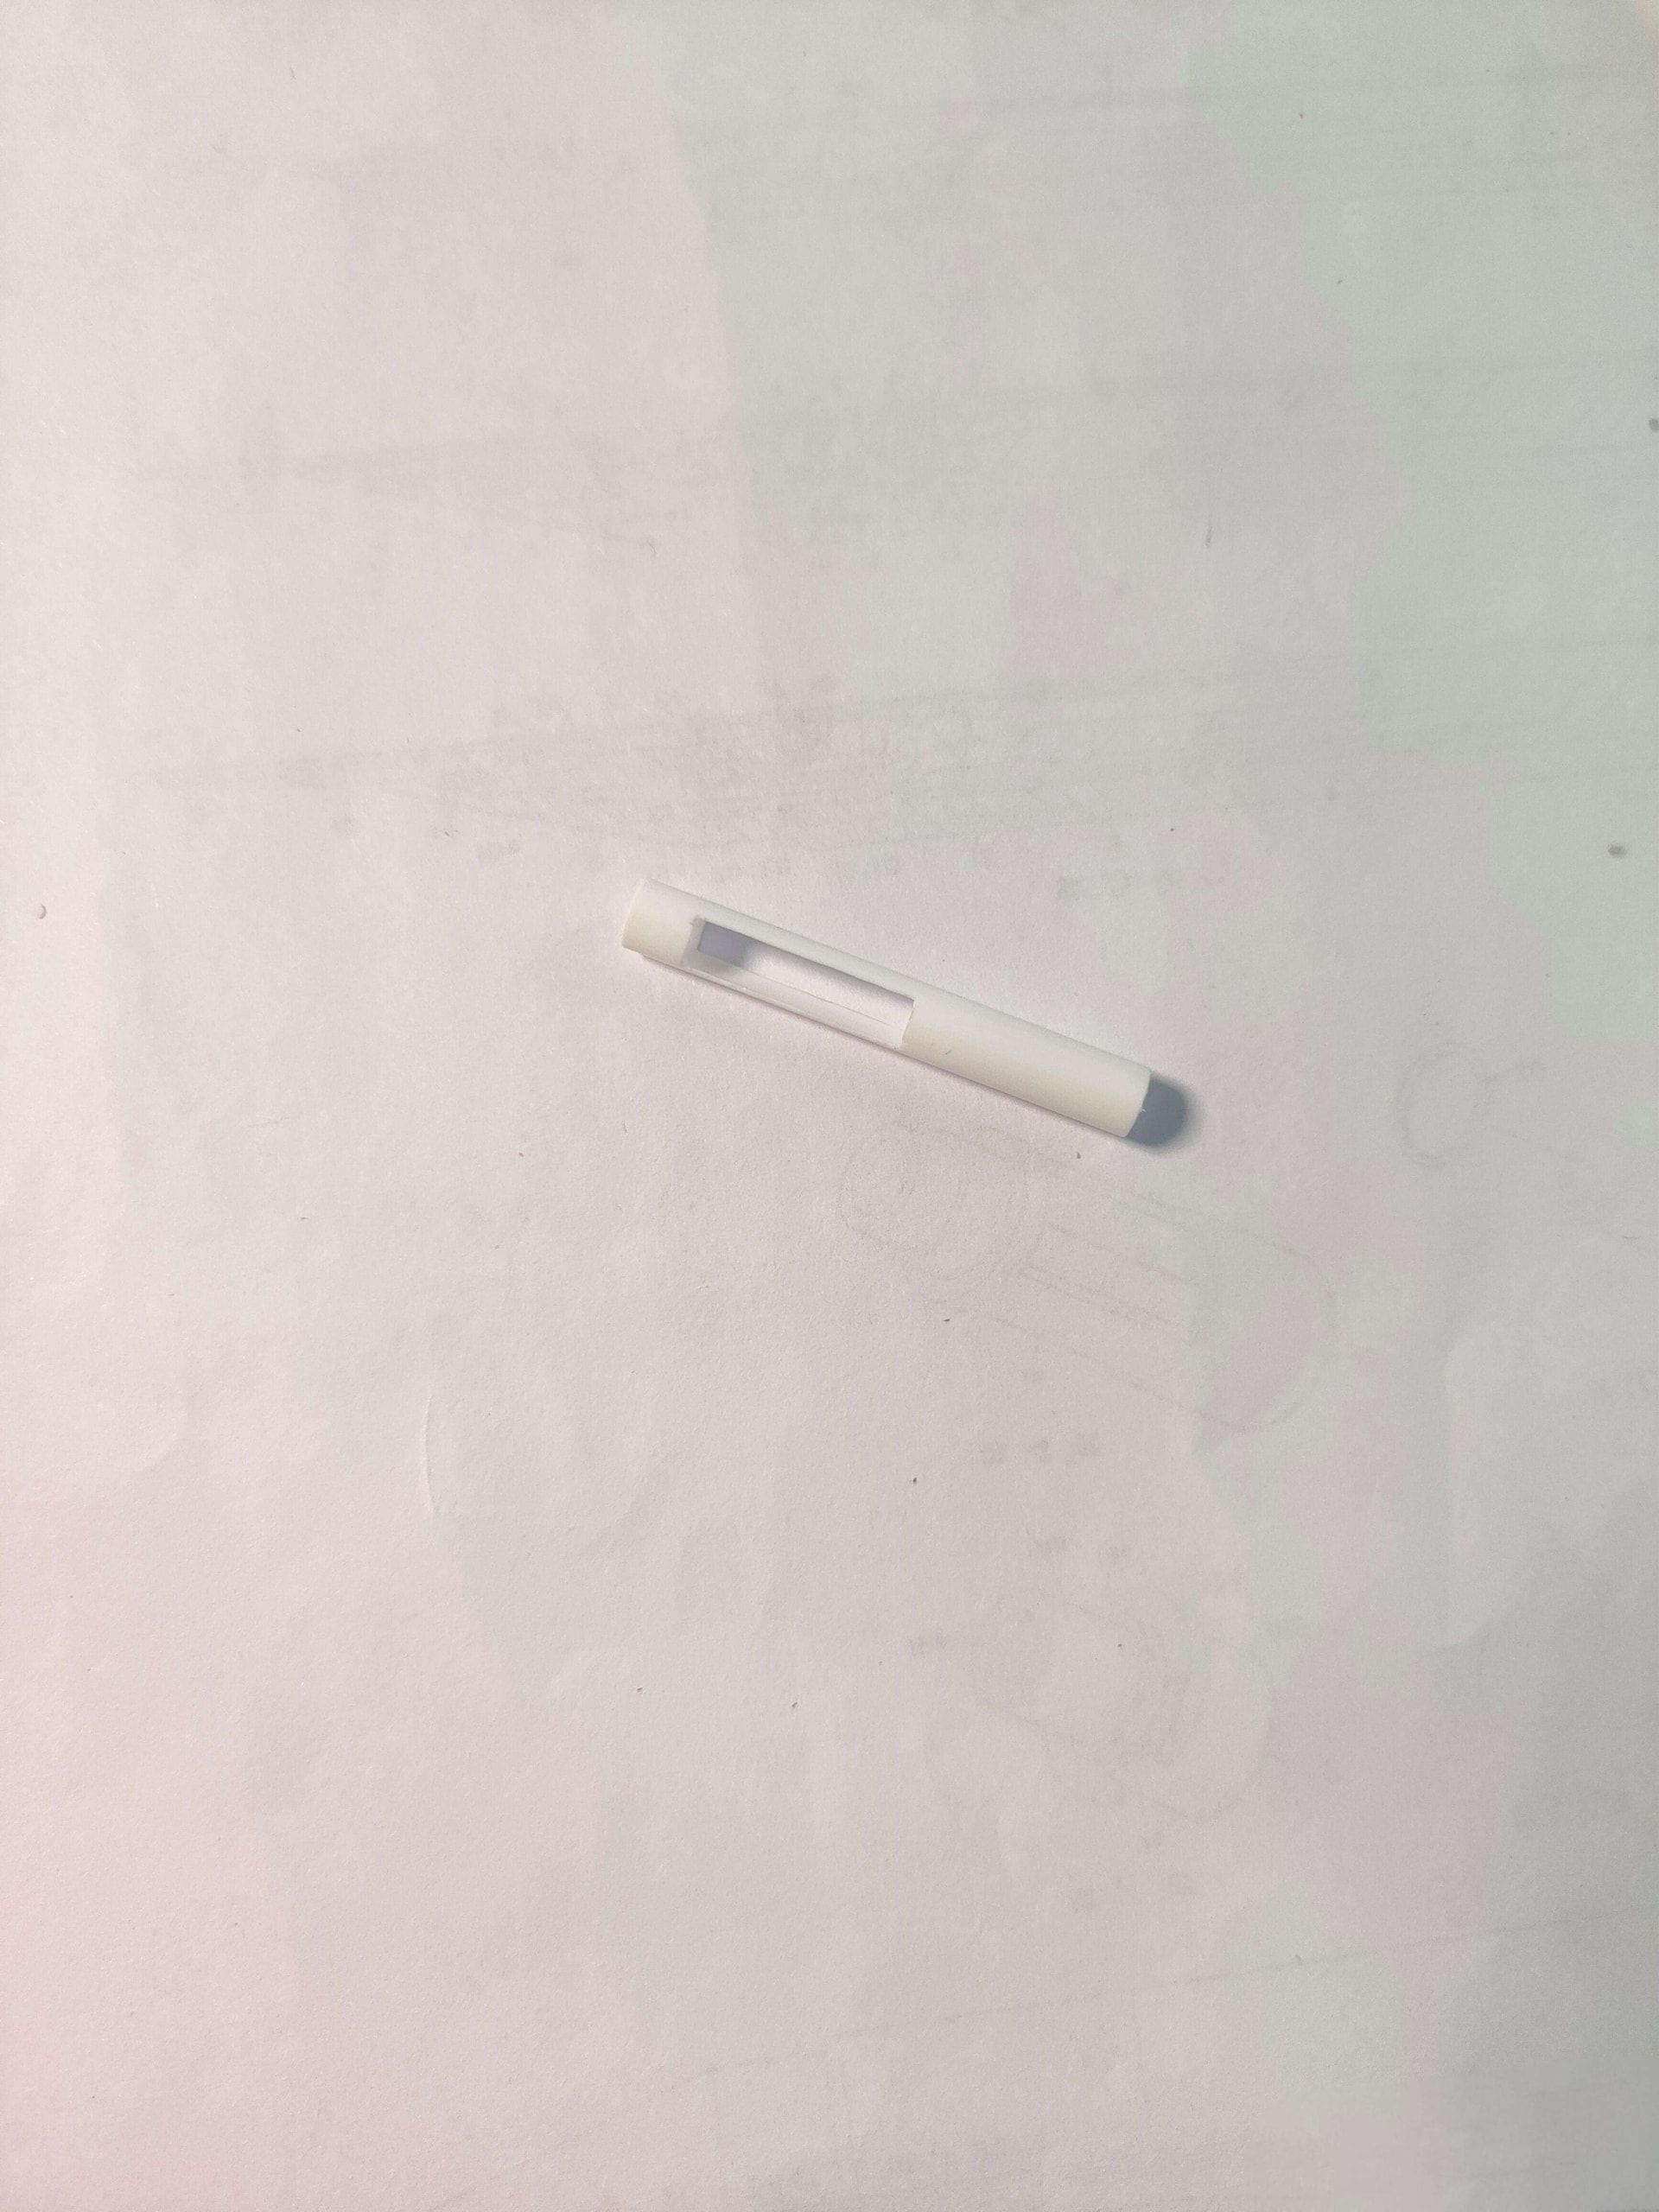
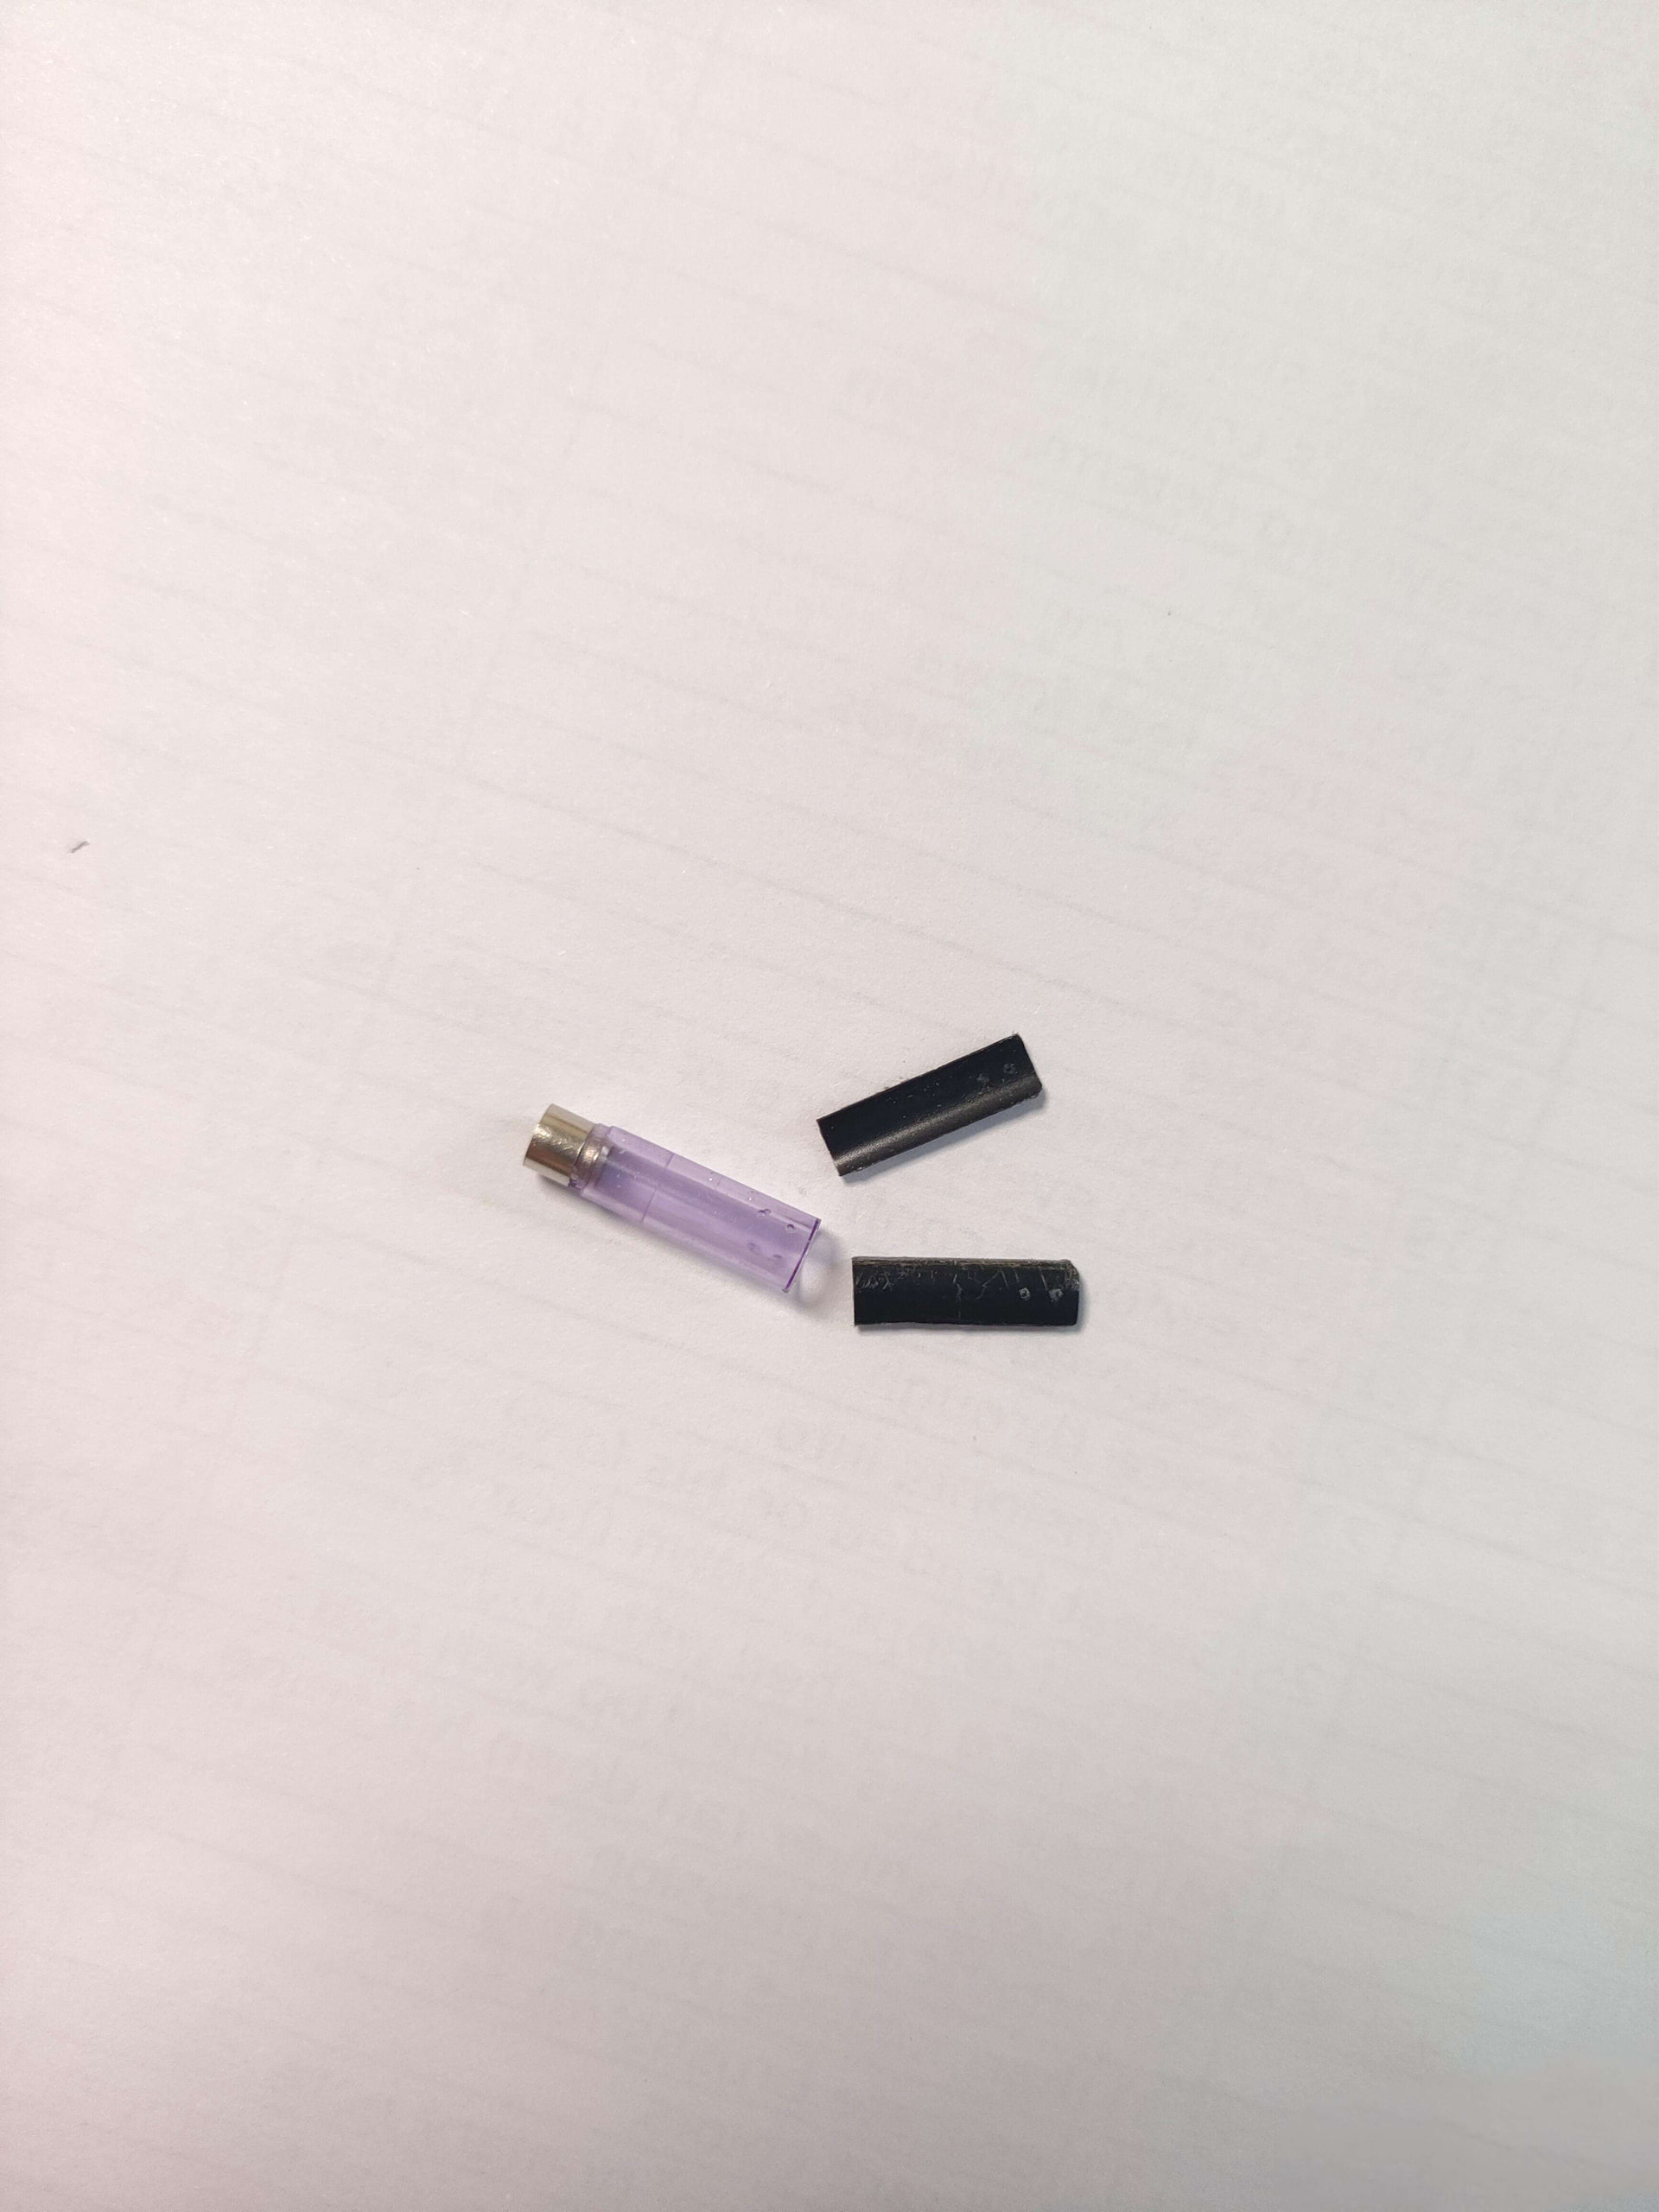
Some more photos he took midway through the process

10 Likes

Really impressive. I don’t quite follow the whole technique but it sounds like he came up with some interesting solutions for the challenges faced in the E500 mechanism replication. An improvement to boot.

Very nice – is there a writeup on how he made the FF-Matic? I wonder what host he used. The grip reminds me of a Staedtler 925-25.

1 Like

I have great respect, admiration (and envy) for anyone able to sort out DIY projects at that level of precision. The FF-matic counterpart in the gif image seems a bit “raw” on the design side, but incredibly effective on the operational side.

I wish the current world could appreciate much more this type of artisanal skills; the longer I stay on this planet, the more I desire to “build” something, instead of typing or doomscrolling.

Thank you @Ras for letting us know about this guy: if he’s only in high school, he could become a true pencil-meister soon. :slight_smile:

6 Likes

One thing that would make this extra impressive (not that it isn’t already) Is if he does all of this from diagrams.

The budget to buy the pencils to disassemble and reverse engineer would be astronomical…

But to do these from diagrams would be a high level of engineering comprehension I’d think.

1 Like

True, there must be a huge talent here for understanding spatial relations and kinematic interactions. It is also true that on both the Automac E500 and the FF-Matic (and the Orenz) there is a certain body of knowledge and information on the web — on this board alone, I remember many animated schemes and isometric exploded views, not to mention the closeup pictures.

1 Like

He did the E500 by looking at the patent + disassembling his one. But I’m pretty sure he does not own an FF or Sakura ATS3000

1 Like

He made like 3 generations of it. V1 was a ‘‘trial and error’’ crappy semi-failure, V2 became fully functional and reliable, and then he refined a V3 which he’s able to make consistent copies of (well… because a few forum members were asking to buy his pen. He still isn’t 100% sure if he will actually make more). V3’s body is mainly from a Pentel Graphlet and Orenz Metal Grip, the FF flick ring is from custom magnets he ordered online (since he can’t machine metal, that’s the easiest way to make an outside ring engage/drive an internal component).
He did not document his V3, here’s some old photos when he did his V2 with mainly a Pentel Graphlet, a Deli and an M&G (the latter 2 both being Chinese stationery manufacturers).

55436F33B9A812269BE9317F7993EFFA

28C907E064EF779ACE8871123F26D18D

828E7CBEA7C4CCD217F286299DE8E0D6

M&G auto advancing internals

58B2F025FBB36646E78E130150200466

4111F86AD1334292B0C9442D2BD50715

4ACDA541E664BBF8B0B26E7629BC0798

10 Likes

Also to add, looking at the patent may not be as helpful as it sounds, because often the final mechanism differes slightly from the patent

4 Likes

I LOVE everything about this! Legend is right!

1 Like

Even though I’ve never had the courage to take a Pilot E apart, I have collected quite a bit of information about its mechanism over the years. It’s a remarkably complex design with a lot going on inside.

Because of its reputation for being prone to failure, maybe even on the same level as the Staedtler Micromatic 777, it’s become more of a collector’s piece for me. I rarely use mine for any extended period of time.

6 Likes

Wow that E disassembly photo. I’ve heard it’s way harder to reassemble an E compared to an E500

2 Likes

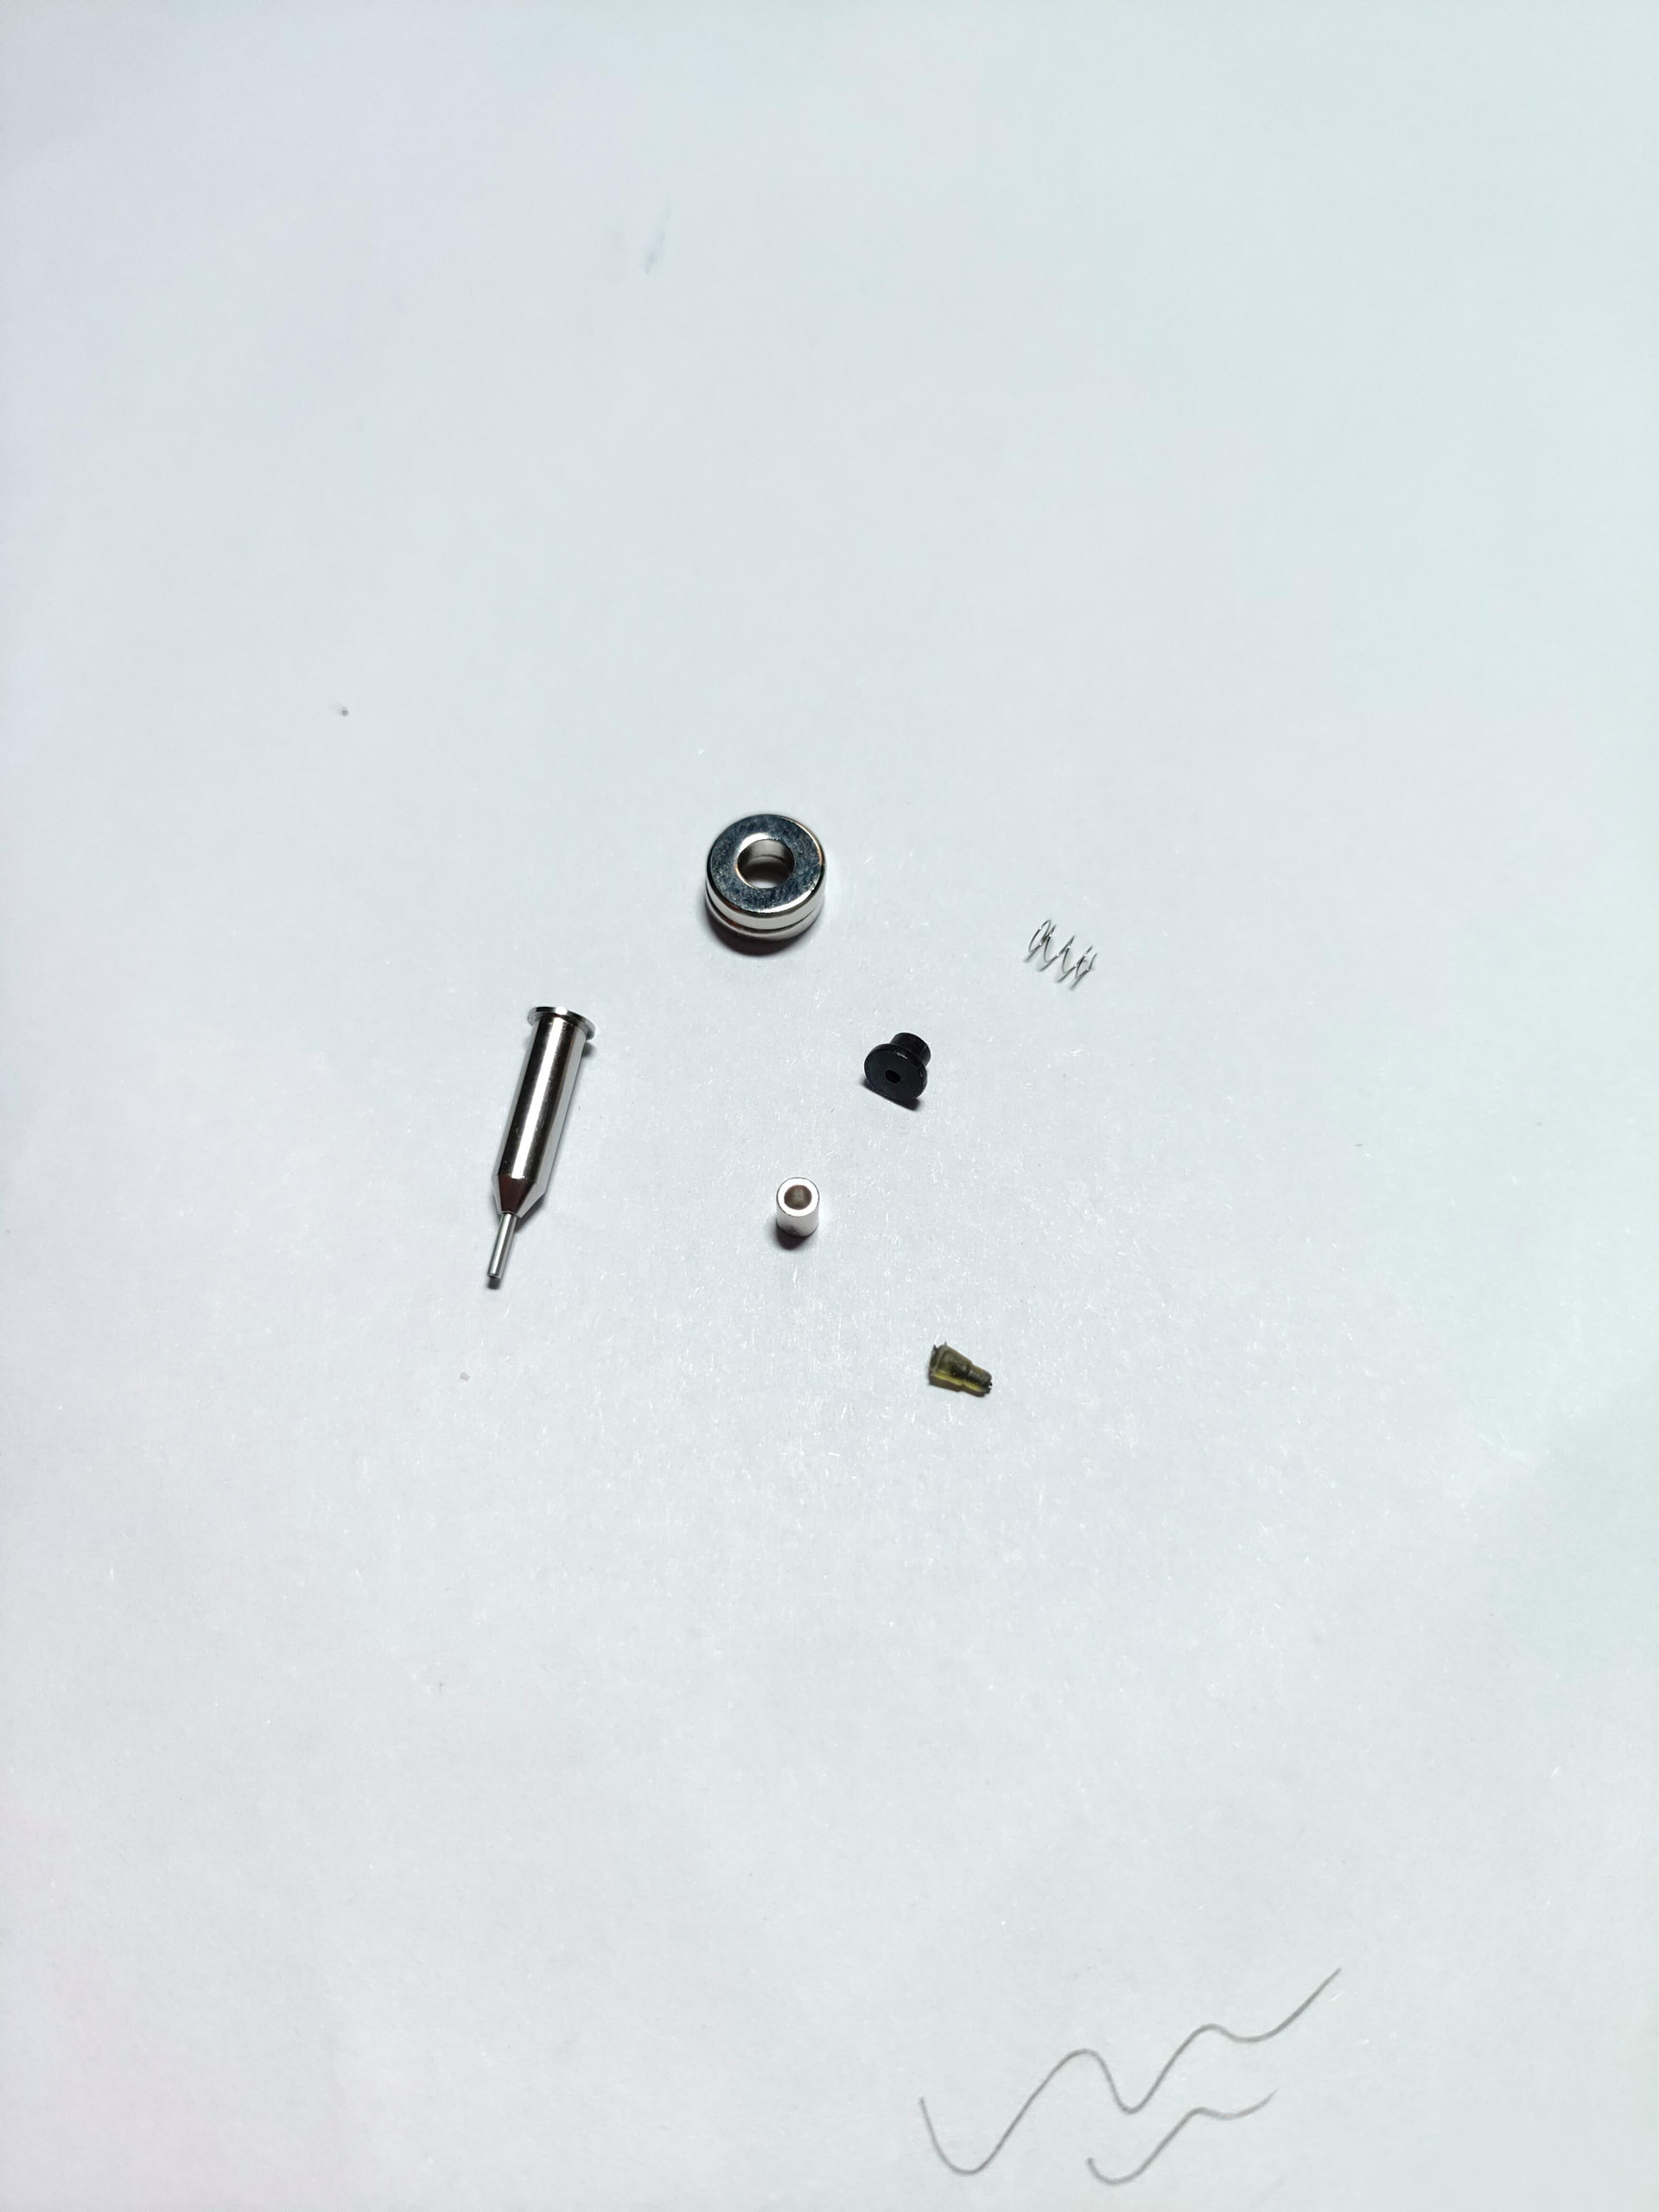
And then some other guy has posted their refined, (relatively) mass-production ready D1 auto advancing MP component. Impressive how they’ve compressed everything in such small size

57B7864FB60D2D17DF23C4079AC51CDB

7 Likes